Why Is BitLord Not Working in 2026?

Several factors can cause BitLord not to work. Understanding these helps pinpoint the right fix:
-
Outdated Software
-
Using a version of BitLord incompatible with the latest operating system updates.
-
-
Corrupt Installation
-
Missing or damaged files from interrupted installs or malware.
-
-
Network & Firewall Blocks
-
ISP throttling P2P ports or local firewall/antivirus blocking BitLord’s connections.
-
-
Tracker & Peer Issues
-
Torrents with dead trackers or few seeders give the impression the client isn’t working.
-
-
Configuration Errors
-
Incorrect port forwarding, proxy settings, or misconfigured connection limits.
-
-
VPN/Proxy Conflicts
-
Active VPN or proxy interfering with BitLord’s network binding.
-
Identifying which of these is at play makes troubleshooting faster. Next, let’s apply some quick solutions to get downloads moving again.
How to Fix BitLord Not Working: Quick Solutions
Try these simple steps first when BitLord not working:
-
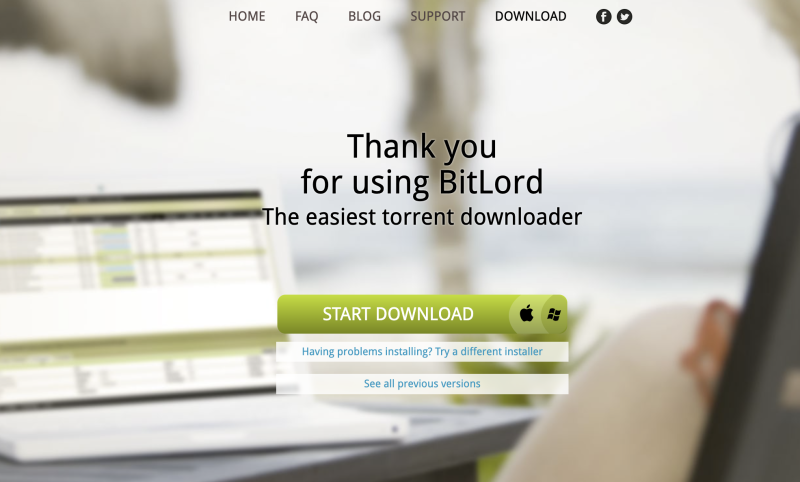
Update to the Latest BitLord Version
-
Visit https://www.bitlord.com/ and download the newest installer.
-
Run the installer to overwrite your current copy.
-
-
Run as Administrator
-
Right-click the BitLord shortcut and select Run as administrator to ensure it can open ports and write to disk.
-
-
Check Internet Connection
-
Open a browser and load a few websites to confirm connectivity.
-
Restart your router if speeds or connectivity seem unstable.
-
-
Disable Conflicting Software
-
Temporarily turn off antivirus or firewall.
-
If BitLord works, add it to your security software’s exception list.
-
-
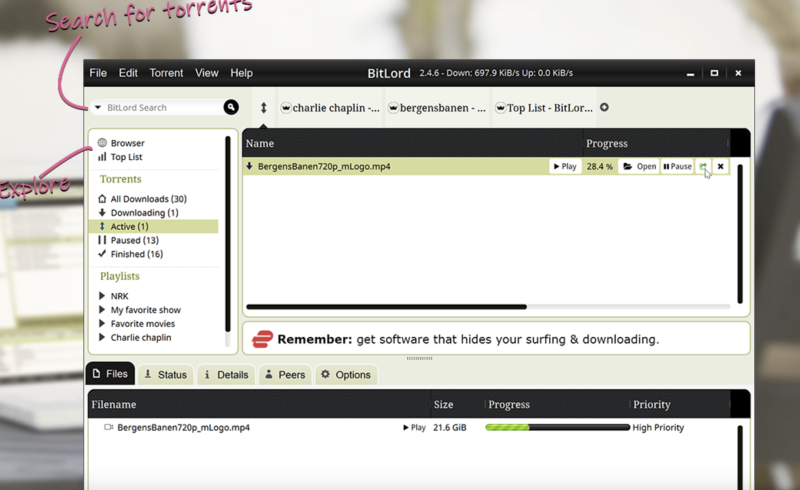
Refresh Trackers and Restart Torrents
-
Right-click a stalled torrent → Properties → Force Reannounce (or Update Tracker).
-
Pause and resume the torrent.
-
-
Reset Network Settings
-
In BitLord: Options → Preferences → Connections, click Restore Defaults.
-
Restart BitLord.
-
If these fixes solve your problem, great! If not, let’s go deeper.
Advanced Fixes for BitLord Not Working in 2026
When simple steps fail, tackle these advanced remedies:
-
Reinstall BitLord Completely
-
Uninstall via Control Panel → Programs & Features.
-
Delete
%AppData%\BitLordto clear leftover configs. -
Install the latest version from https://www.bitlord.com/.
-
-
Manual Port Forwarding
-
In BitLord preferences, note the listening port.
-
Log into your router’s interface; forward that port (both TCP & UDP) to your PC’s local IP.
-
Enable UPnP in BitLord under Connections if supported by your router.
-
-
Check DNS & IPv6 Settings
-
Disable IPv6 in your OS’s network adapter to prevent leaks.
-
Switch to a reliable DNS (e.g., 1.1.1.1 or 8.8.8.8) in your network settings.
-
-
Clear DHT, PeX & LSD Caches
-
Sometimes peer-discovery modules get stuck.
-
In BitLord’s data folder, delete DHT and PeX cache files (found under
%AppData%\BitLord\@dhtetc.), then restart.
-
-
Review Proxy Settings
-
If you use a proxy, ensure the proxy host, port, and credentials are correct under Preferences → Proxy.
-
If unsure, disable proxy to test direct connection.
-
-
Analyze Log Files
-
Enable logging in Preferences → Advanced → Enable Logging.
-
Review logs under
%AppData%\BitLord\logsfor error patterns (e.g., “connection refused,” “tracker timeout”).
-
These deeper steps address root causes for stubborn BitLord not working issues. Next, let’s ensure your torrenting stays secure, even when BitLord runs smoothly.

Tips to Protect Your BitLord Activity
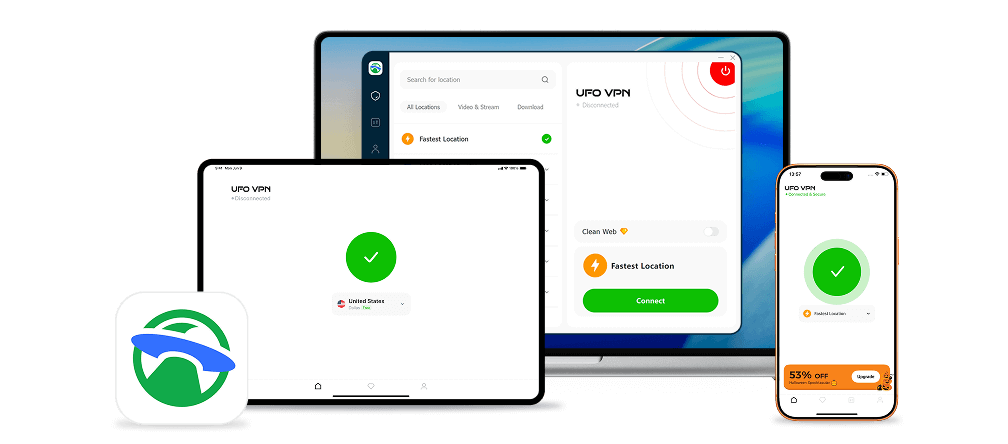
Even when BitLord runs smoothly, your torrenting sessions can expose your IP and slow down due to ISP throttling. A VPN for BitLord ensures every connection is private and uninterrupted.
-
Download & Install UFO VPN on Mac
Step 1Download UFO VPN for WindowsGrab the free Windows VPN installer right below. UFO VPN is lightweight and secure on all Windows systems. Double-click the downloaded file and complete the installation. Once installed, launch UFO VPN.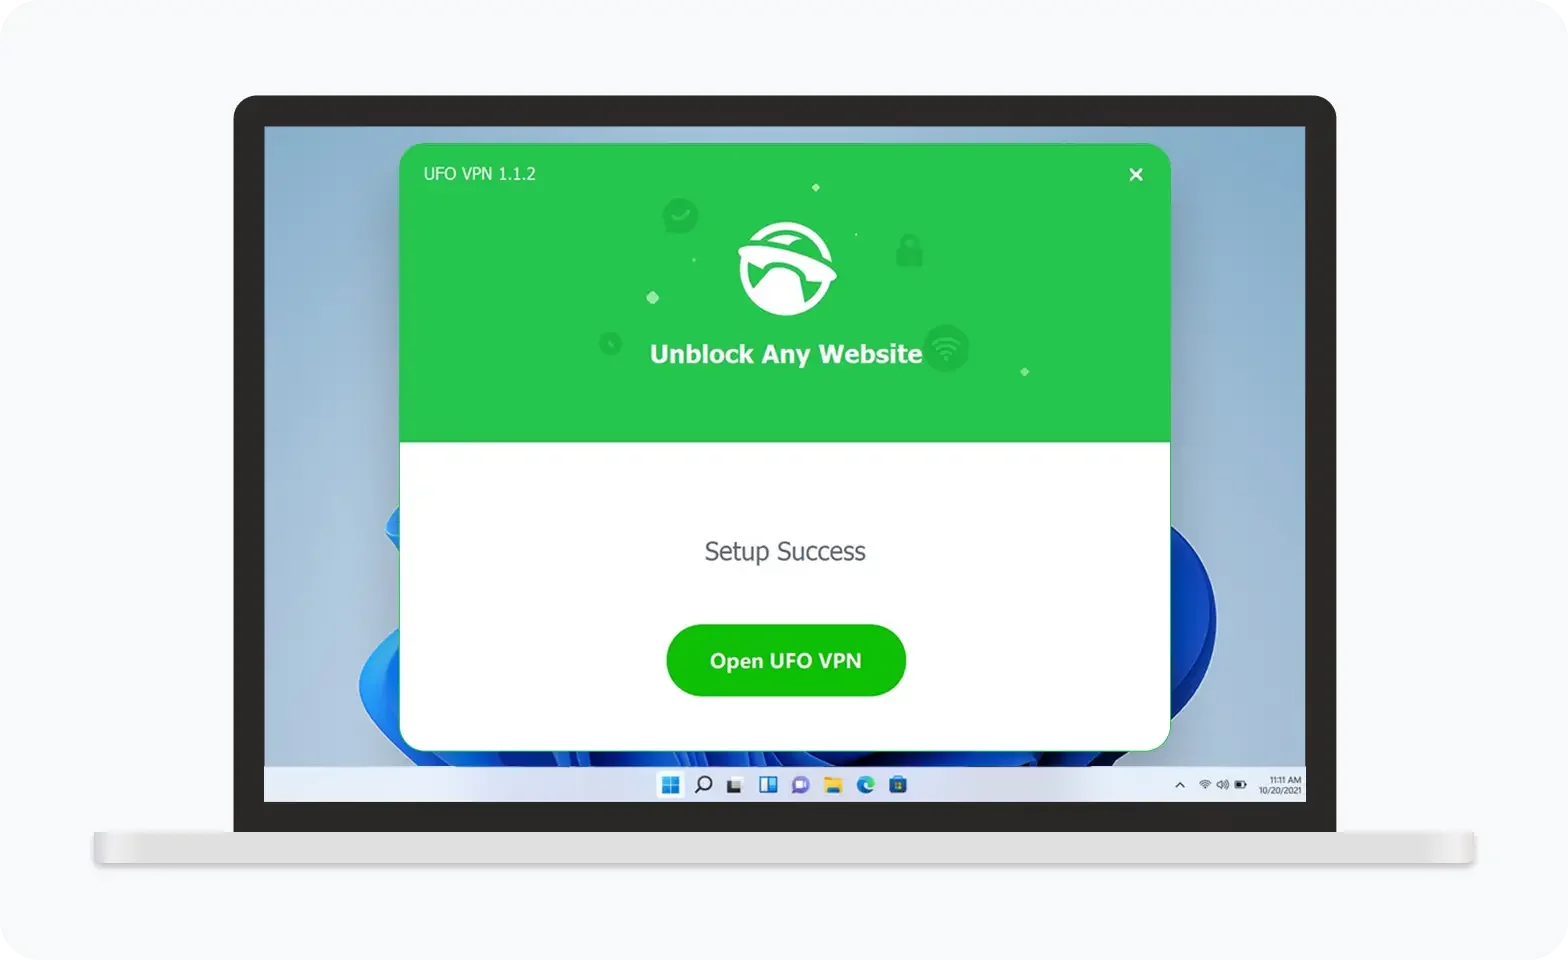 Step 2Select a VPN ServerInside the app, you can click the "Connect" button for quick connection, or browse the list of servers by Location or categroy: Video& Stream, Game, etc. Choosing the right server ensures fast speeds and smooth access.
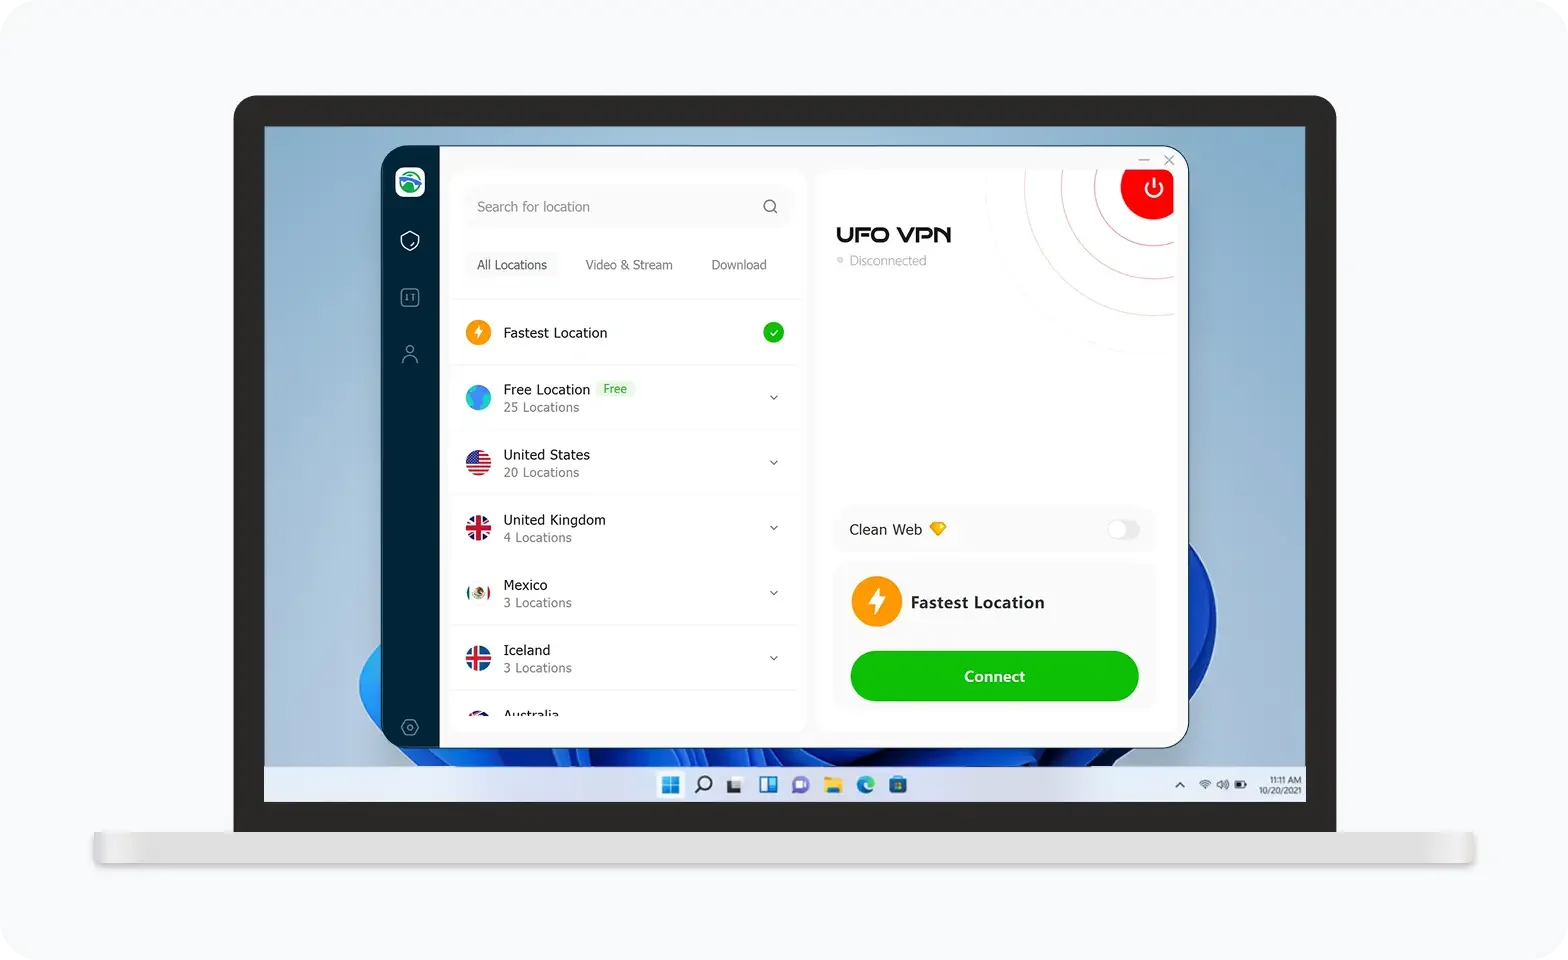
UFO VPN is an all-in-one VPN that offers unlimited access to 4K streaming like Netlfix, Disney Plus, no-ping gaming as PUBG, Roblox, CODM and social networking for YouTube, X, Facebook and more.
Step 3Enable Advanced FeaturesIn addition to basic functions, we recommend you turn on extra protections via Ad Blocker and features like Kill Switch, Split Tunneling and Smart Hop. Users can optimize online gaming/streaming/chatting as much as possible.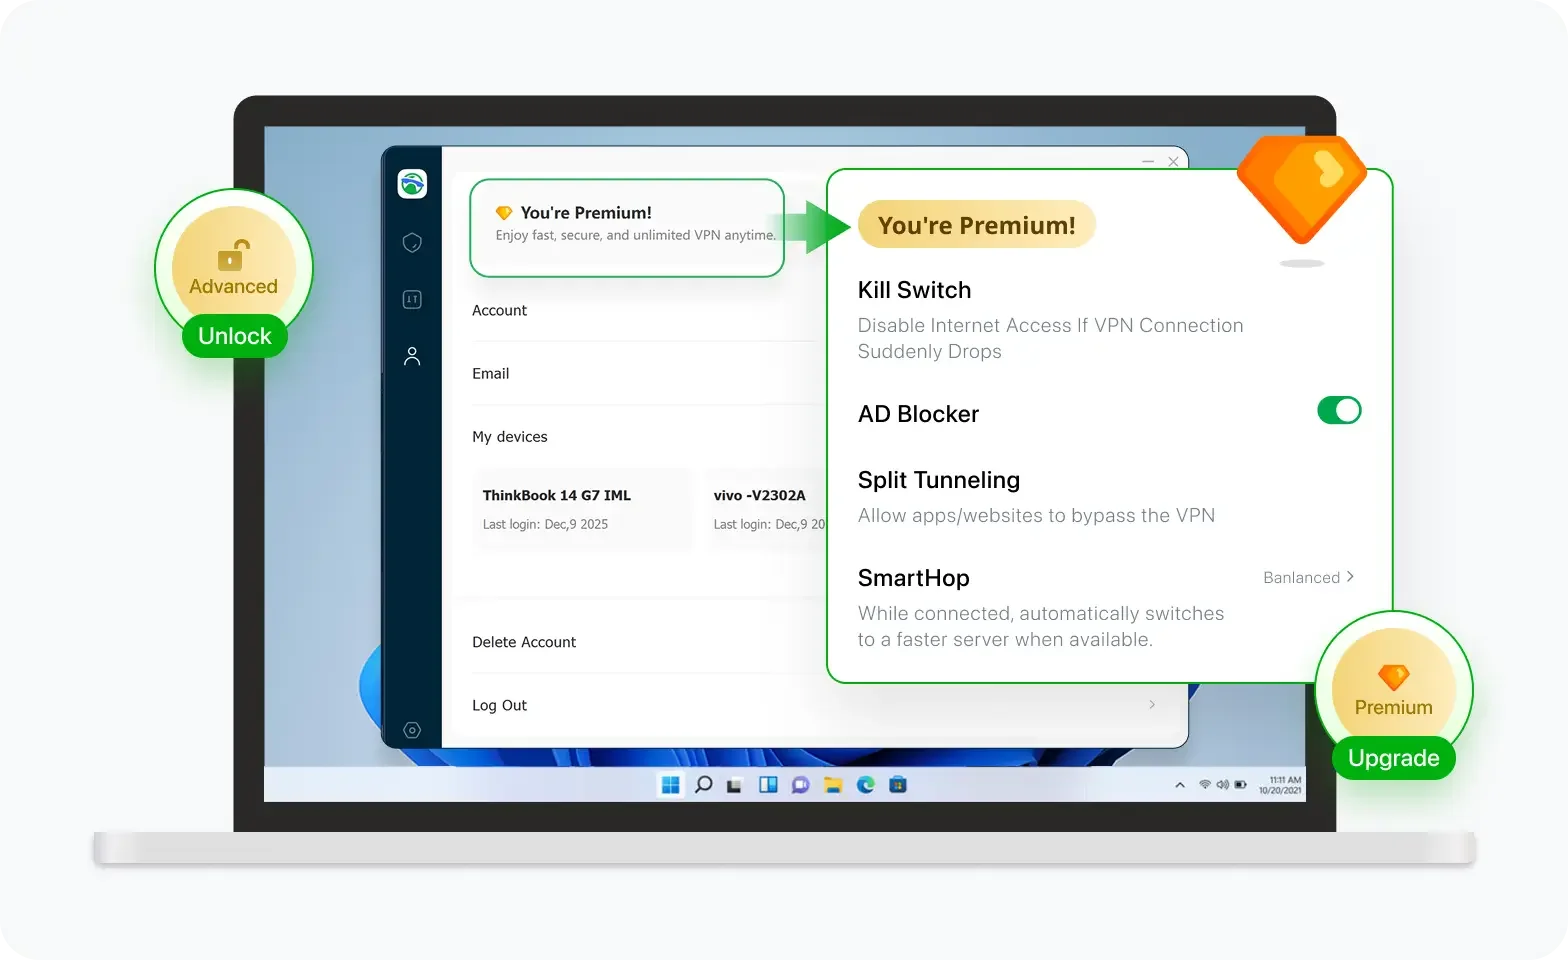 Step 4Check Your New IPUse UFO VPN's built-in " What is My IP" feature to see your new IP address and location. This confirms your VPN is working, hides your real IP, and ensures privacy while browsing.
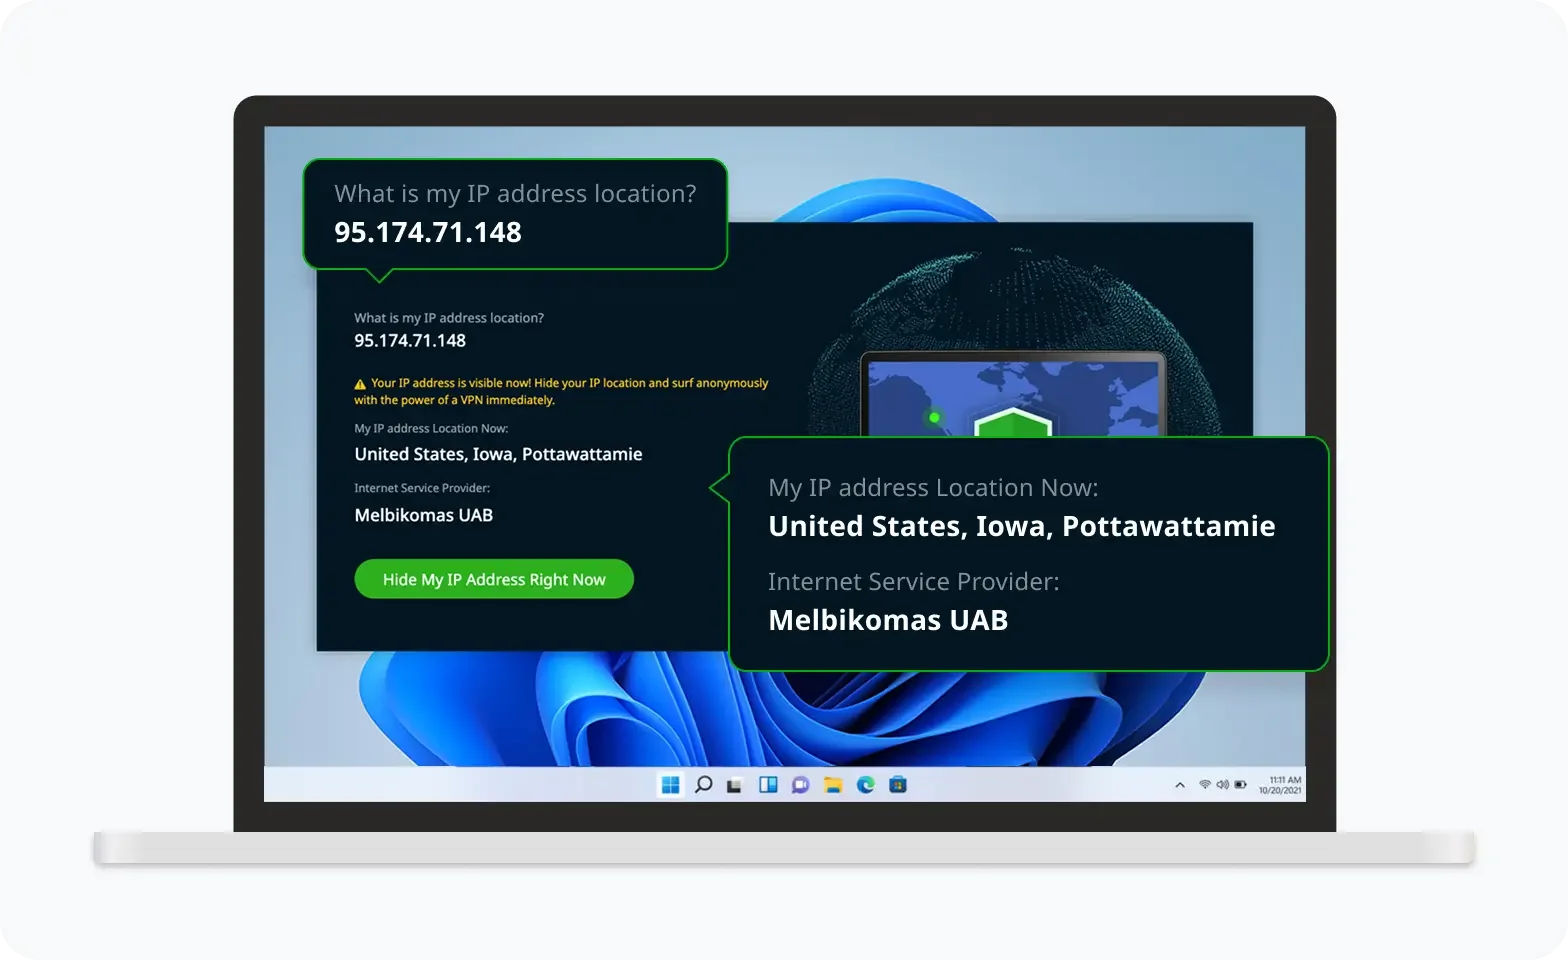 Step 1 Download and install UFO VPN for macOSClick the button below to download offcial Mac VPN free. Open the .dmg file, drag UFO VPN to your Applications folder, and launch it. You're just a few clicks away from secure browsing.
 Step 2 Pick Your IP ServerTap "Connect" button for the fastest server automatically. Or you can select a server from the global server list in 100+ countries. UFO VPN is an UFO VPN is an all-in-one VPN or gaming, video streaming, social platforms, and AI tools.
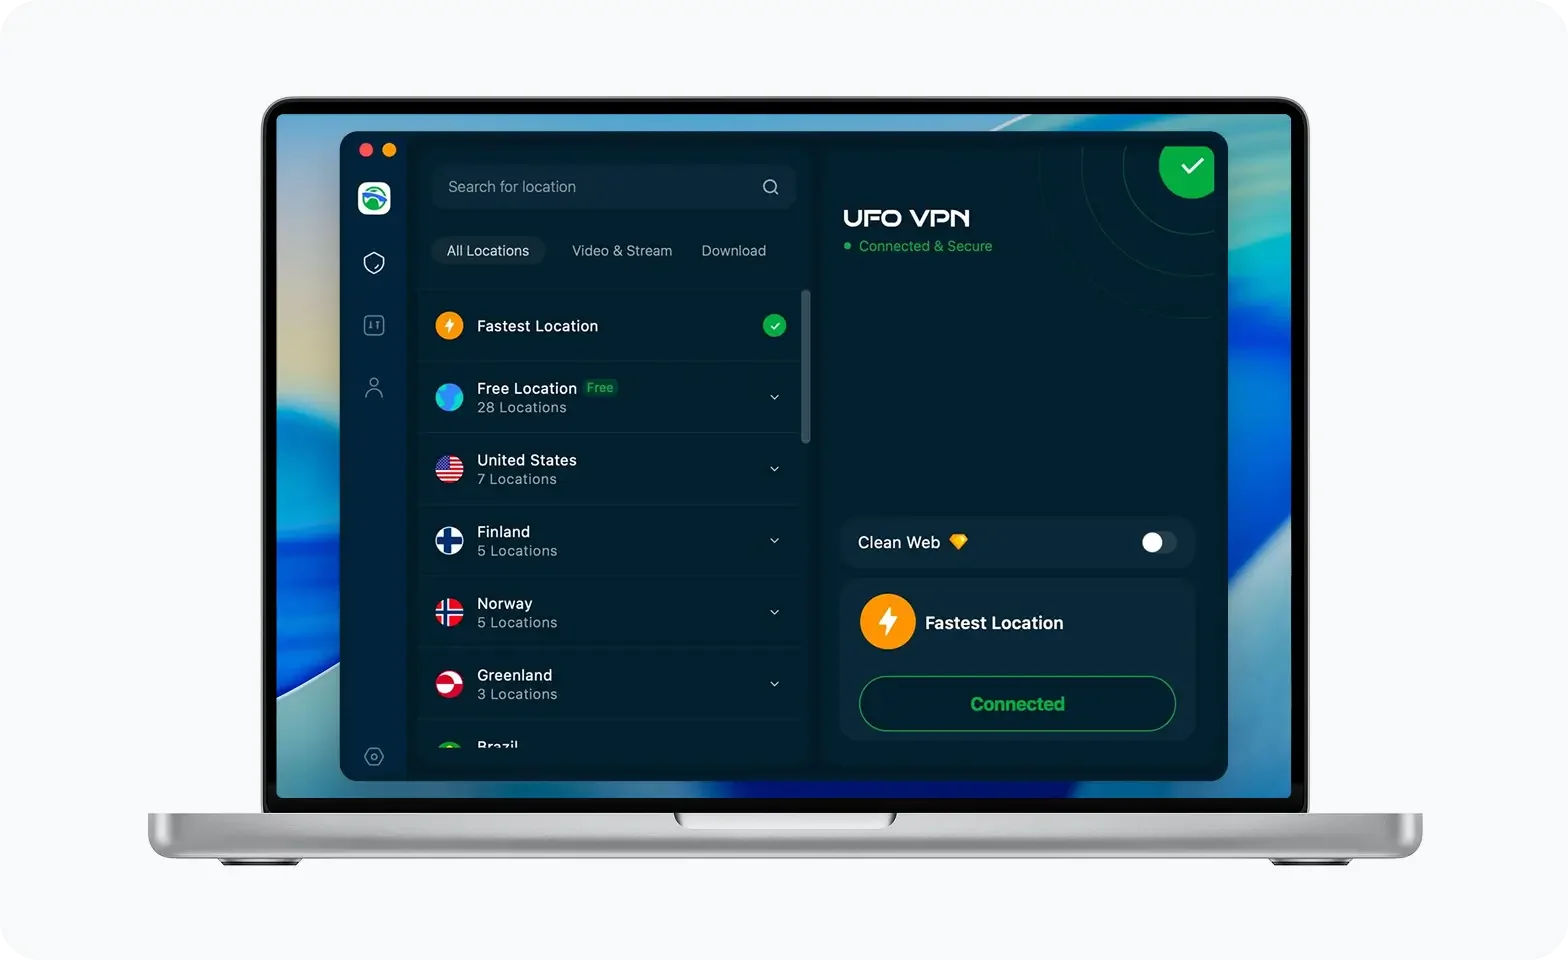 Step 3
Unlock Pro Features
If you have upgraded to premium plan , feel free to enjoy premium servers for 4K streaming and advanced features like Kill Switch, Split Tunneling, and gaming acceleration. Your Mac is now fully optimized and protected. Inaddition to basic functions, we recommend you turn on
 Step 4
Verify Your IP Now
Use UFO VPN's " What is My IP " feature to see your new IP and location. This confirms your connection is secure, anonymous, and ready for safe browsing online anywhere at any time.
 Step 1 Download and install UFO VPN for iPhone/iPadDownload this free iOS VPN via official link or App Store. Once installed, launch the app to get started. UFO VPN is now trusted by over 2 million users worldwide with optimzed service.
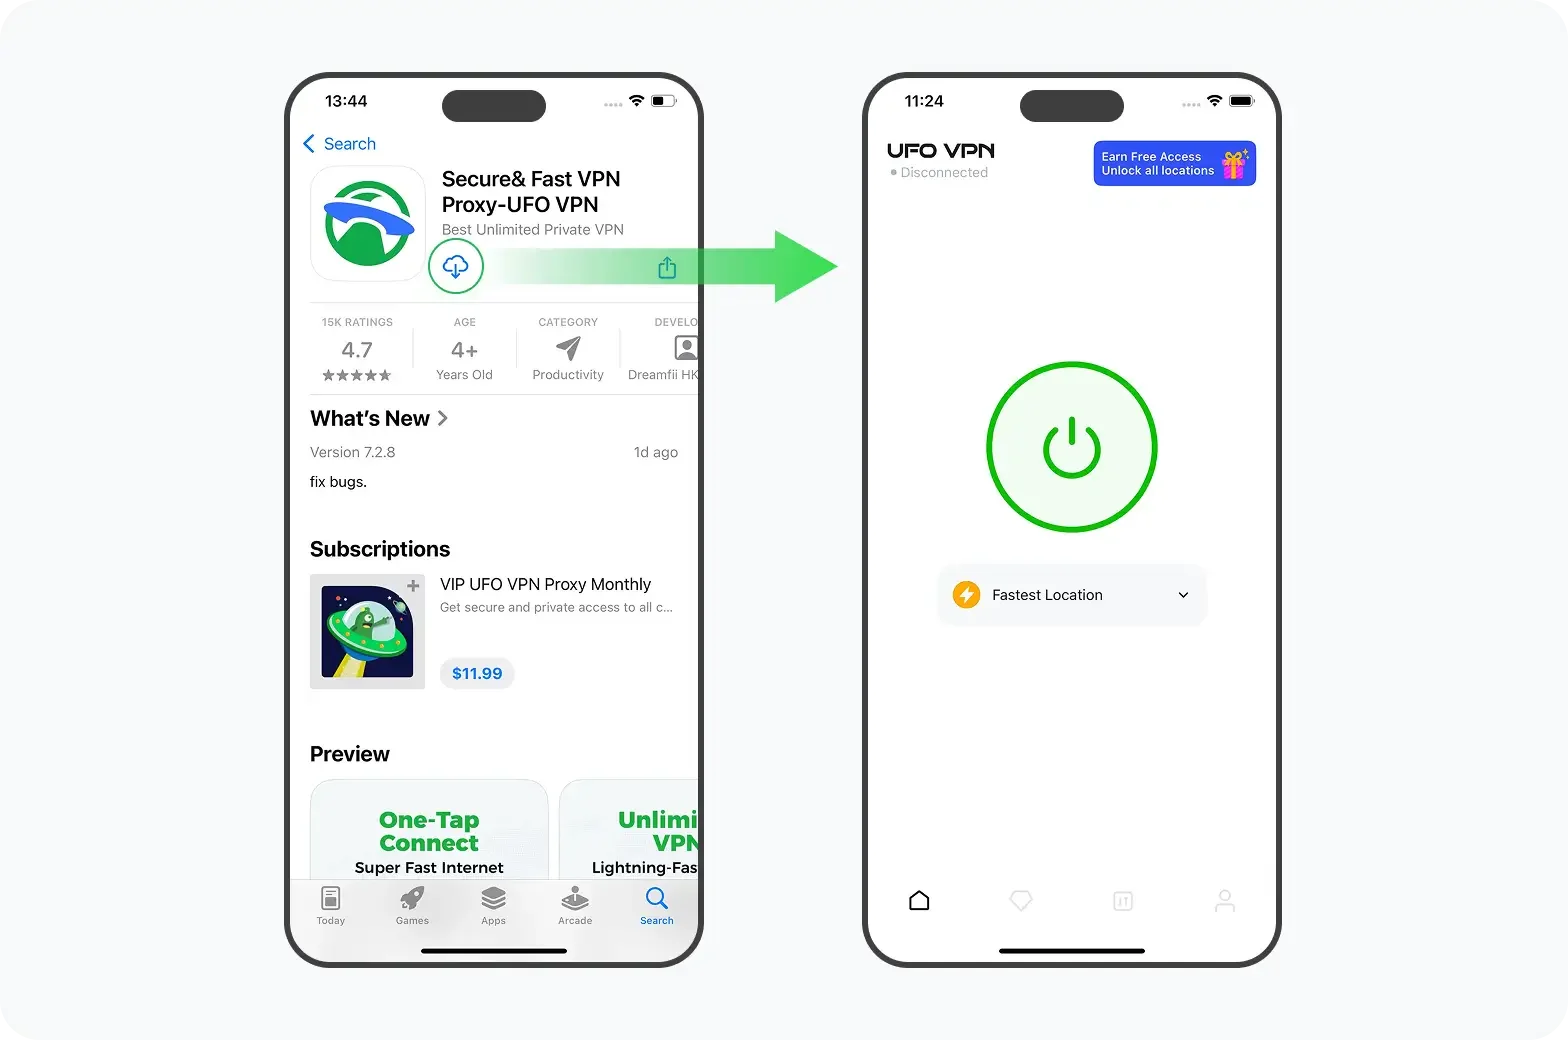 Step 2 Select a Perfect ServerHit "Connect" button for the fastest server near you instantly. Or you can choose a favorite location/platform from the server list manually for full control. UFO VPN is an all-in-one VPN companion for gaming, streaming, social media, and AI tools.
 Step 3 Lookup IP and Enable Pro FeaturesNow you can check your current IP via built-in IP lookup tool. Pro features in premium plan offer you premium servers, blazing speeds, Kill Switch, Split Tunneling, and Multi-device login, so you can protect your iPhone, iPad, and other Apple devices all at once.
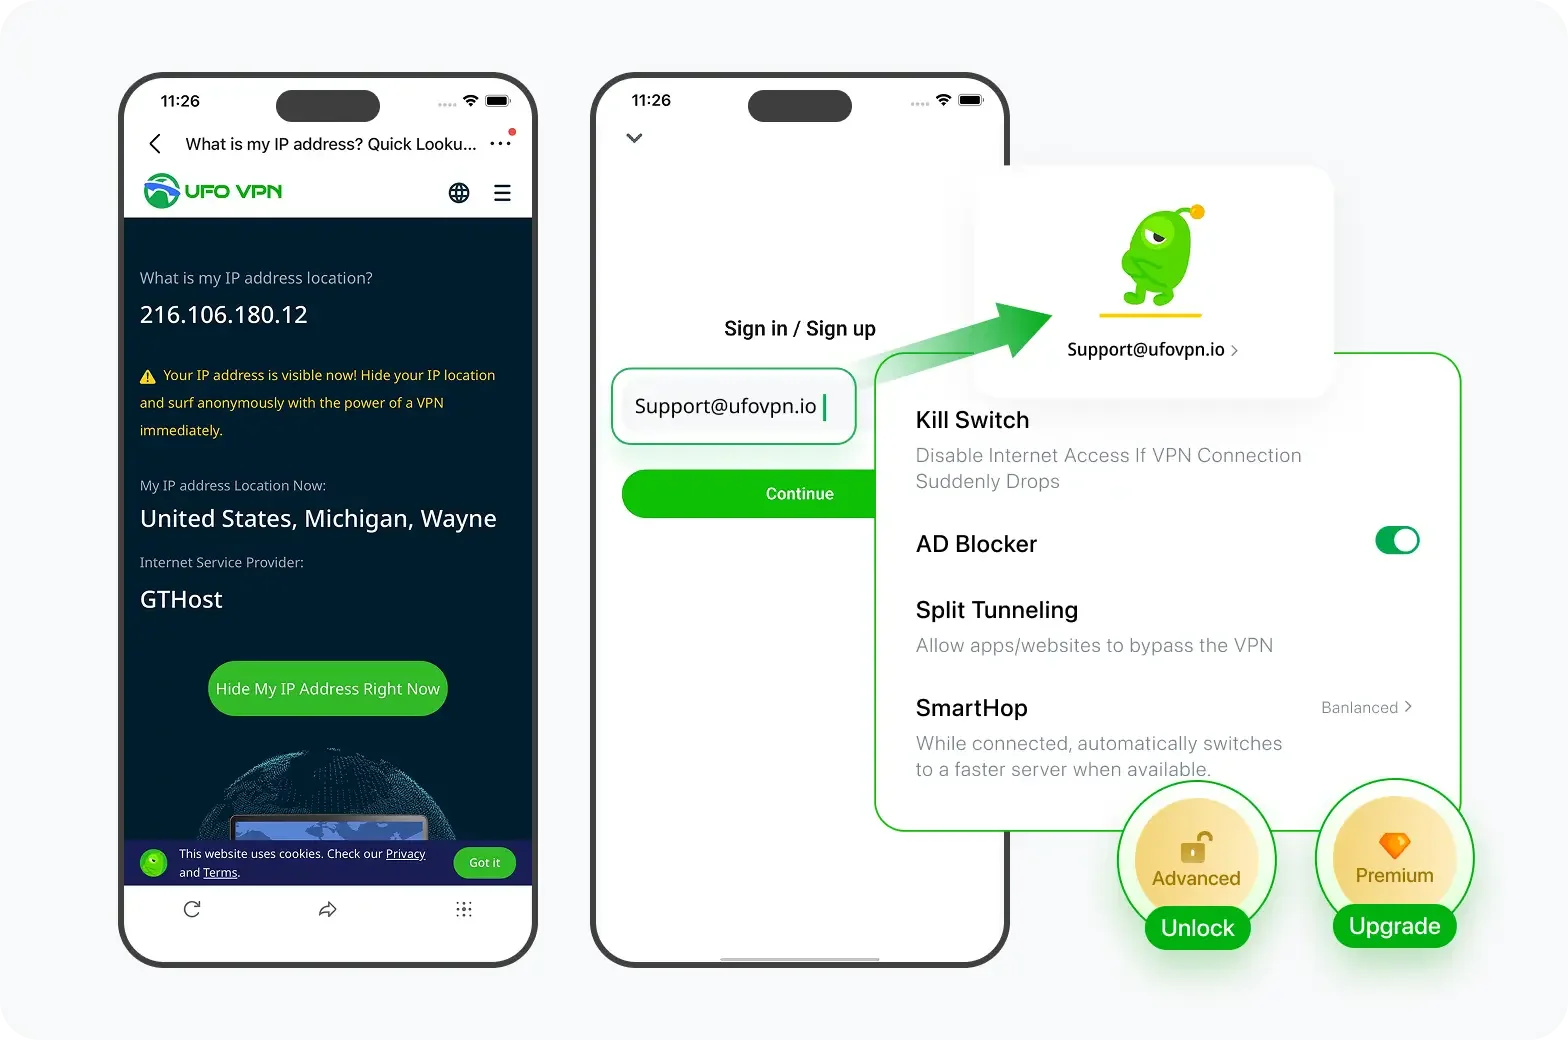 Step 1 install UFO VPN for AndroidGet free Android VPN from offcial website or Google Play Store. Follow the instructions for easy download. Then open the app and get ready to surf safely.
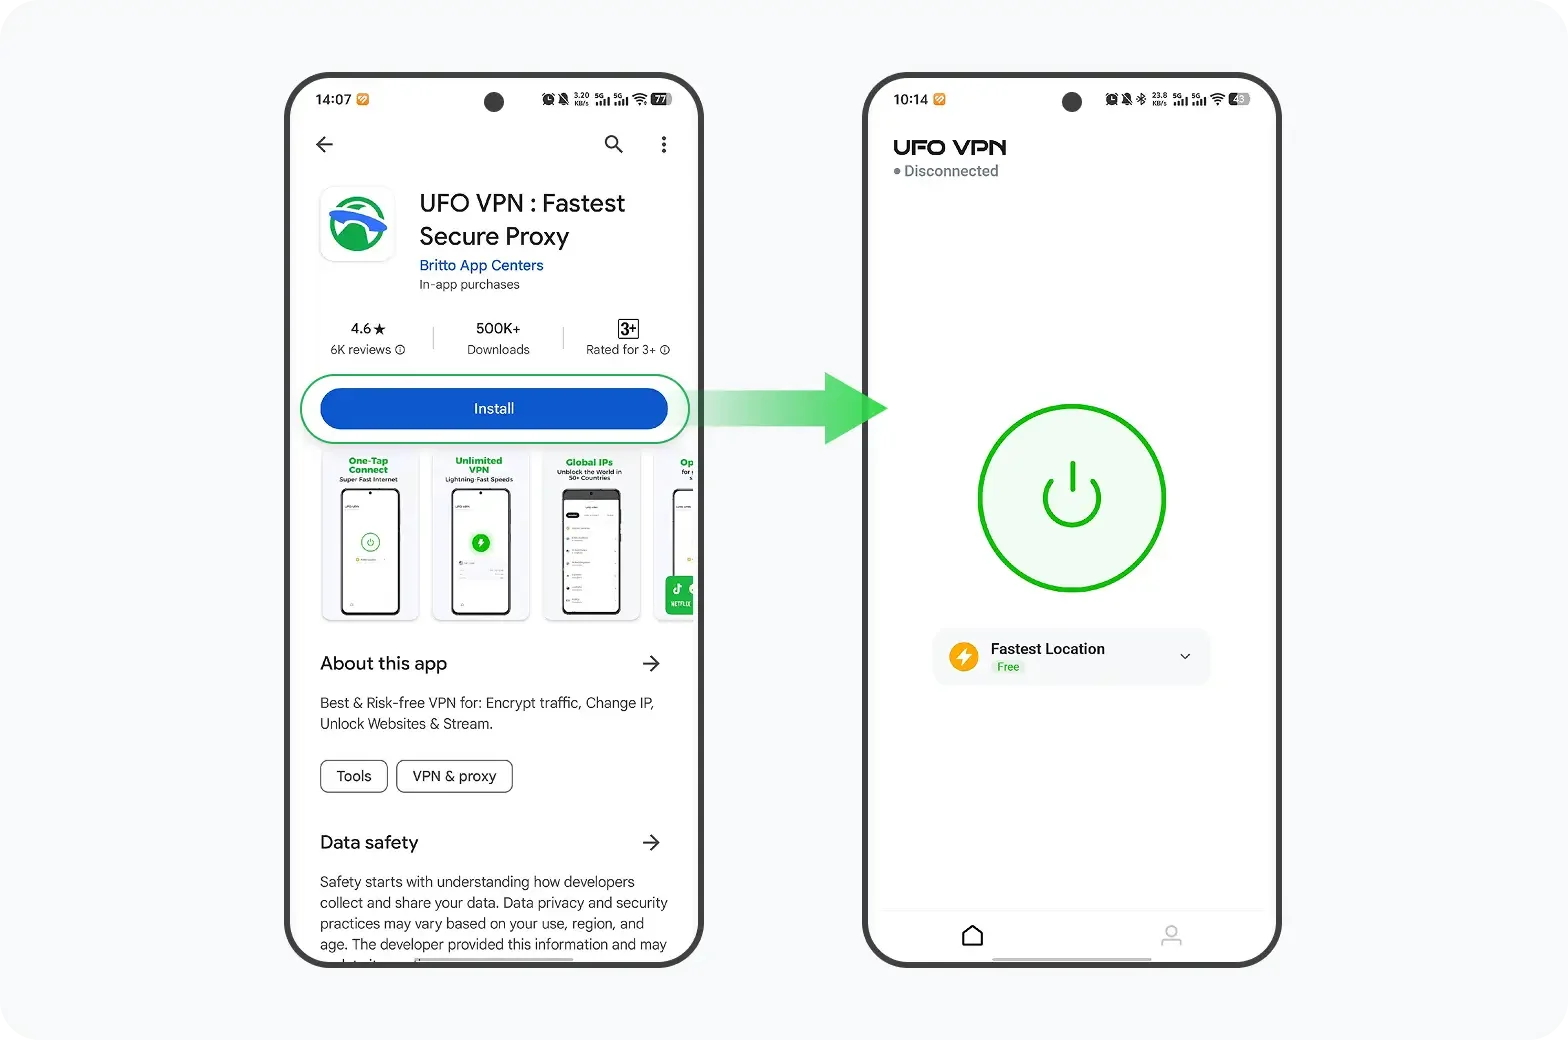 Step 2 Choose Your Ideal ServerUFO VPN is an all-in-one powerhouse for gaming, video streaming, social apps, and AI tools. The"Connect" button links you to the fastest server instantly, or you can choose among the server list manually via Location/ Video&Stream/Games for easy access.
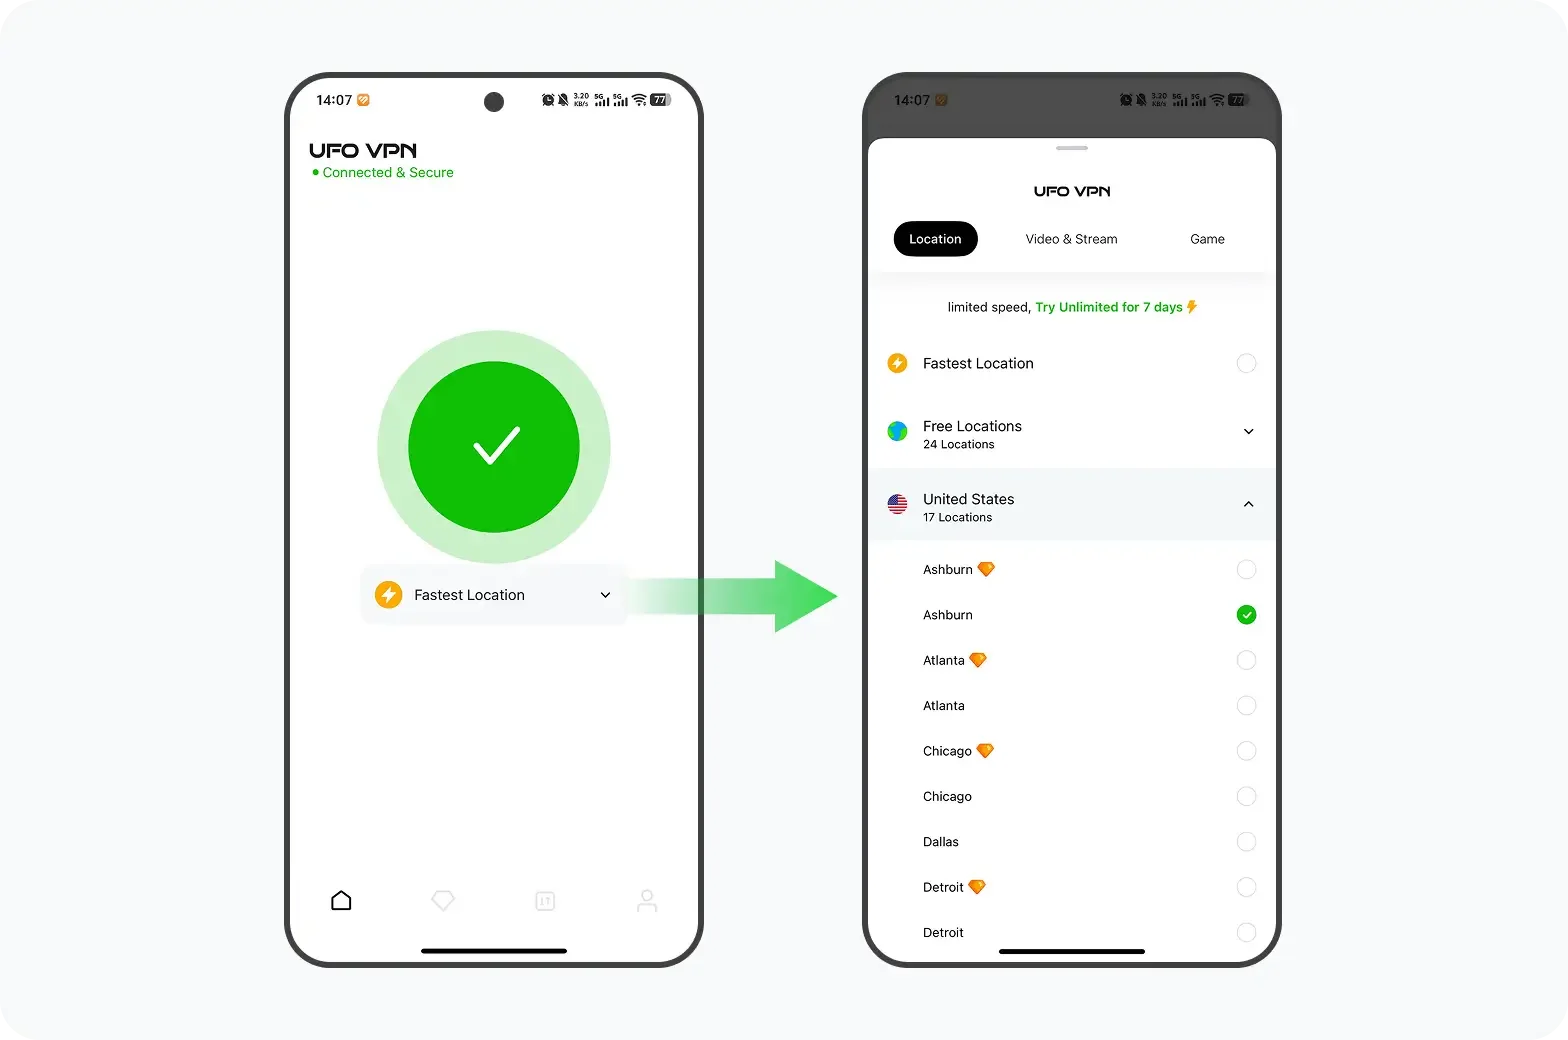 Step 3 Power Up Pro FeaturesPro users can look up current IP via built-in "What Is My IP" feature, and unlock premium features like 4K servers, turbo speeds, Kill Switch, Split Tunneling, and Multi-device login, keeping all your Android phones, tablets, and other devices safe at once.
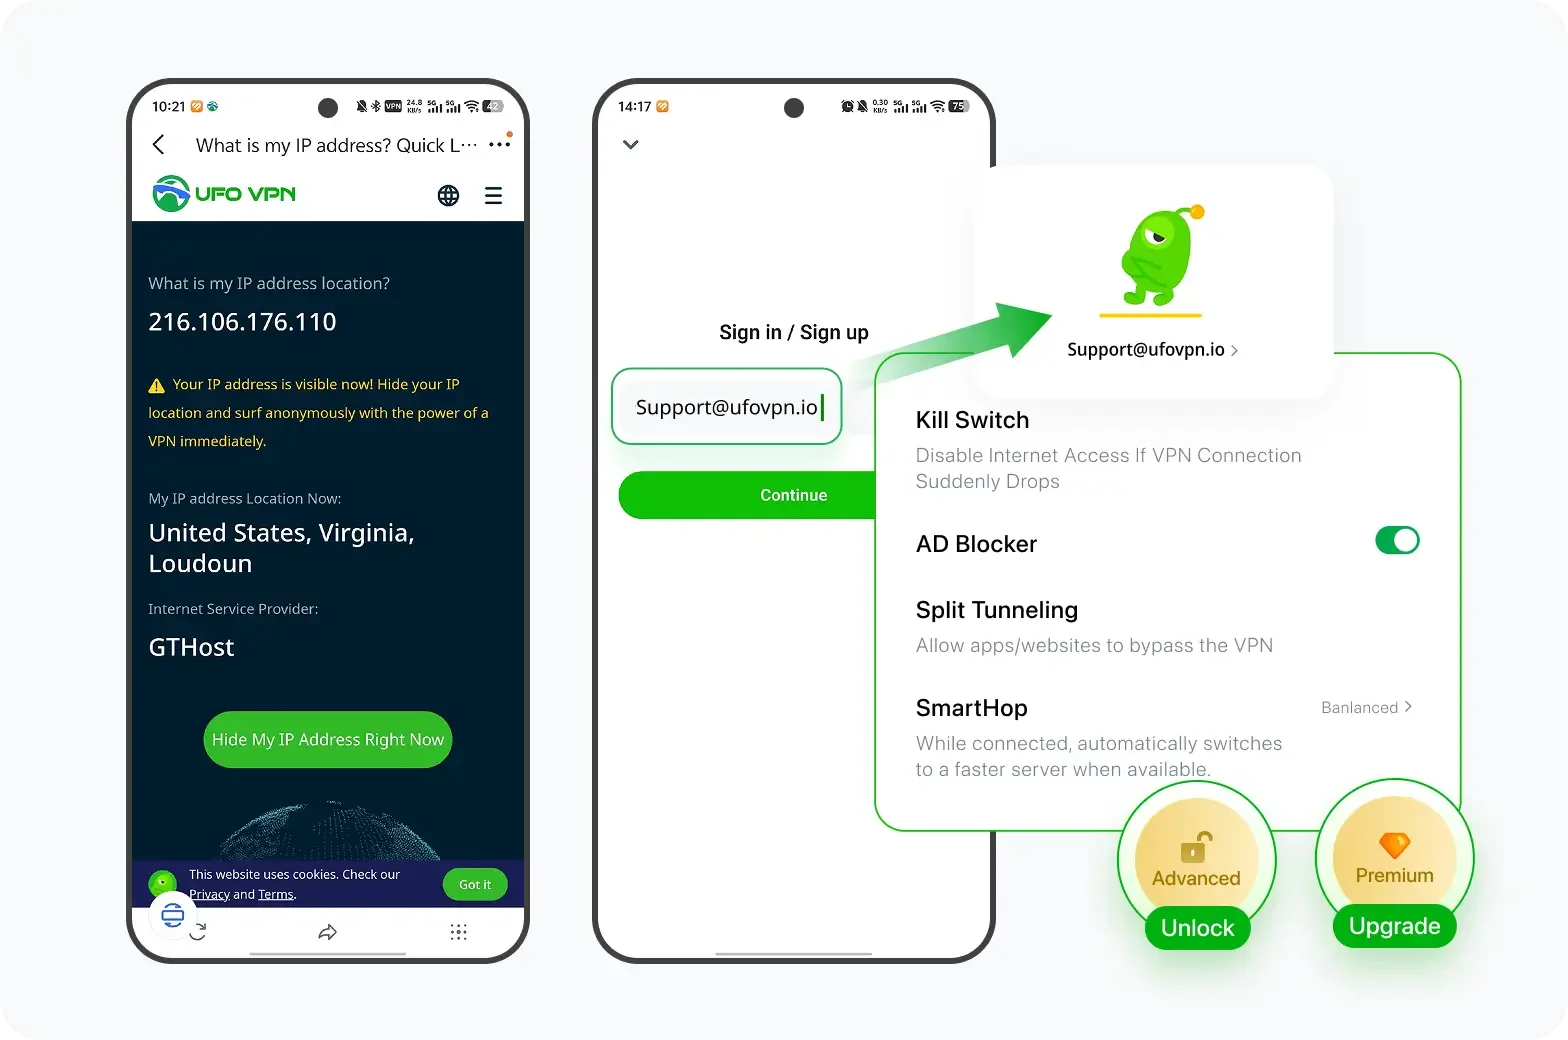
-
Enable Leak Protection Features
-
In UFO VPN’s settings, turn on the Kill-Switch to block all internet traffic if the VPN disconnects unexpectedly.
-
Activate DNS Leak Protection so that all DNS queries go through the VPN tunnel.
-
-
Connect to a P2P-Friendly Server
-
From the server list, select one labeled for torrent or P2P use. These servers are optimized for file sharing and maintain high upload/download speeds.
-
-
Launch BitLord Under VPN
-
Always start free proxy VPN - UFO VPN and confirm you’re connected before opening BitLord. This ensures every peer connection in BitLord routes through the VPN.
-
-
Optional: Bind BitLord to the VPN Interface
-
On Windows, open Windows Defender Firewall → Advanced settings → Outbound Rules.
-
Create a rule blocking BitLord unless it uses the VPN adapter. This prevents accidental unprotected use.
-
-
Verify Your Anonymity
-
Load a small IP-check torrent in BitLord or visit an IP leak-test website.
-
Confirm the IP address shown matches your chosen UFO VPN server, not your real IP.
-
If you need a VPN for mobile, we think free VPN for Android - UFO VPN (with VPN APK) and free iPhone VPN - UFO VPN for iOS are also worth checking out!
FAQs
Why is BitLord not working after update?
Updates can reset settings or introduce compatibility issues. Try reinstalling and resetting preferences.
Does running BitLord as admin help?
Yes—administrative rights let BitLord open ports and write files without restrictions.
How do I know if my VPN is protecting BitLord?
Use an IP-check torrent and a DNS leak test; both should show your VPN IP and DNS servers.
What’s the best port range for BitLord?
Any high-numbered port (e.g., 49160–65535) is fine; avoid common service ports.
Can I use UFO VPN with other torrent clients?
Absolutely—steps are identical for μTorrent, qBittorrent, and others.
Why isable IPv6 when using BitLord?
Not all VPNs fully handle IPv6, which can leak your real IP. Disabling prevents that.
Does clearing DHT cache erase torrents?
No. It only resets peer-discovery data; your actual downloads remain intact.
How often should I update BitLord?
Check for new releases every 2–3 months to get bug fixes and performance improvements.
My torrents still stall—what else can I try?
Switch trackers, add magnet links from different sources, and ensure you have enough seeders.
Is there an alternative if BitLord keeps failing?
Consider lightweight clients like μTorrent or qBittorrent (both also work seamlessly with UFO VPN).