



Why Some Apps Are Not Available in My Country on the App Store?
Have you ever searched for an app on the App Store only to find that it doesn't appear in the results? This usually doesn't mean the app has been removed. It may simply be unavailable in your current App Store region.
Here are some common reasons:
- Regional availability — Developers may release an app only in selected countries or regions.
- Local regulations — Some apps or services may need to follow different laws and regulations in different markets.
- Licensing restrictions — Streaming, music, sports, and other content may have different distribution rights by region.
- Business decisions — Developers may choose not to offer their apps in certain markets.
- Different App Store catalogs — Each country or region has its own selection of apps, prices, and digital content.
If an app isn't available in your current region, changing your Apple Account country or region can make the app appear in the App Store. However, you should complete the required account preparations before switching.
What Happens After You Change the Apple ID Country?
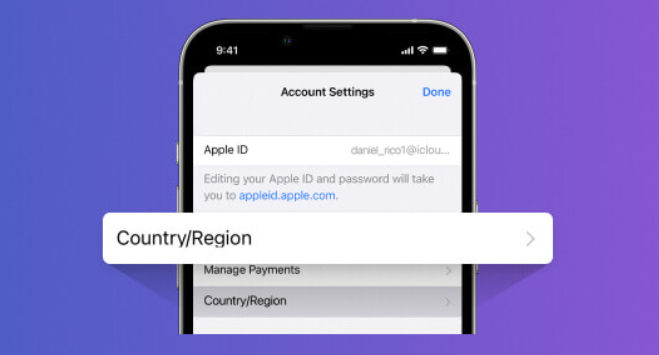
Before changing your Apple ID country, it’s important to know how this action affects your account. Your Apple ID itself remains the same, but some settings and services will change.
After you change your Apple ID country:
- Your App Store region will change → You will see apps, prices, and content available in the new country.
- Your payment methods need to match the new region → You may need a local credit card, debit card, or payment option.
- Some apps and media may become unavailable → Content not offered in the new region may no longer appear in your purchases.
- Your subscriptions may be affected → Some subscriptions need to be canceled before switching regions.
- Your Apple Music and Apple TV content may change → Available songs, shows, and movies depend on the new country.
- Your Apple ID balance will not transfer → Any remaining store credit must usually be spent before changing regions.
Key Things to Do Before You Begin
Changing your Apple ID country is not difficult, but Apple requires you to complete some preparations first. Following these steps can help avoid errors during the process.
1. Get a New Apple ID in Another Country
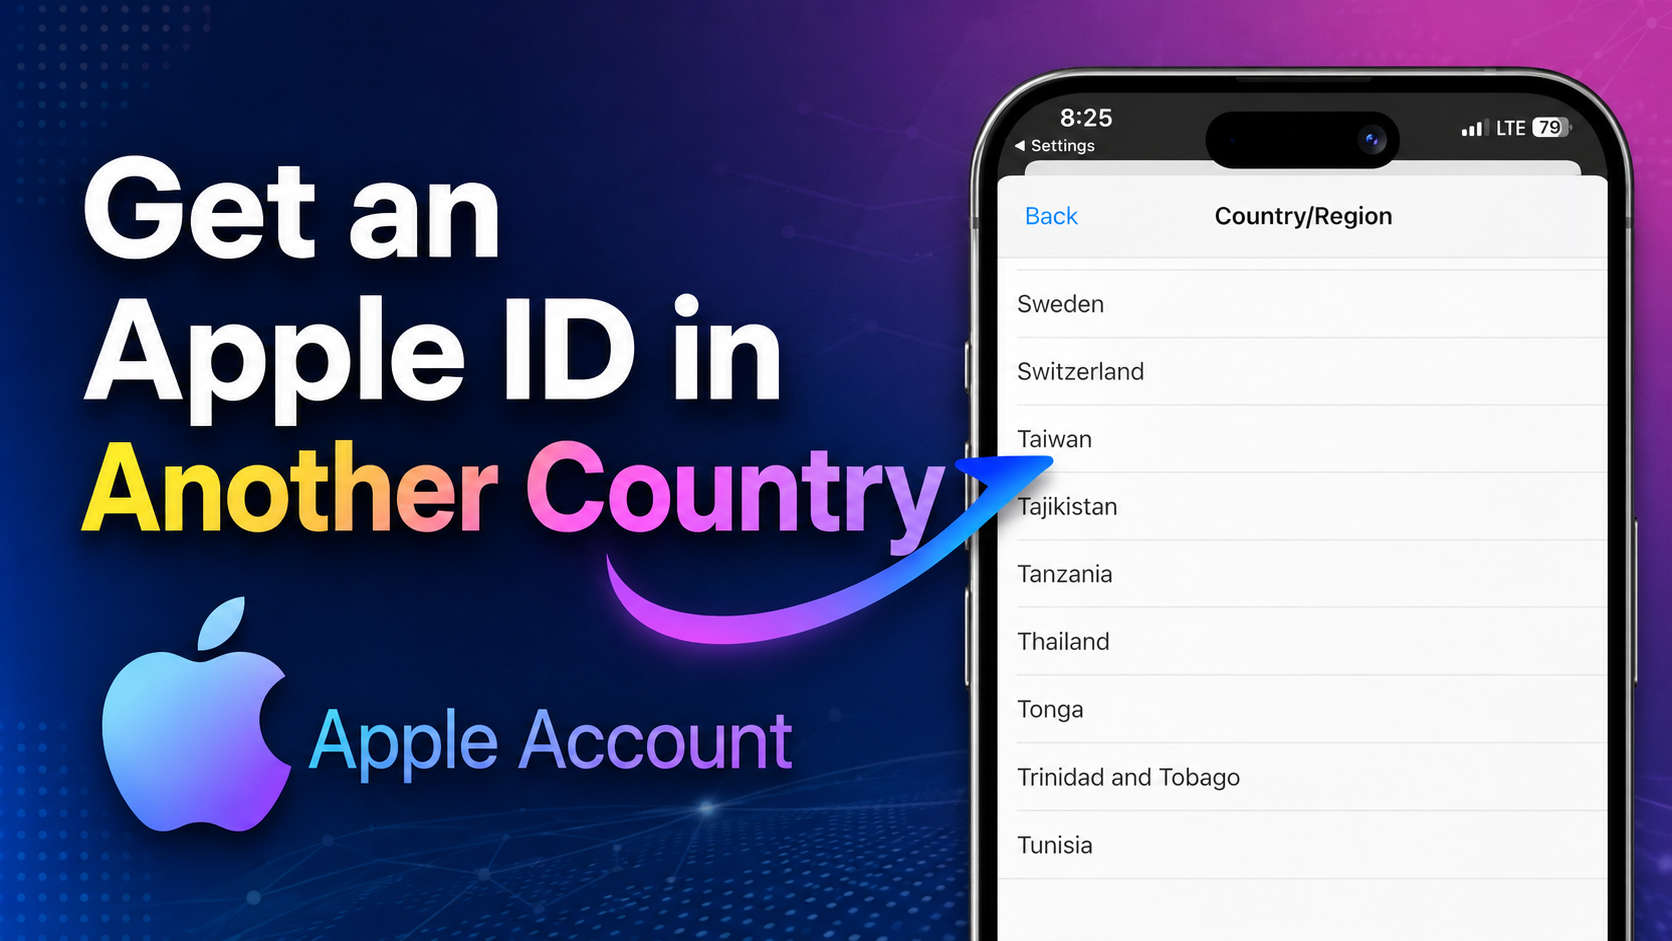
If you want to download apps that are only available in another country, preparing a new Apple ID for that region can make the process easier. You can use this account only for App Store downloads while keeping your main Apple ID for iCloud and personal data.
👉 Method 1: Create Your Own Apple ID (Safest)
This method gives you full control over the account. You only need a fresh email address and a phone number (your existing one works fine).
🎯 Quick Steps
Step 1. Visit Apple's official sign‑up page
Open a browser (preferably in private/incognito mode) and go to: https://appleid.apple.com/account
Step 2. Fill in your details
Provide your name, date of birth (must be over 18), a new email address (not previously used with Apple), and your phone number (any country code is accepted).
Step 3. Verify
Enter the verification codes sent to your email and phone.
Step 4. Set a payment method (critical)
After logging in, go to Payment & Shipping. You’ll need a valid billing address in the target country. Use a fake address generator – choose a tax‑free state (e.g., Oregon, Alaska for the U.S.) to avoid sales tax. Popular generators include:
- fakeaddressgenerator.com – generates random realistic addresses.
- fakenamegenerator.com – provides complete identity data (address, phone, etc.).
When signing up, select your desired country/region immediately (e.g., United States). If the App Store later shows your old region, you can force the switch by opening a specific link in Safari (search for “change App Store region without payment”).
👉 Method 2: Get a Shared/Temporary Apple ID (Emergency Use – High Risk)
If you just need to download a single app and don’t want to go through registration, you can use a publicly shared Apple ID. However, this comes with serious risks – use only as a last resort.
These websites and repositories often post temporary accounts for various regions (US, Japan, Hong Kong, etc.):
-
GitHub shared projects – e.g.,
janhaas1980-south/Apple-ID-Public-Share– offers daily‑maintained US shared IDs. -
Various tech forums and blogs also share such credentials.
2. Cancel Active Subscriptions
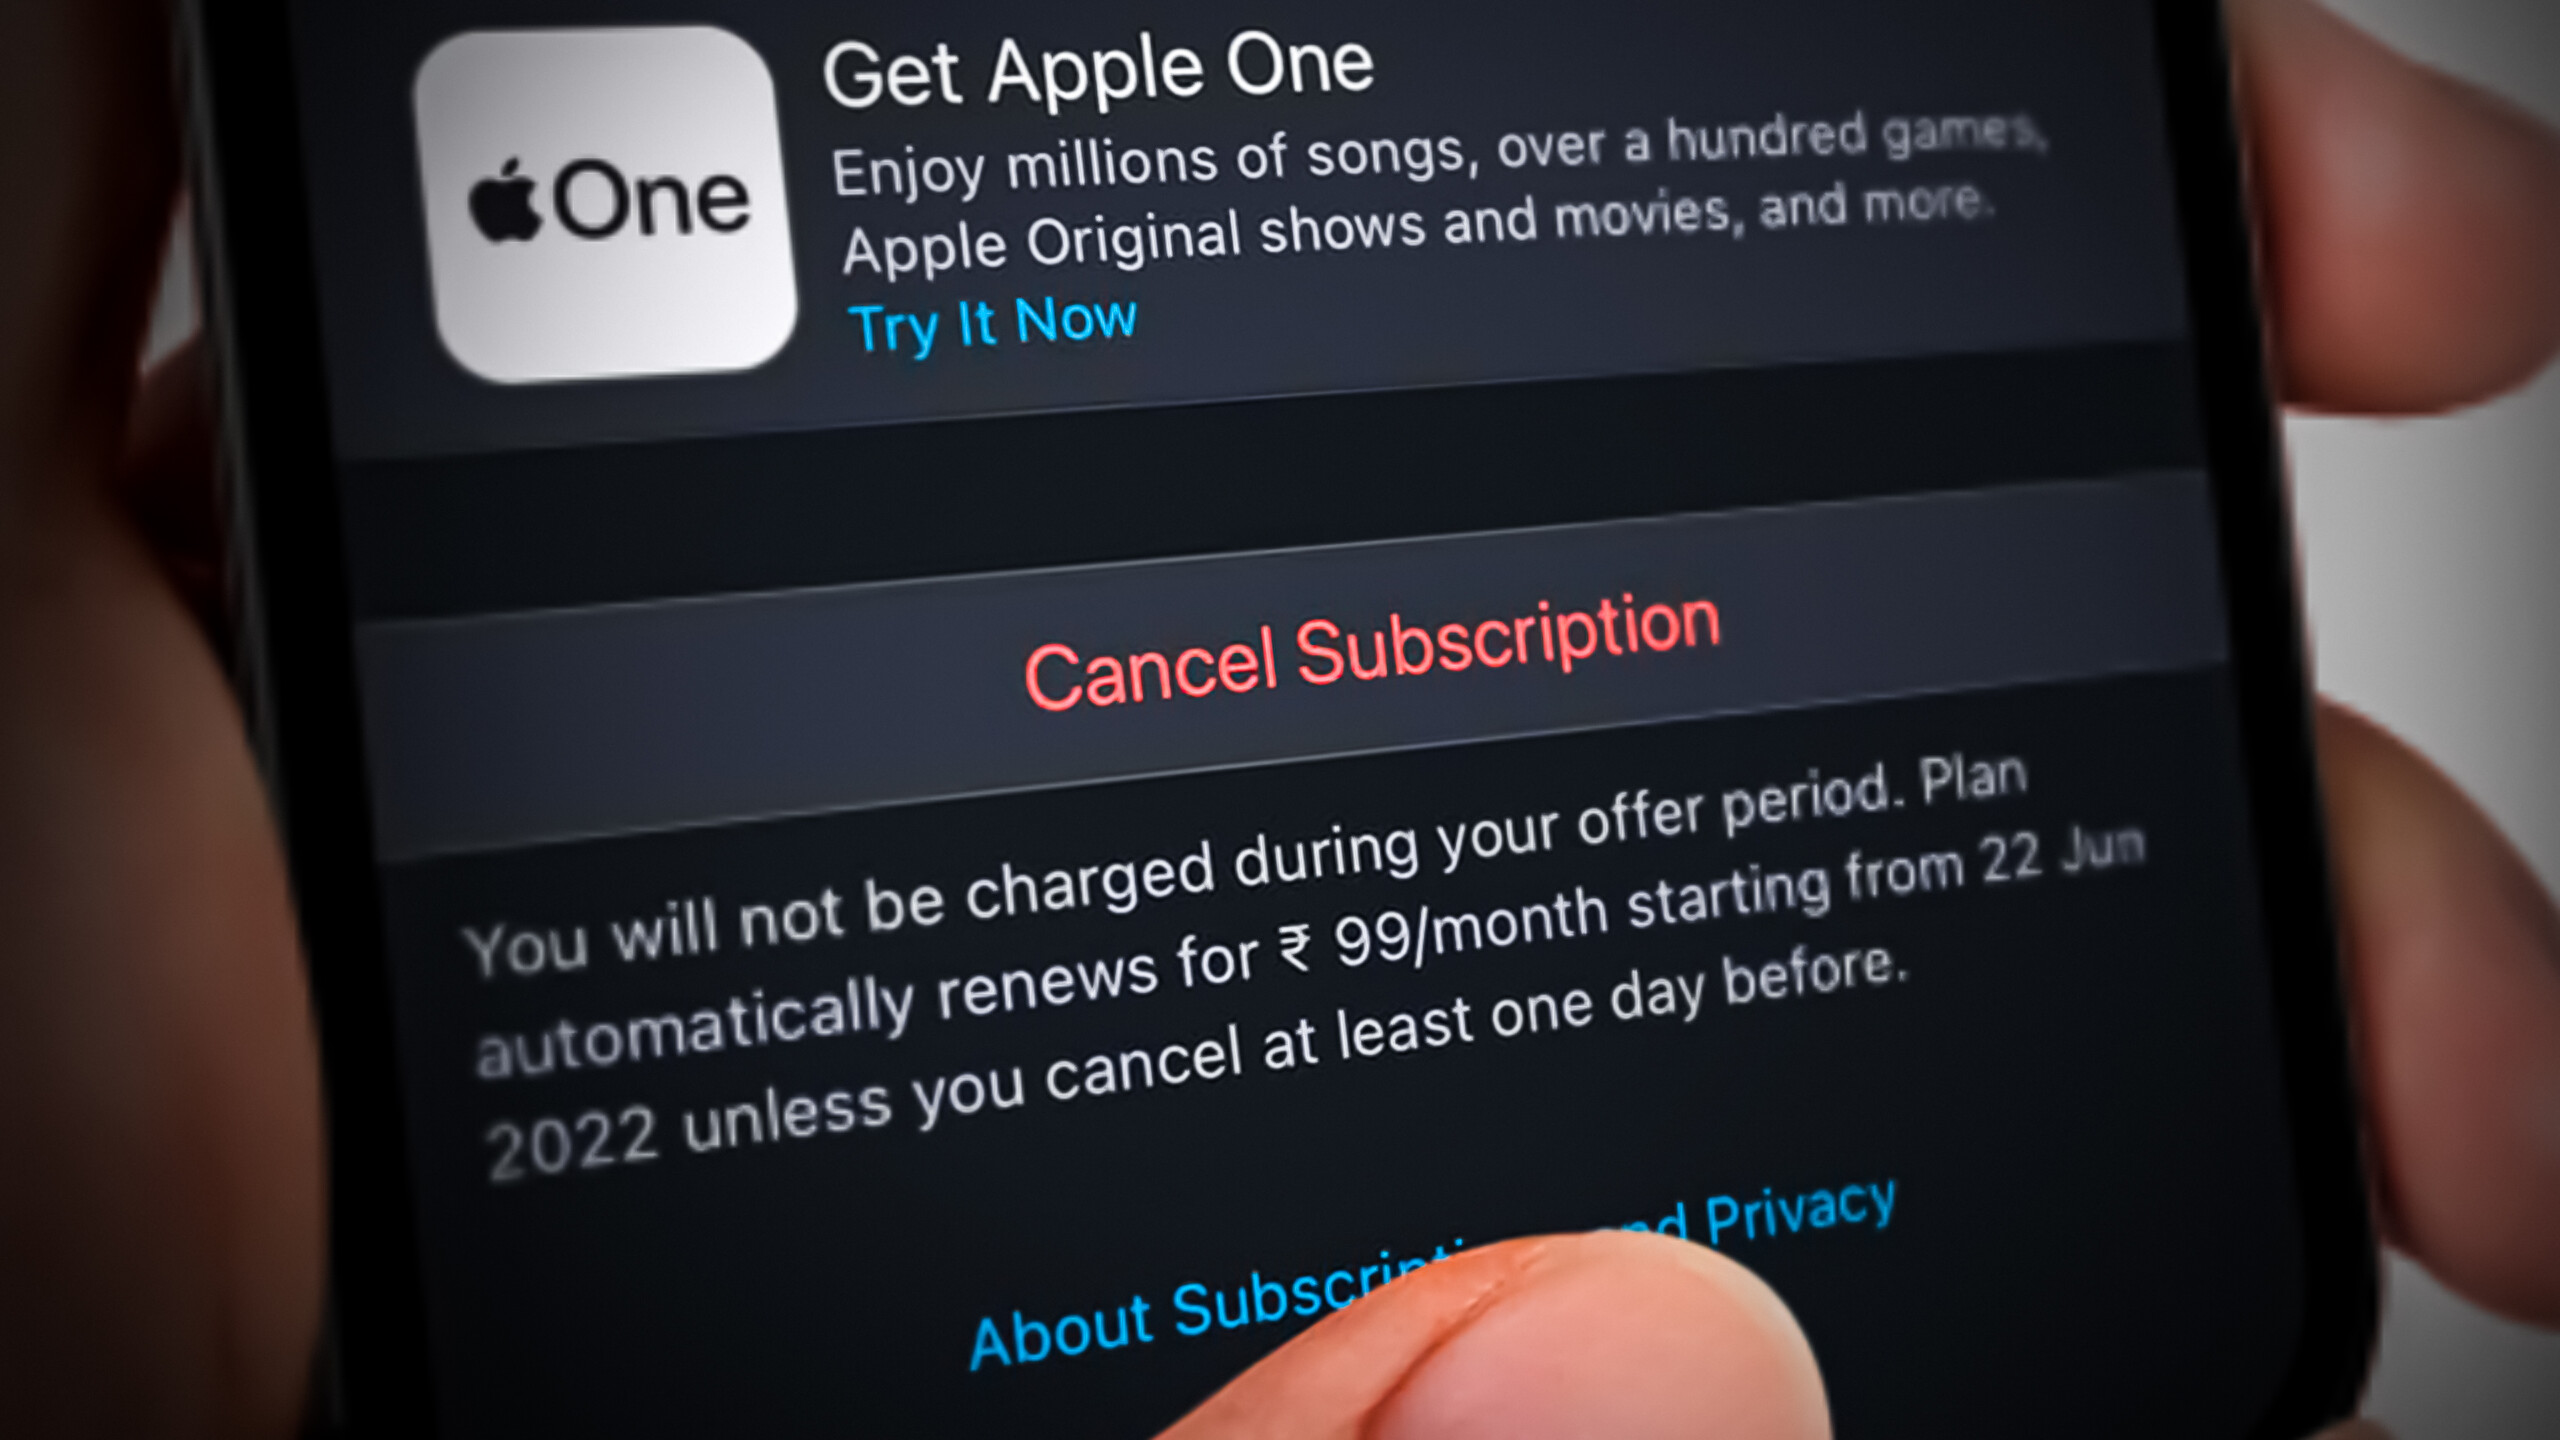
Before changing your Apple ID country, make sure you cancel any active subscriptions linked to your account. Some subscriptions may prevent you from switching regions until they expire.
💡 Key Steps:
- Open Settings → Your Name → Subscriptions
- Review active plans, including:
- Apple Music
- Apple TV+
- iCloud+
- Third-party subscriptions
3. Tap a subscription → Cancel Subscription
3. Check Pending Transactions
Apple may prevent you from changing your country if there are unfinished transactions. Check your account and complete any pending items first.
💡 Key Steps:
✅ Check for:
- Pending refunds
- Pre-orders
- Movie rentals
- Uncompleted purchases
✅ Complete payments or wait for refunds to finish before switching regions.
4. Spend Your Apple ID Balance
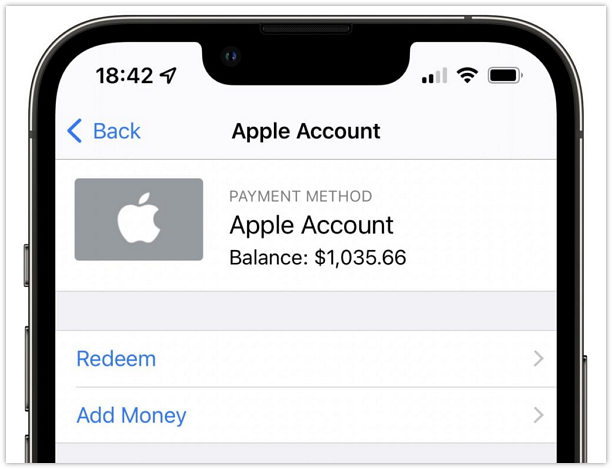
Any remaining Apple ID balance may block you from changing your country. Make sure your account credit is cleared before continuing.
💡 Key Steps:
- Check your balance in App Store → Profile → Account Balance
- Use the remaining credit to buy apps, games, music, or other digital content
- Confirm your balance is zero before switching
5. Leave Family Sharing
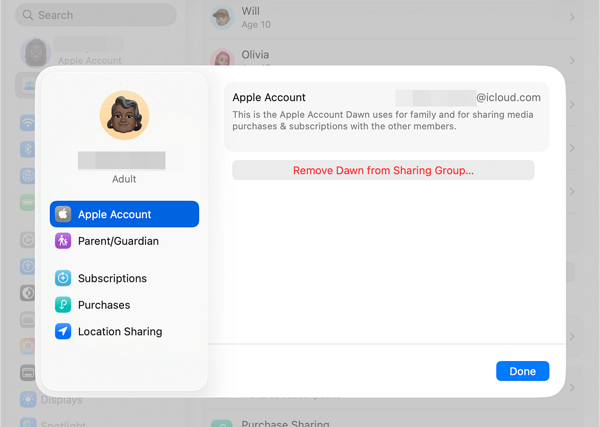
If you are currently using Family Sharing, you may need to leave the group before changing your Apple ID country.
💡 Key Steps:
Go to: Settings → Your Name → Family Sharing → Leave Family
After leaving, wait until the change takes effect before updating your region.
6. Prepare a Payment Method
Each country has different payment requirements. Prepare a valid payment method that matches your new region.
💡 Key Steps:
✅ Check supported payment options in your target country
✅ Add a local credit card, debit card, or payment method
✅ Update your billing address to match the selected region
7. Check Your iCloud+ Plan
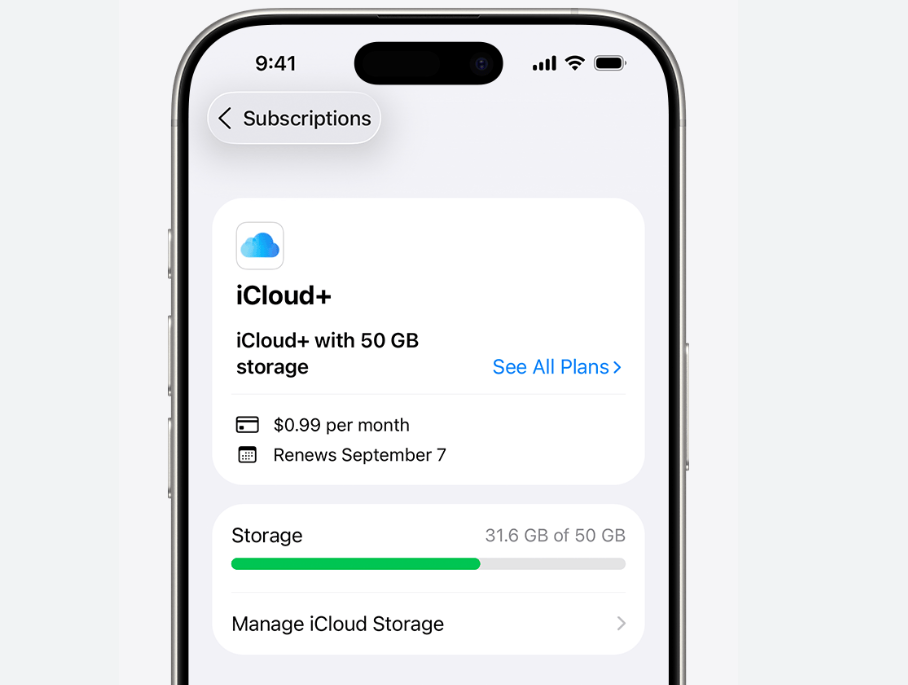
Your iCloud+ subscription may have different prices, storage options, or availability depending on your new country.
💡 Key Steps:
- Review your current iCloud+ plan
- Compare plans and pricing in the new region
- Make changes if your current plan is unavailable
8. Download Important Content
Some apps and digital content may not be available after changing your Apple ID country. Download important items beforehand to avoid losing access. This may include:
📱 Region-specific apps
🎬 Purchased movies or books
🎵 Music playlists
📂 Important files
9. Back Up Your Data
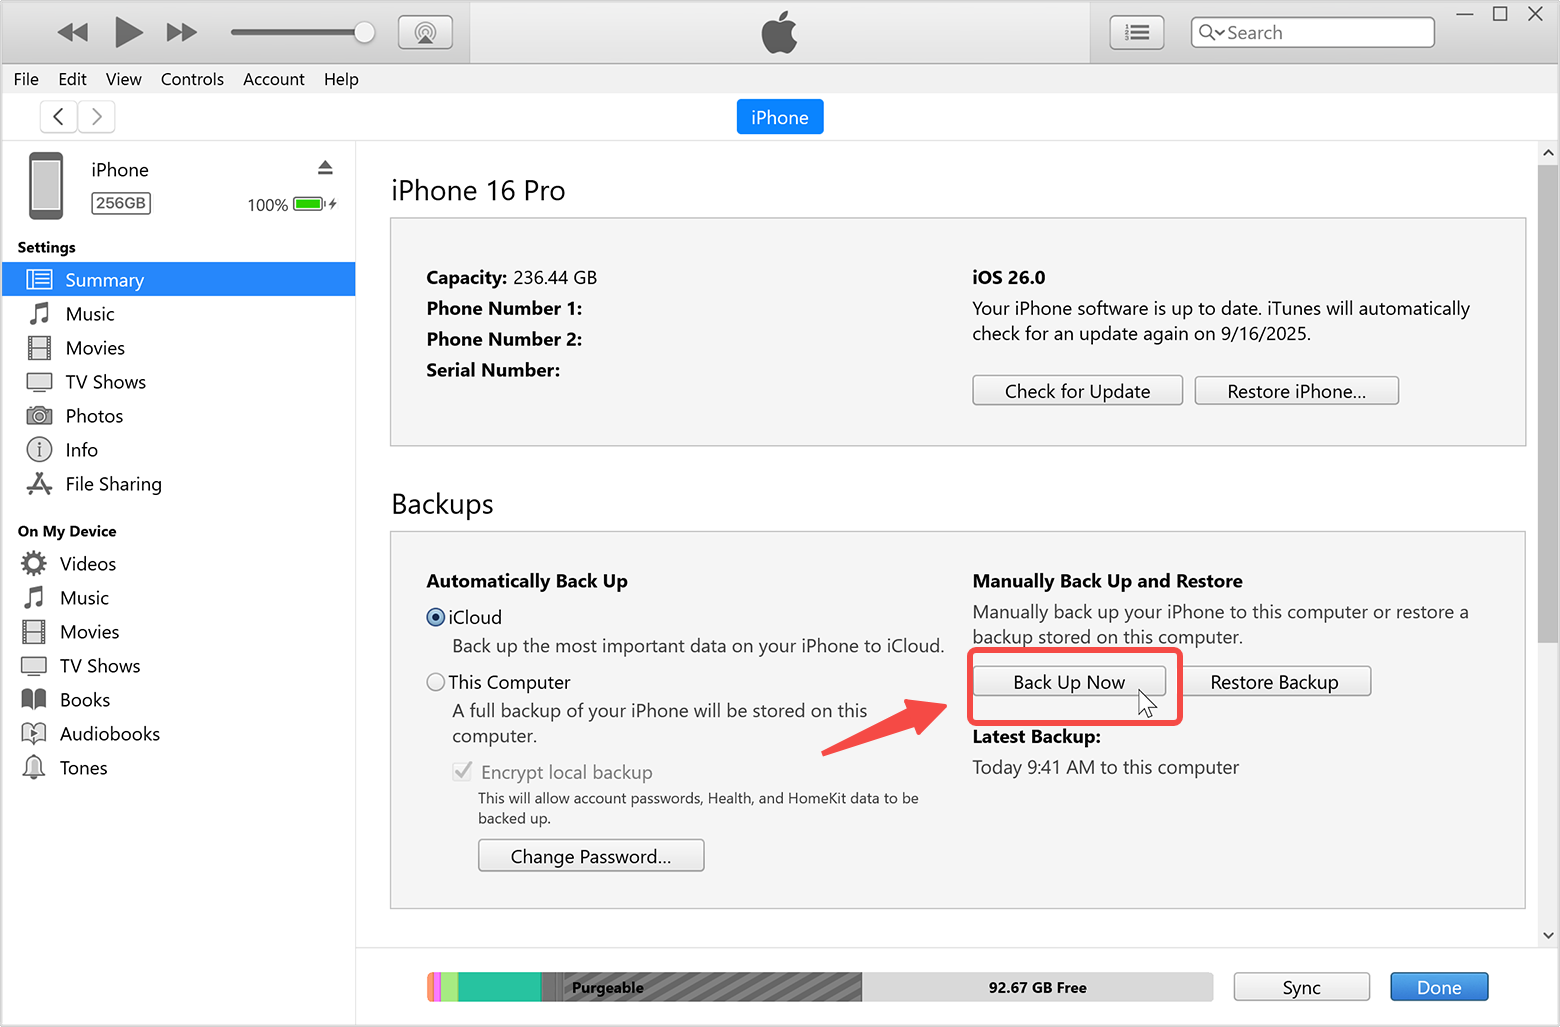
Changing your Apple ID country usually does not remove your data, but creating a backup is still recommended before making account changes.
💡 Key Steps:
- Go to Settings → Your Name → iCloud
- Select iCloud Backup
- Tap Back Up Now
You can also save important files using another backup method.
Some users choose to create a new Apple ID instead of changing their existing region. However, this separates your purchases, subscriptions, and personal data.
If you switch to a new Apple ID account, your previous purchases, iCloud data, and subscriptions will not automatically transfer.
Steps to Switch Your Apple ID to Another Country (via Apple Store)
This section will show you how to change your Apple ID region entirely through the App Store, without manually opening your device's "Settings" app. After completing the change, you will be able to download apps that are not available in your original country.
Change Apple ID Country on iPhone/iPad
If you use an iPhone or iPad, you can change your Apple ID country directly from your device settings. Follow the steps below to update your App Store region.
Step 1: Open the App Store
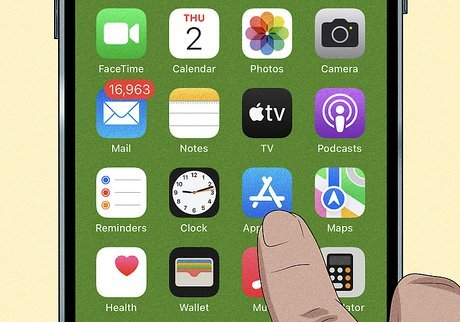
Launch the App Store on your iPhone. Then tap your profile icon in the top-right corner to access your account page.
Enter the App Store only – Never sign in to Settings on your device. Only use the App Store app.
Step 2: Sign Out of Your Current App Store Account
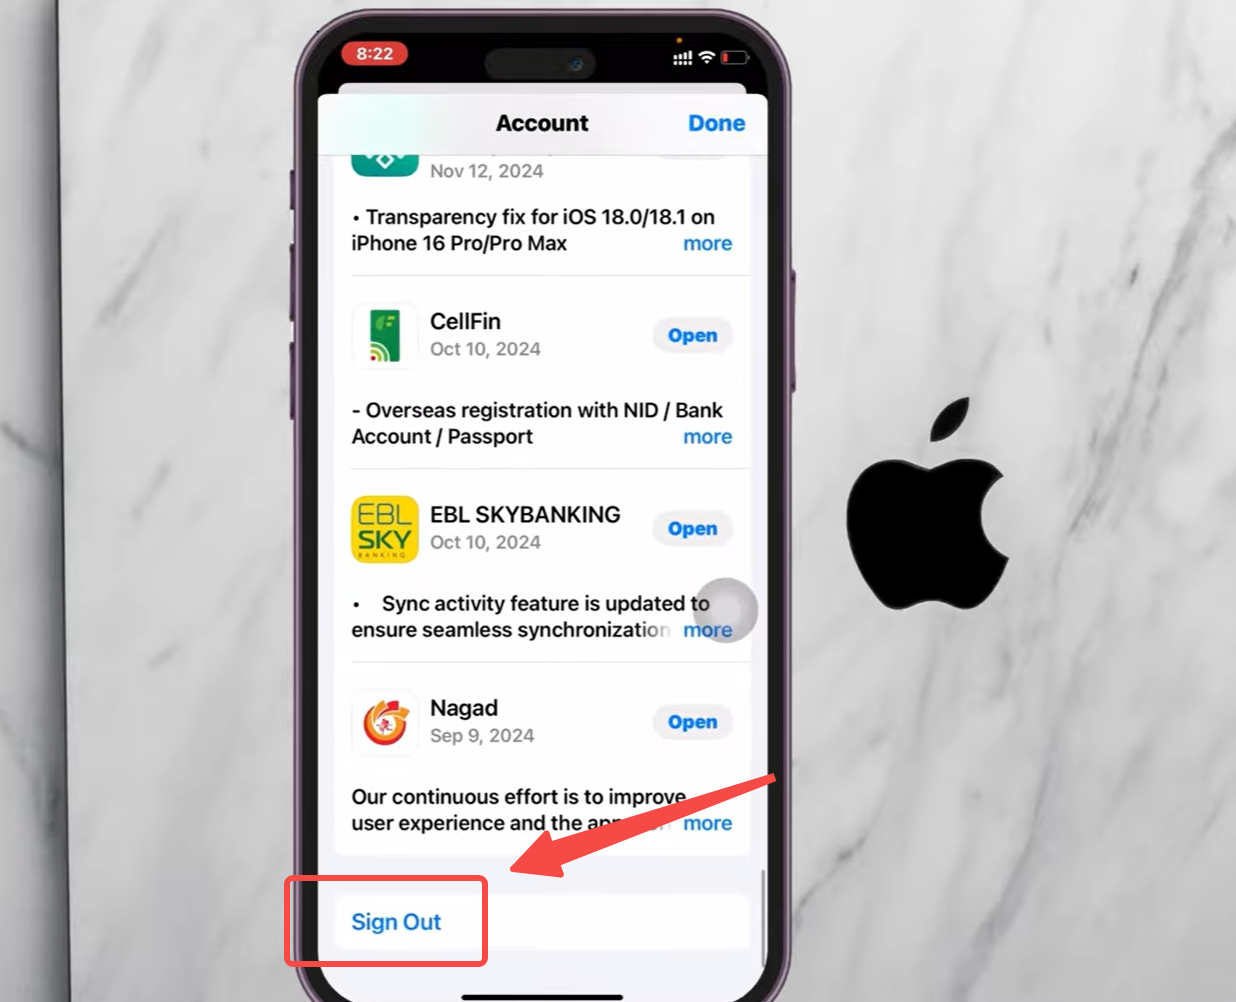
Scroll down to the bottom of the account page.
Tap Sign Out to log out of the Apple ID currently connected to the App Store.
Step 3: Sign In with Another Apple ID
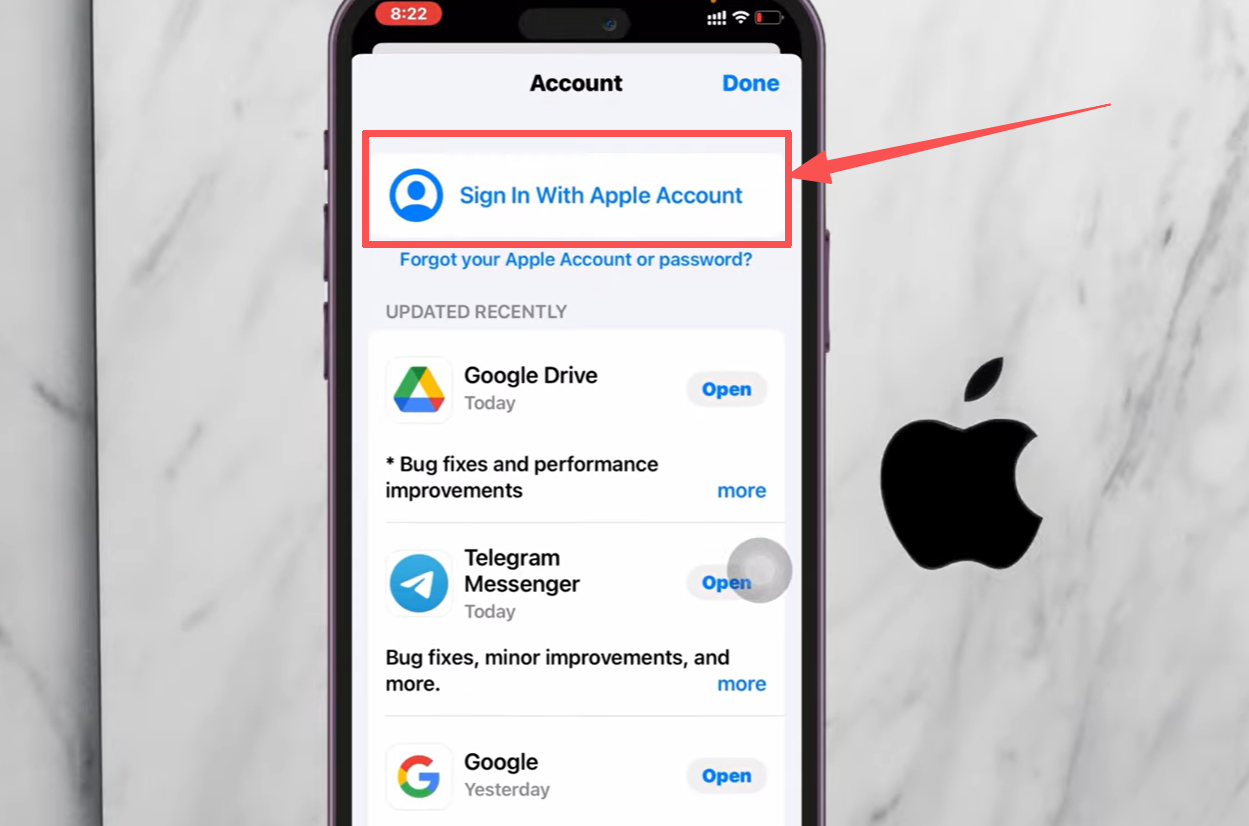
After signing out, return to the top of the account page.
Enter the email address and password of your other Apple ID, then tap Sign In.
During this step, you usually need to skip security upgrades. If you see a prompt about “Upgrade Account Security” or “Two‑Factor Authentication”, tap Other Options → Do Not Upgrade.
Step 4: Download Apps from the New Account
Once signed in, go back to the App Store and search for the app you need.
If the app is available for that Apple ID’s region, you can download it normally.
Change Apple ID Country on MacBook
The steps to switch your App Store account on a MacBook are pretty similar to those on an iPhone or iPad. You can complete the process directly inside the App Store without opening Settings.
Step 1: Open the App Store
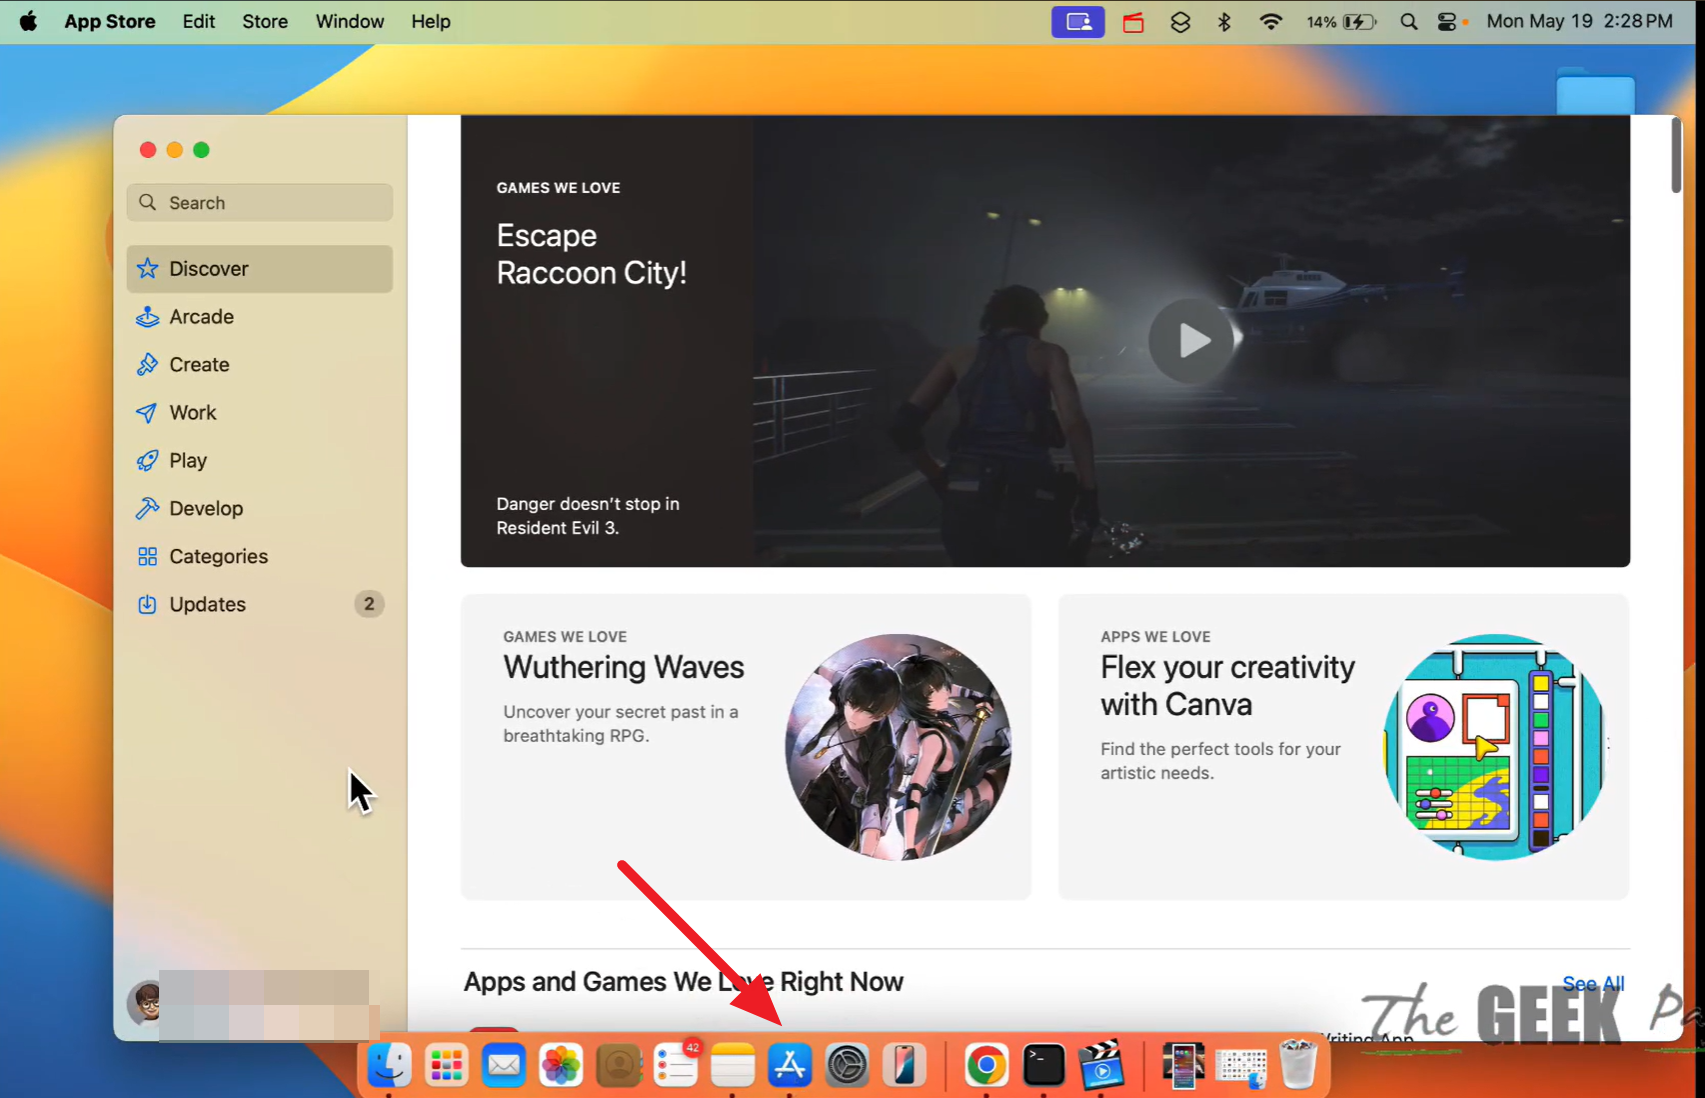
Launch the App Store app on your MacBook.
Step 2: Sign Out of the Current App Store Account
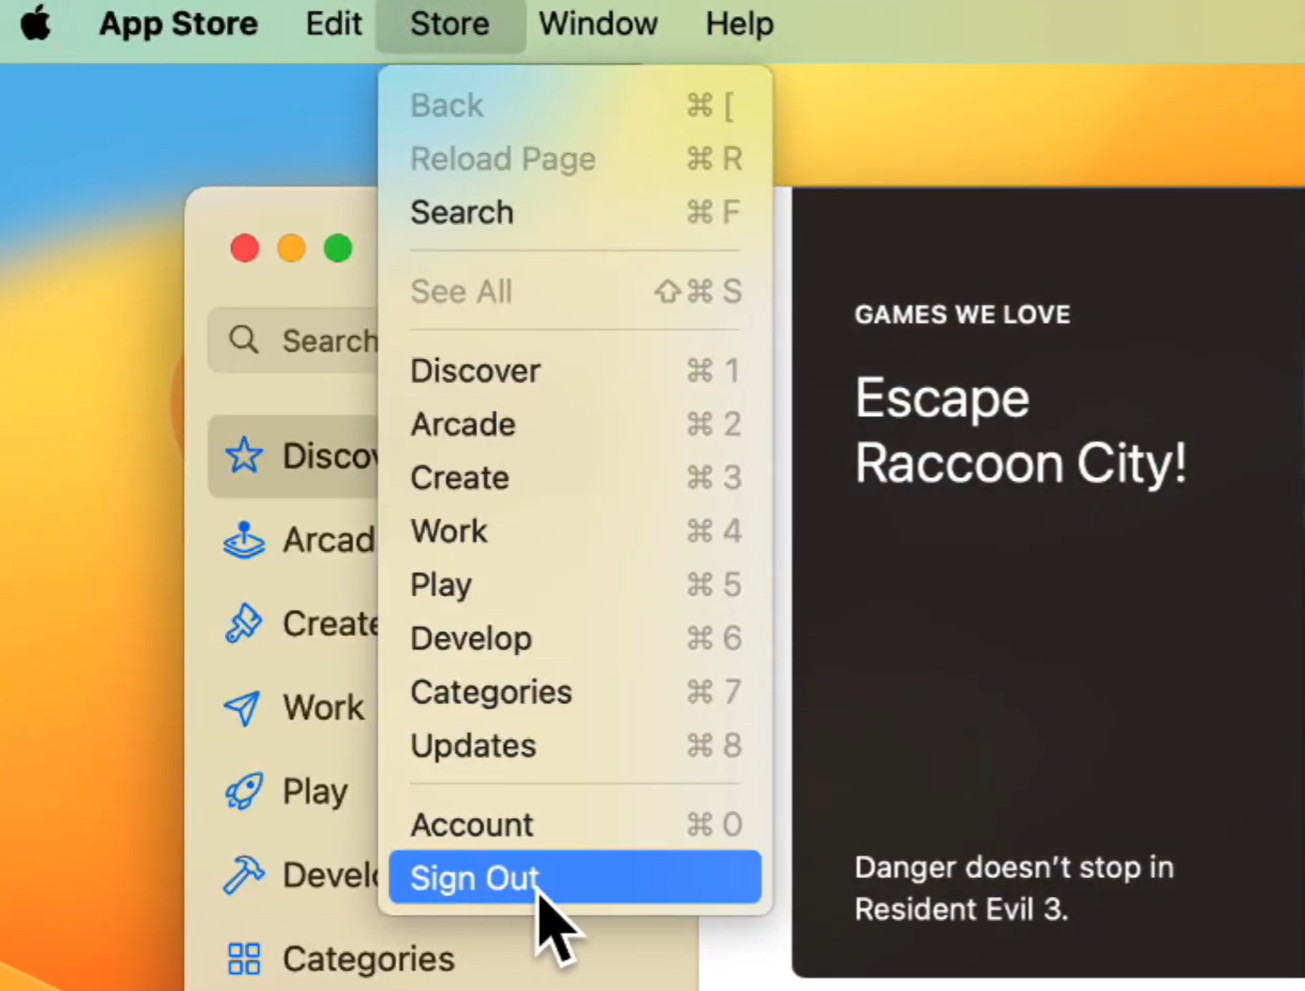
Click your name or profile icon in the bottom-left corner.
Scroll down and select Sign Out to log out of the current App Store account.
Step 3: Sign In with the Apple ID You've Created
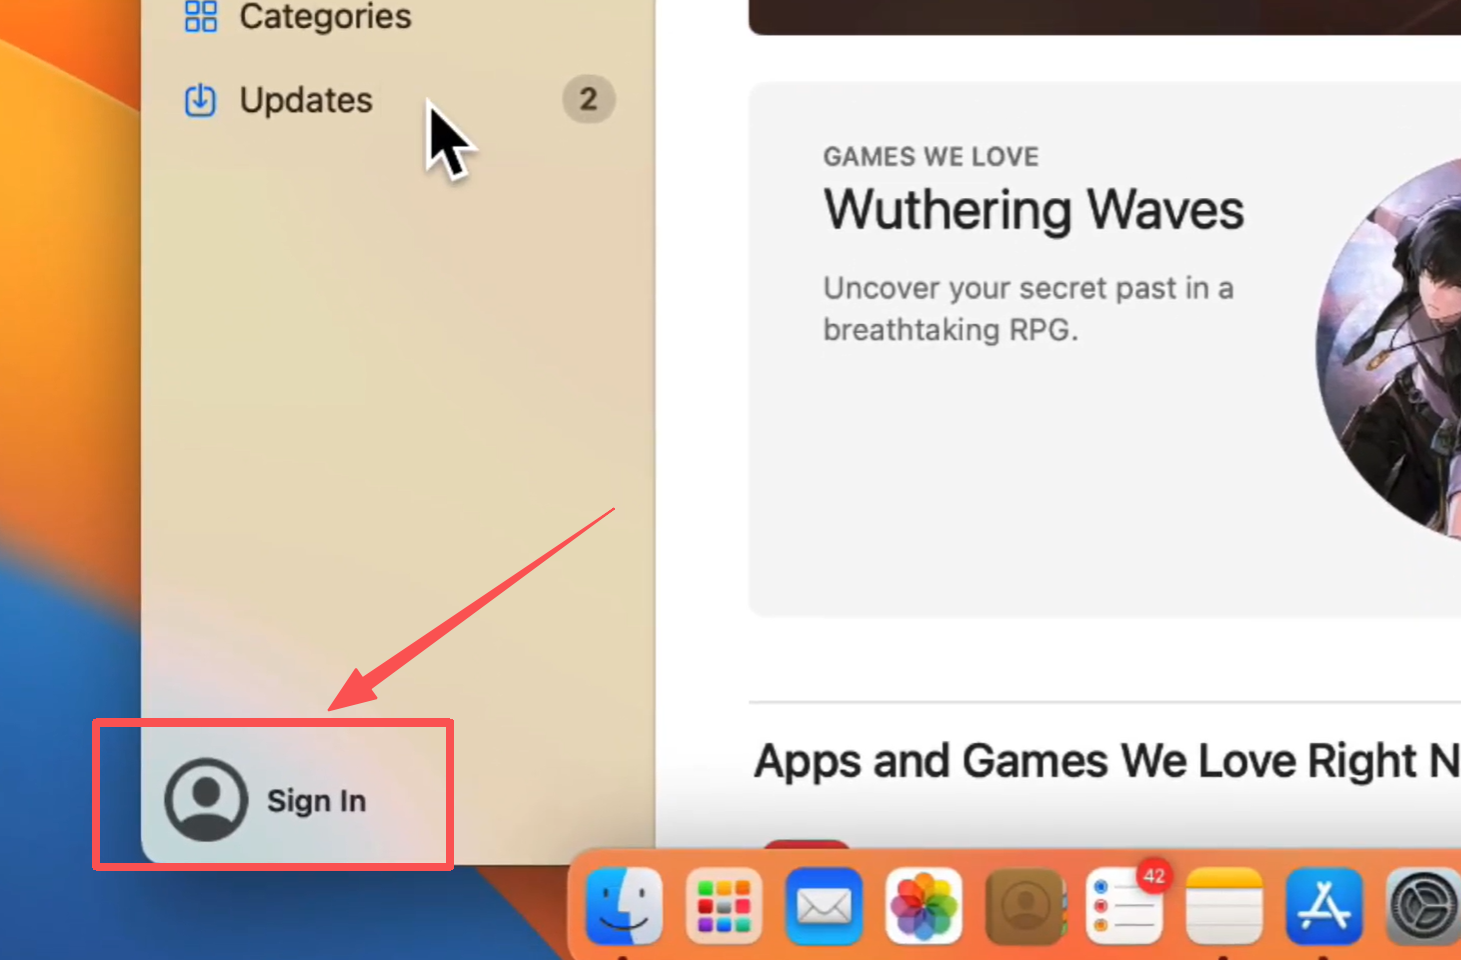
After signing out, click Sign In in the App Store.
Enter the email address and password of your new Apple ID, then complete the sign-in process.
Step 4: Download Apps from the New Account
Once logged in, search for the app you need in the App Store.
If the app is available in that account’s region, you can download it normally.

Changing Apple ID from App Store VS Settings - Don't Mix Up
Don't confuse changing your App Store country/region with signing out of your Apple Account or changing the Apple Account used for purchases. They are different actions.
| Aspect | App Store | Settings |
|---|---|---|
| How to access | App Store → Profile → Account Settings | Settings → Apple ID name |
| Main purpose | Change App Store region or switch download account | Change the Apple ID linked to your device |
| What it affects | Apps, purchases, subscriptions, and App Store content | iCloud, Photos, Contacts, Find My, backups, and other Apple services |
| Impact on data | Your personal data remains unchanged | May affect device data syncing and account access |
| Payment requirement | Usually requires a payment method for the new region | Usually not required |
| Security risk | Lower risk when using your own account | Higher risk, especially when using someone else's Apple ID |
| Best use case | Download apps from another country | Completely replace your device's Apple ID |
If you only want to download apps that are unavailable in your country, use the App Store to switch accounts or regions. Do not randomly sign out or change your Apple ID through Settings, as this affects your entire device account connection, including iCloud, backups, and other services. In some cases, incorrect account changes can cause serious access issues or lock you out of important device features.
Troubleshoot: What to Do if I Can't Change My Apple ID Country?
Sometimes Apple may prevent you from changing your country or region immediately. This usually happens because of account settings, system checks, or requirements that have not been completed.
Here are some common problems and solutions:
Problem 1: Your Subscription Is Still Active
Some active subscriptions may temporarily prevent you from changing your Apple ID country. This can happen when a subscription is linked to your current region.
🎯 Solution: Check your subscriptions and make sure there are no services preventing the switch. If needed, cancel the subscription and try changing your country again after it ends.
Problem 2: Your Apple ID Balance Is Not Empty
Even a small remaining balance can sometimes stop you from changing regions.
🎯 Solution:
Use your remaining Apple ID balance to purchase apps, games, or other digital content. Once your balance is cleared, try the process again.
Problem 3: A Transaction Is Still Processing
Pending activities, such as refunds, purchases, or rentals, may affect your ability to change your Apple ID country.
🎯 Solution:
Wait until the transaction is completed or resolved. After there are no pending activities, return to your account settings and try again.
Problem 4: Your Payment Method Is Not Accepted
Apple requires payment information that matches your selected country. An unsupported payment method may cause the change to fail.
🎯 Solution: Add a valid payment method and billing information for your new region. Make sure the details match the country you selected.
Problem 5: The Country or Region Option Is Unavailable
Sometimes the option to change your country may not appear due to temporary system issues or account conditions.
🎯 Solution: Check Apple’s system status page, sign out and back into your Apple ID, or try again later.
Problem 6: Your Account Has Restrictions
Certain account security settings or unusual activity may prevent changes to your Apple ID region.
🎯 Solution: Review your account settings and contact Apple Support if the issue continues.
Pro Tip: Use a VPN for Smooth Access
Changing your Apple ID country can help you access apps and services from different regions, but network restrictions may still affect whether you can download or use certain apps.
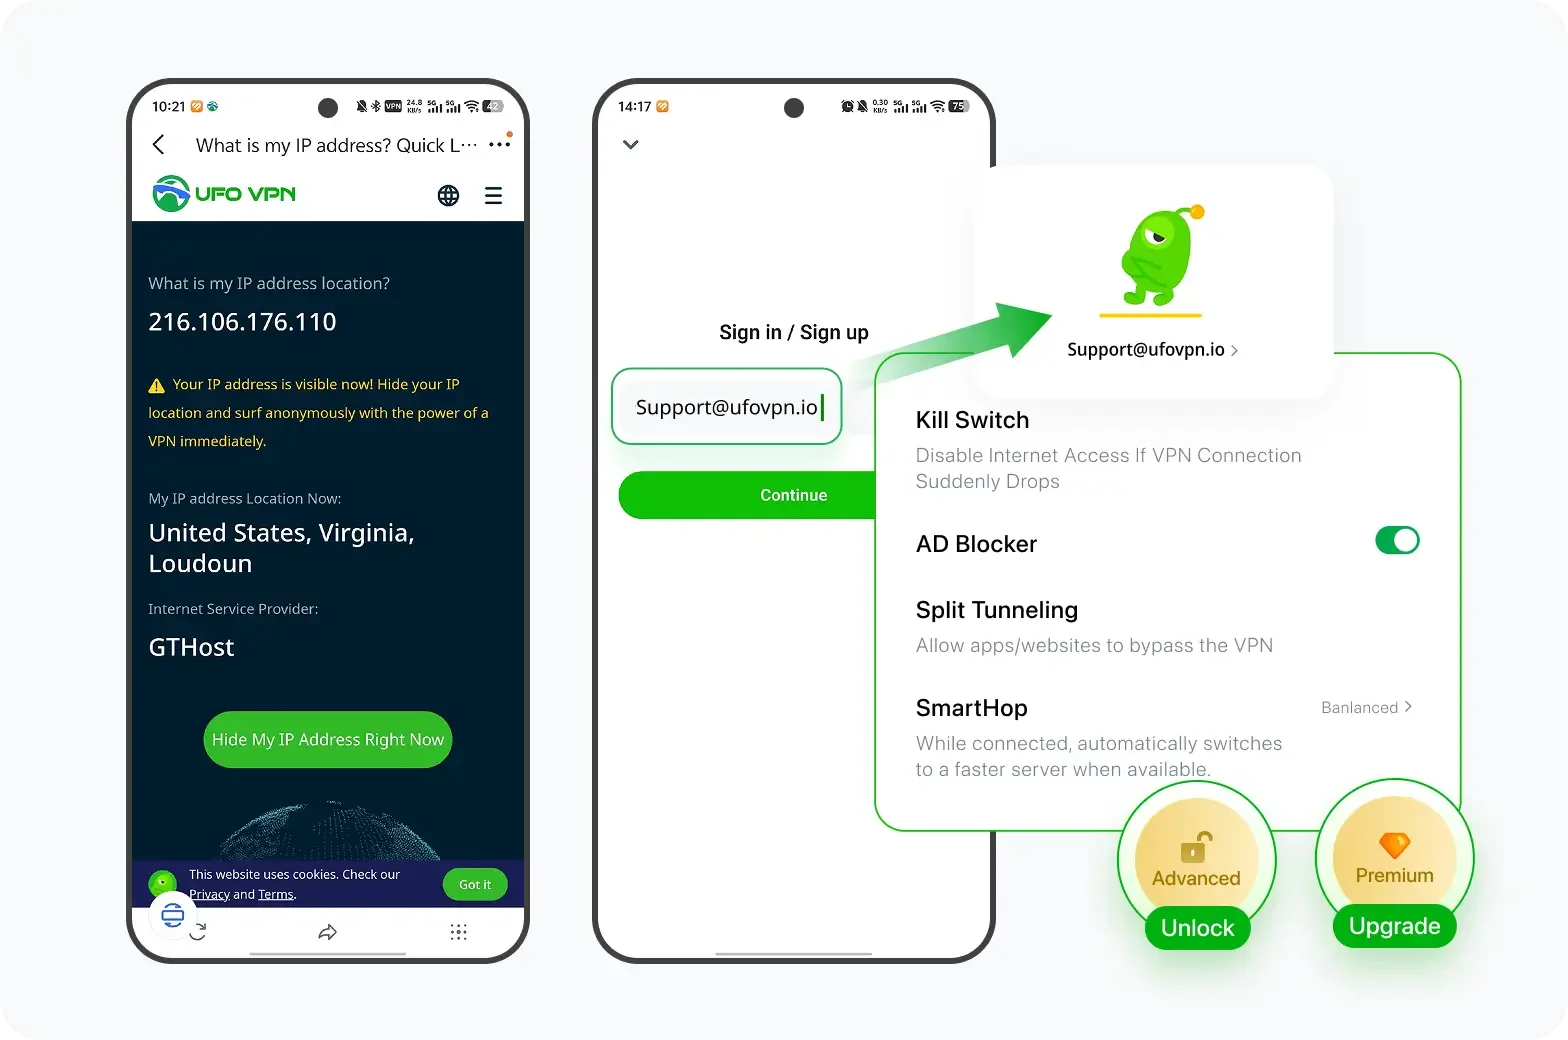
A VPN can help by routing your internet connection through a different server location, which may provide smoother access to region-specific services and websites. In this area, UFO VPN can work very well. It allows you to connect to servers in different locations and create a more flexible browsing experience.
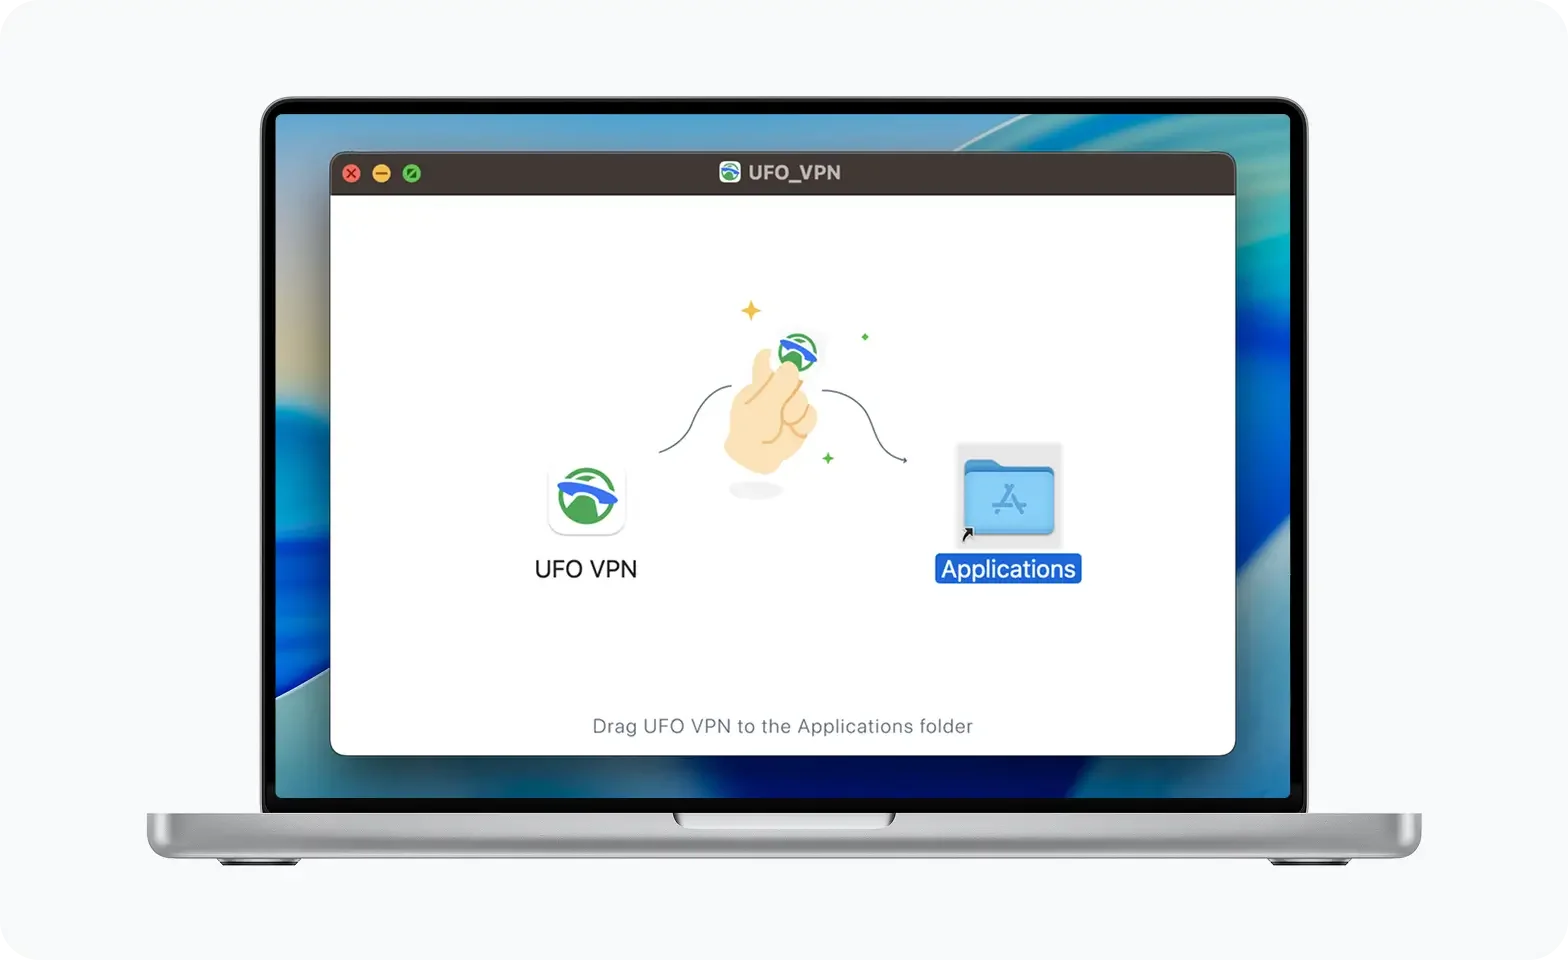
You can simply use this efficient tool by:
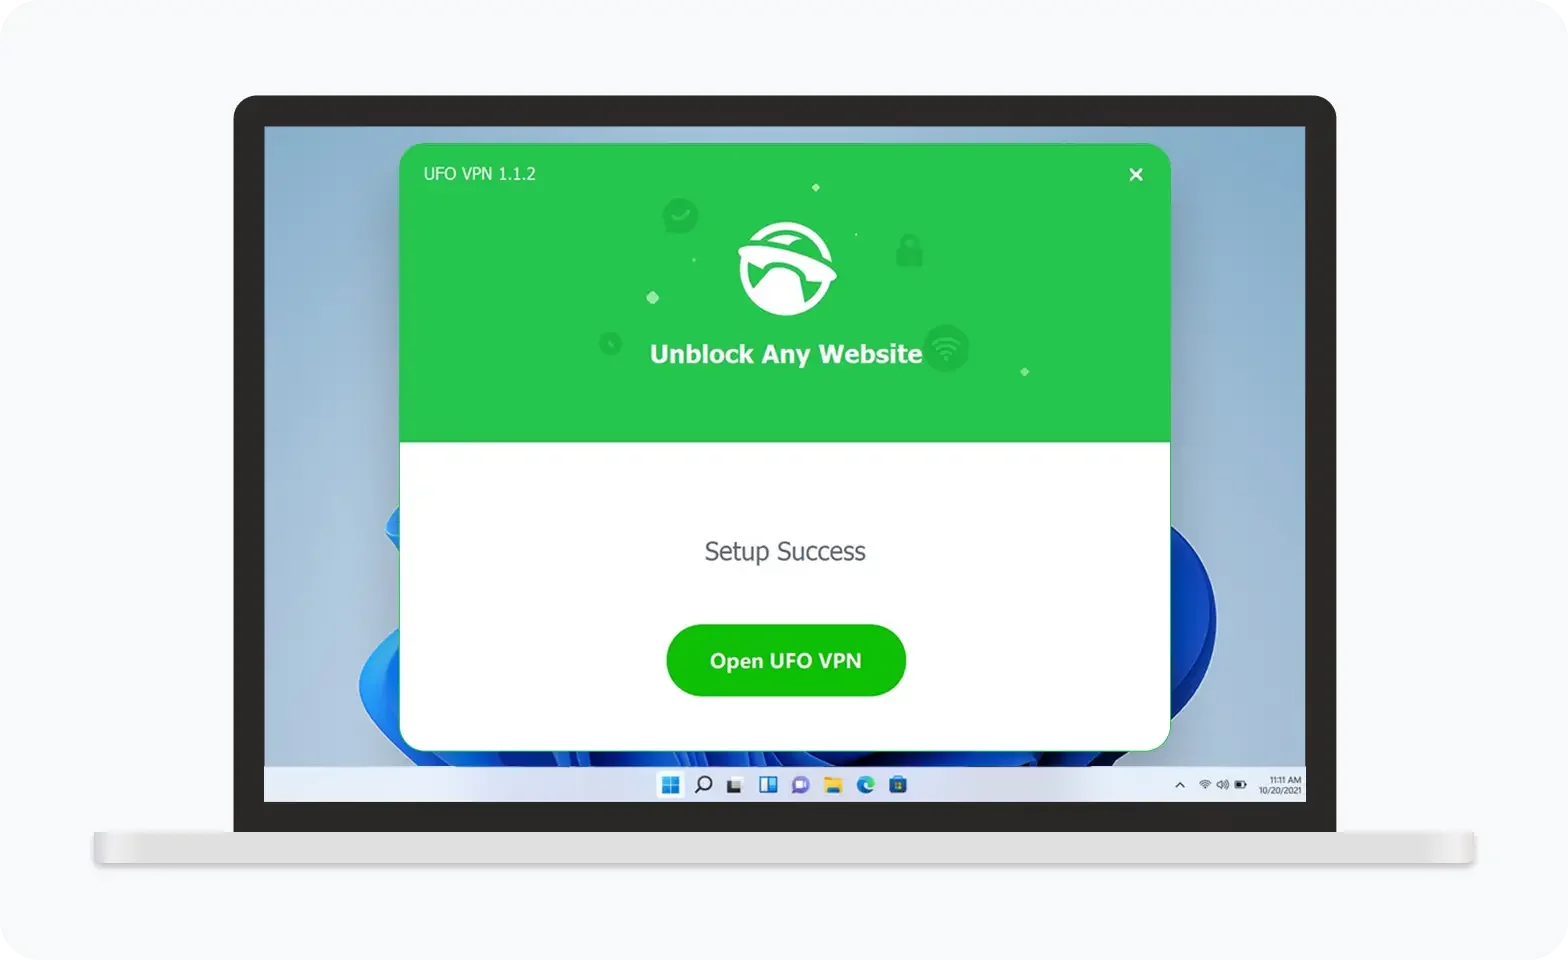
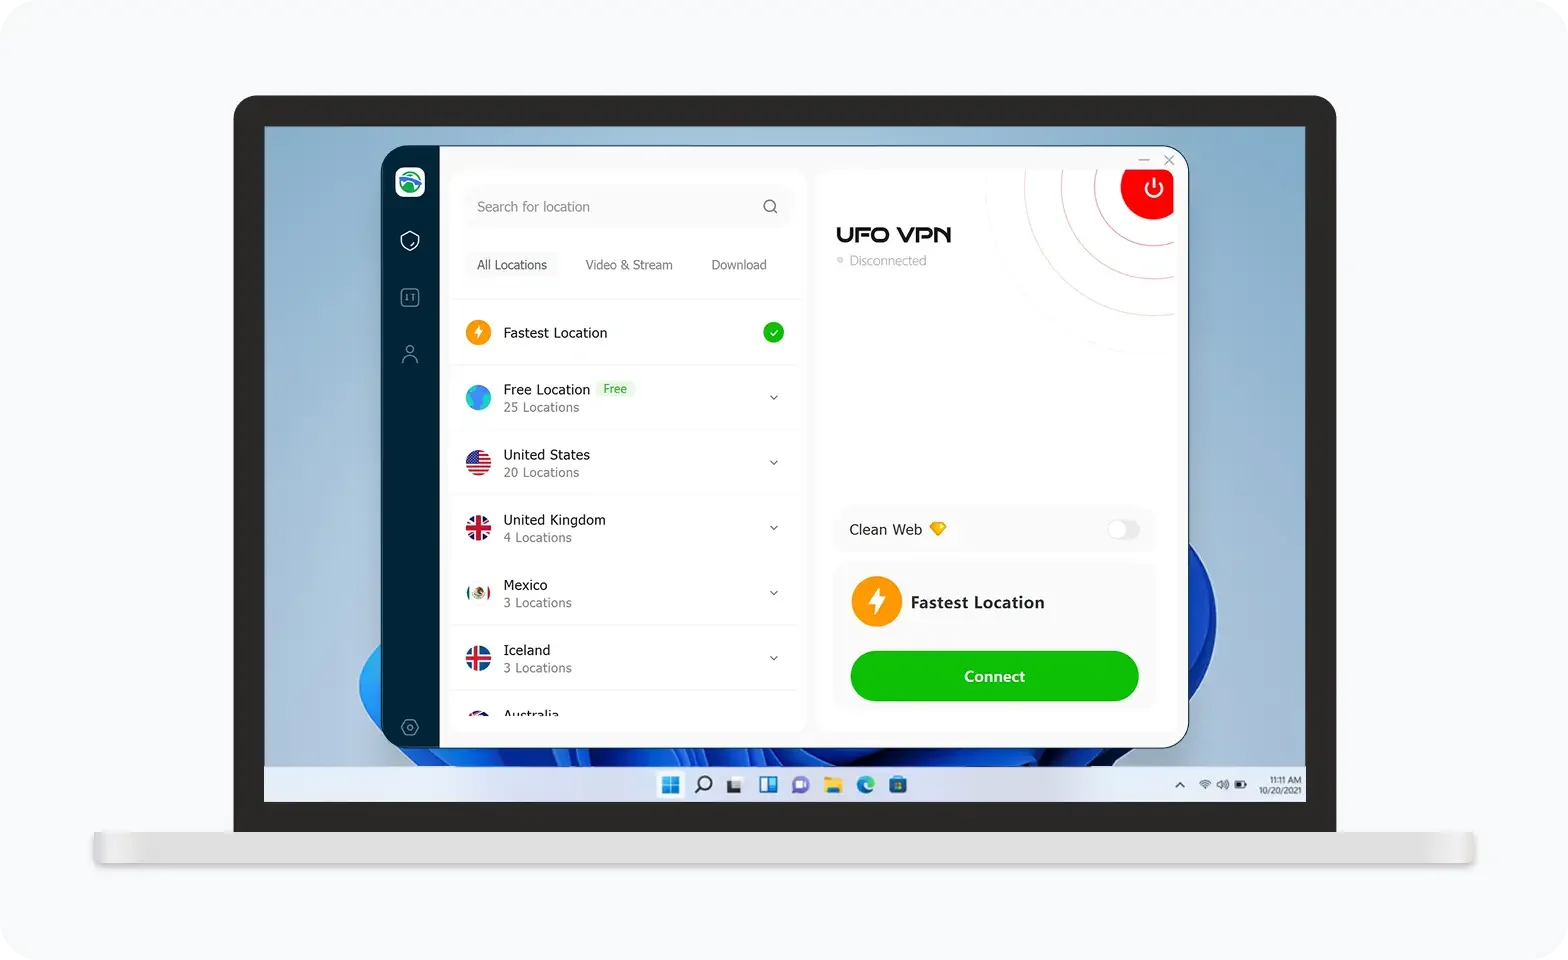
UFO VPN is an all-in-one VPN that offers unlimited access to 4K streaming like Netlfix, Disney Plus, no-ping gaming as PUBG, Roblox, CODM and social networking for YouTube, X, Facebook and more.
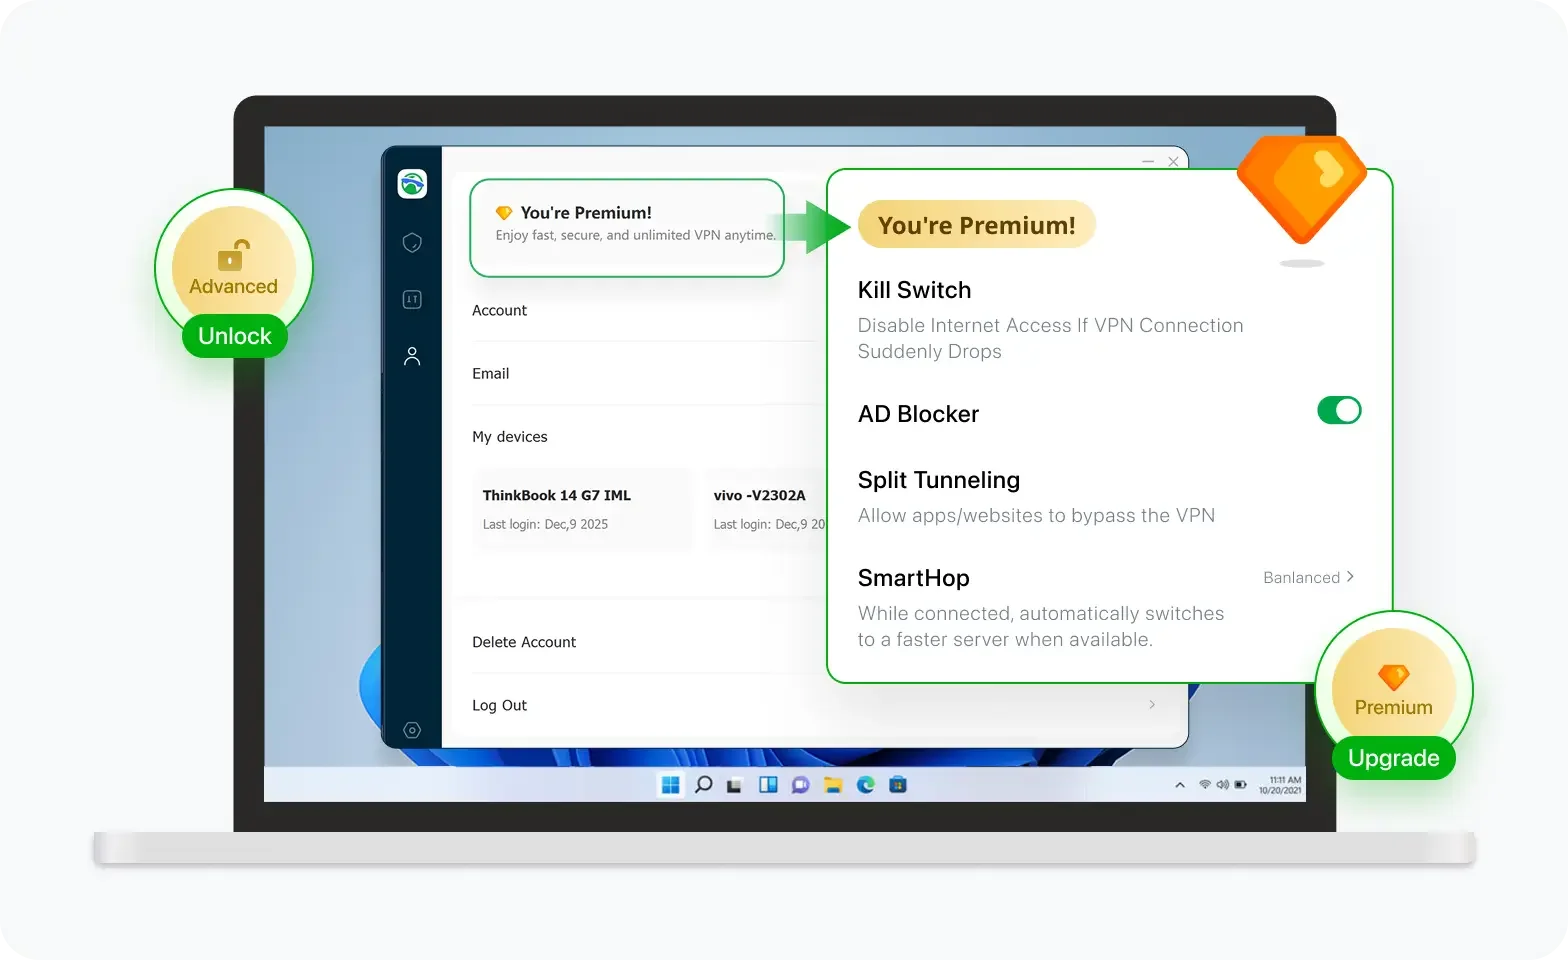
Unlock Pro Features
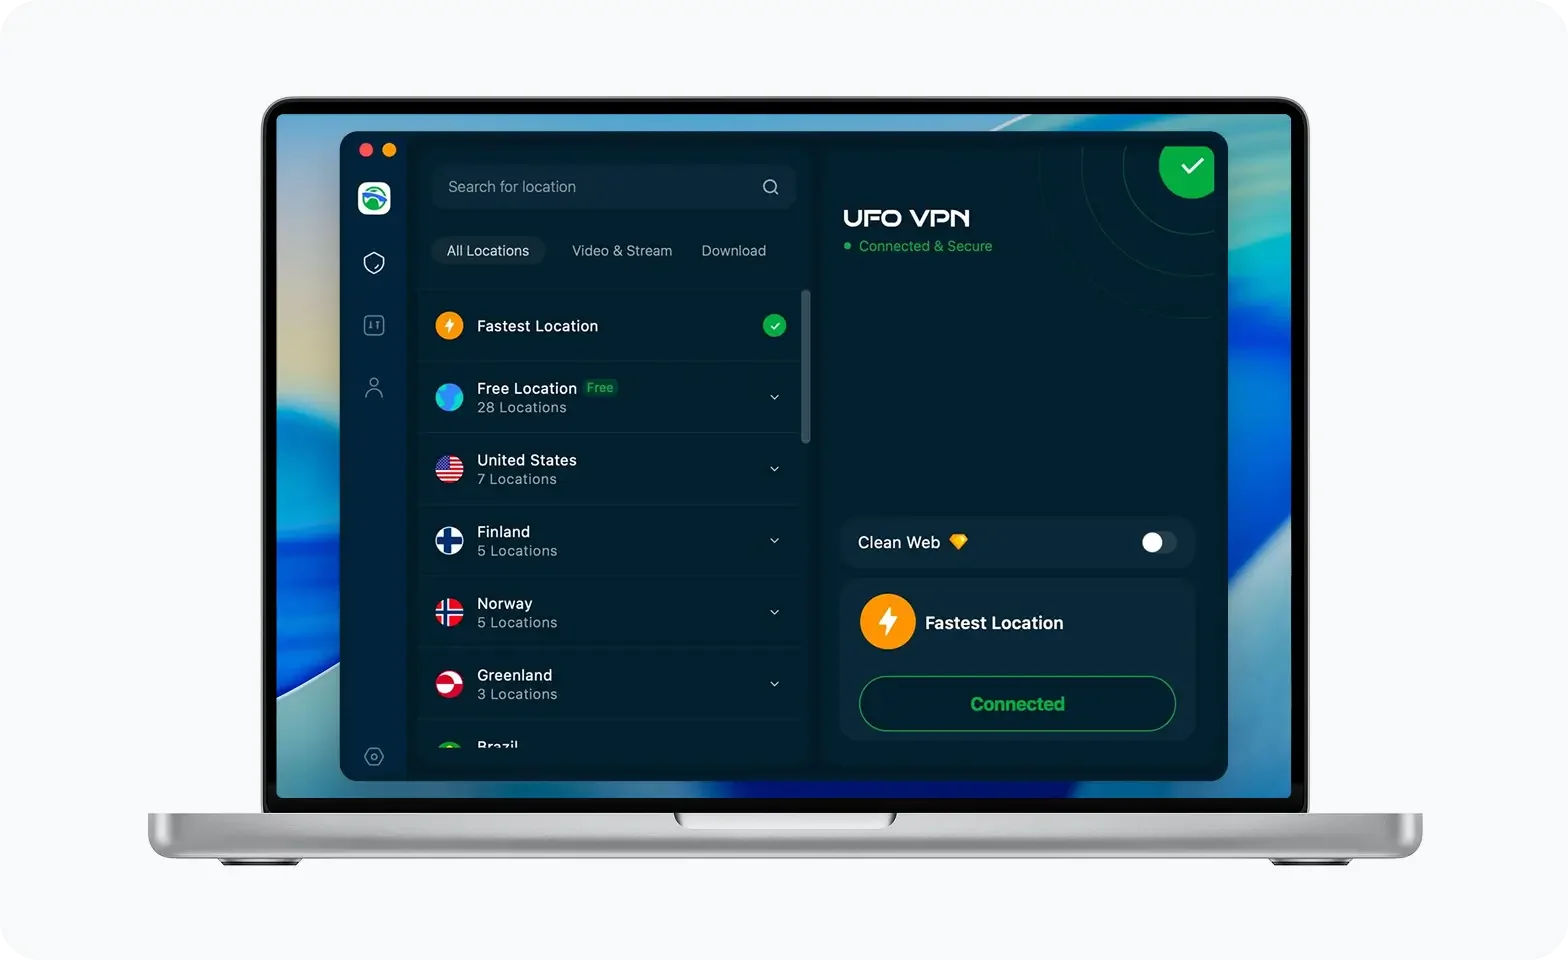
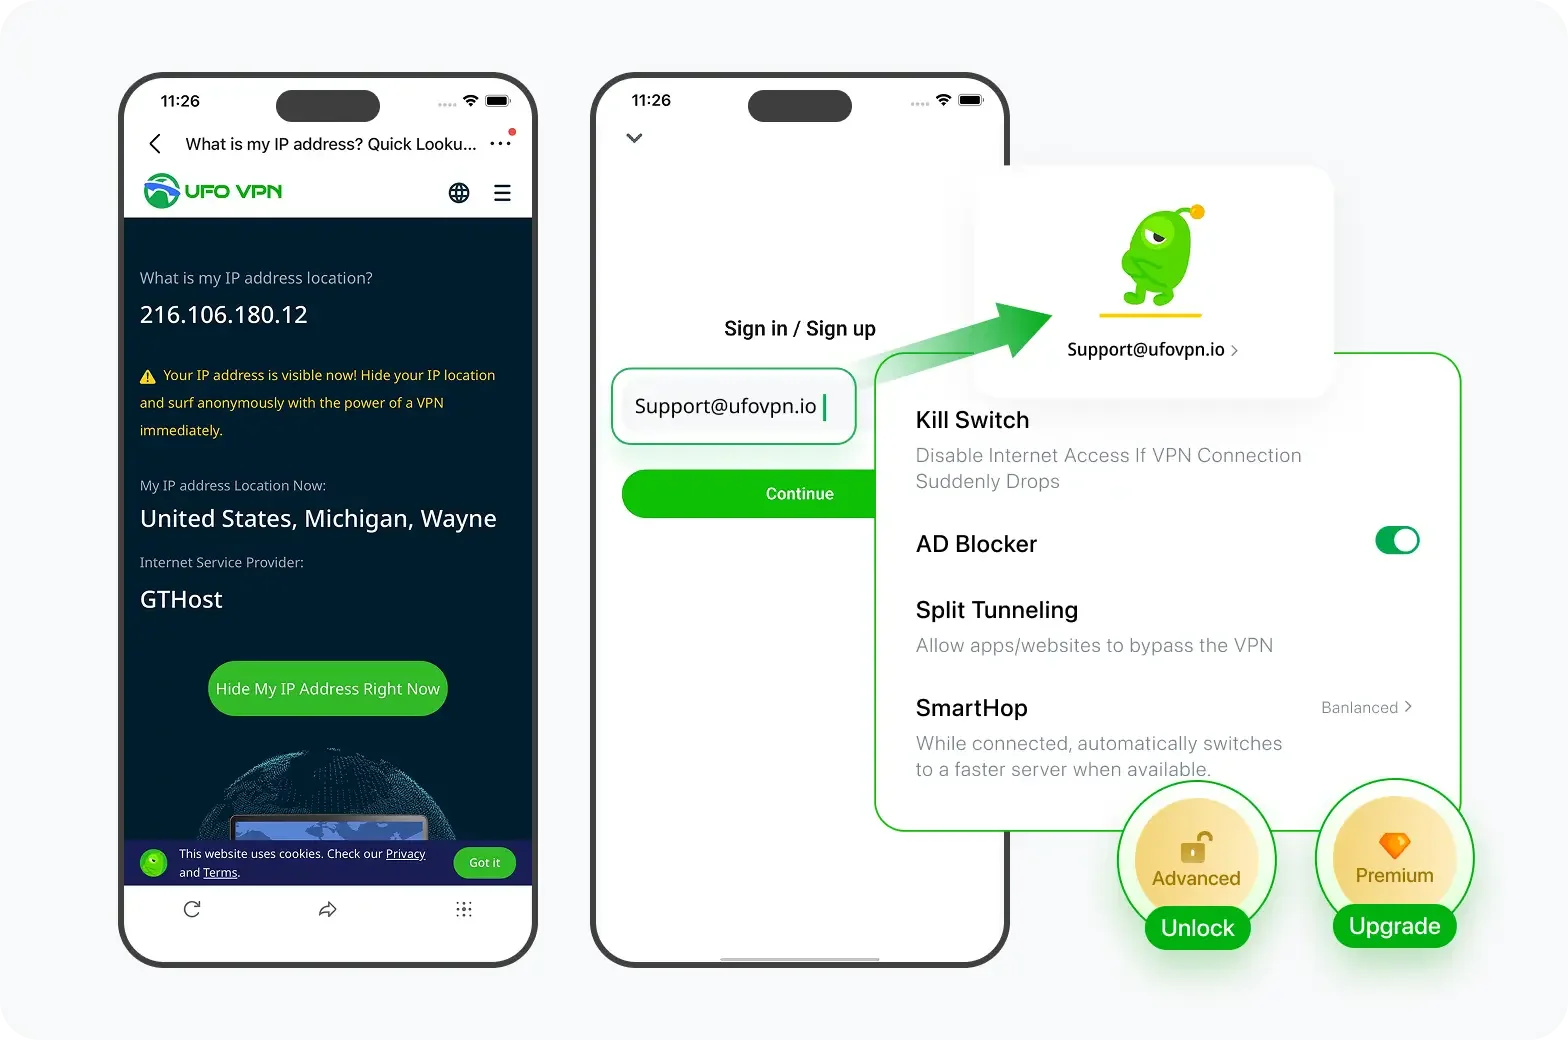
If you have upgraded to premium plan , feel free to enjoy premium servers for 4K streaming and advanced features like Kill Switch, Split Tunneling, and gaming acceleration. Your Mac is now fully optimized and protected. Inaddition to basic functions, we recommend you turn on

Verify Your IP Now
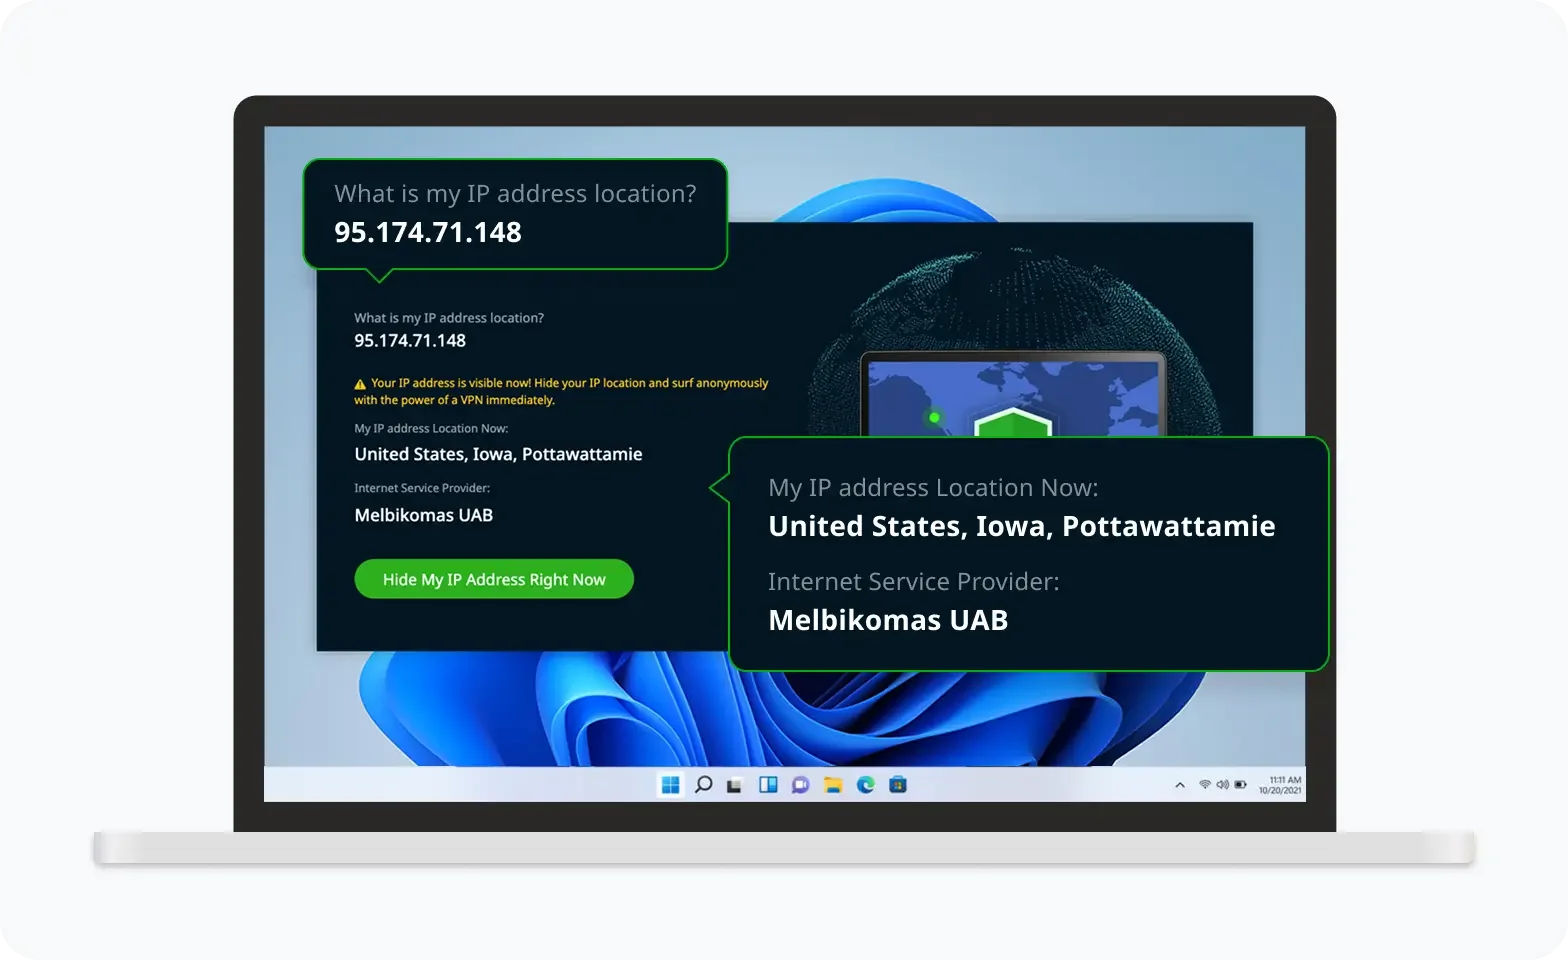
Use UFO VPN's " What is My IP " feature to see your new IP and location. This confirms your connection is secure, anonymous, and ready for safe browsing online anywhere at any time.

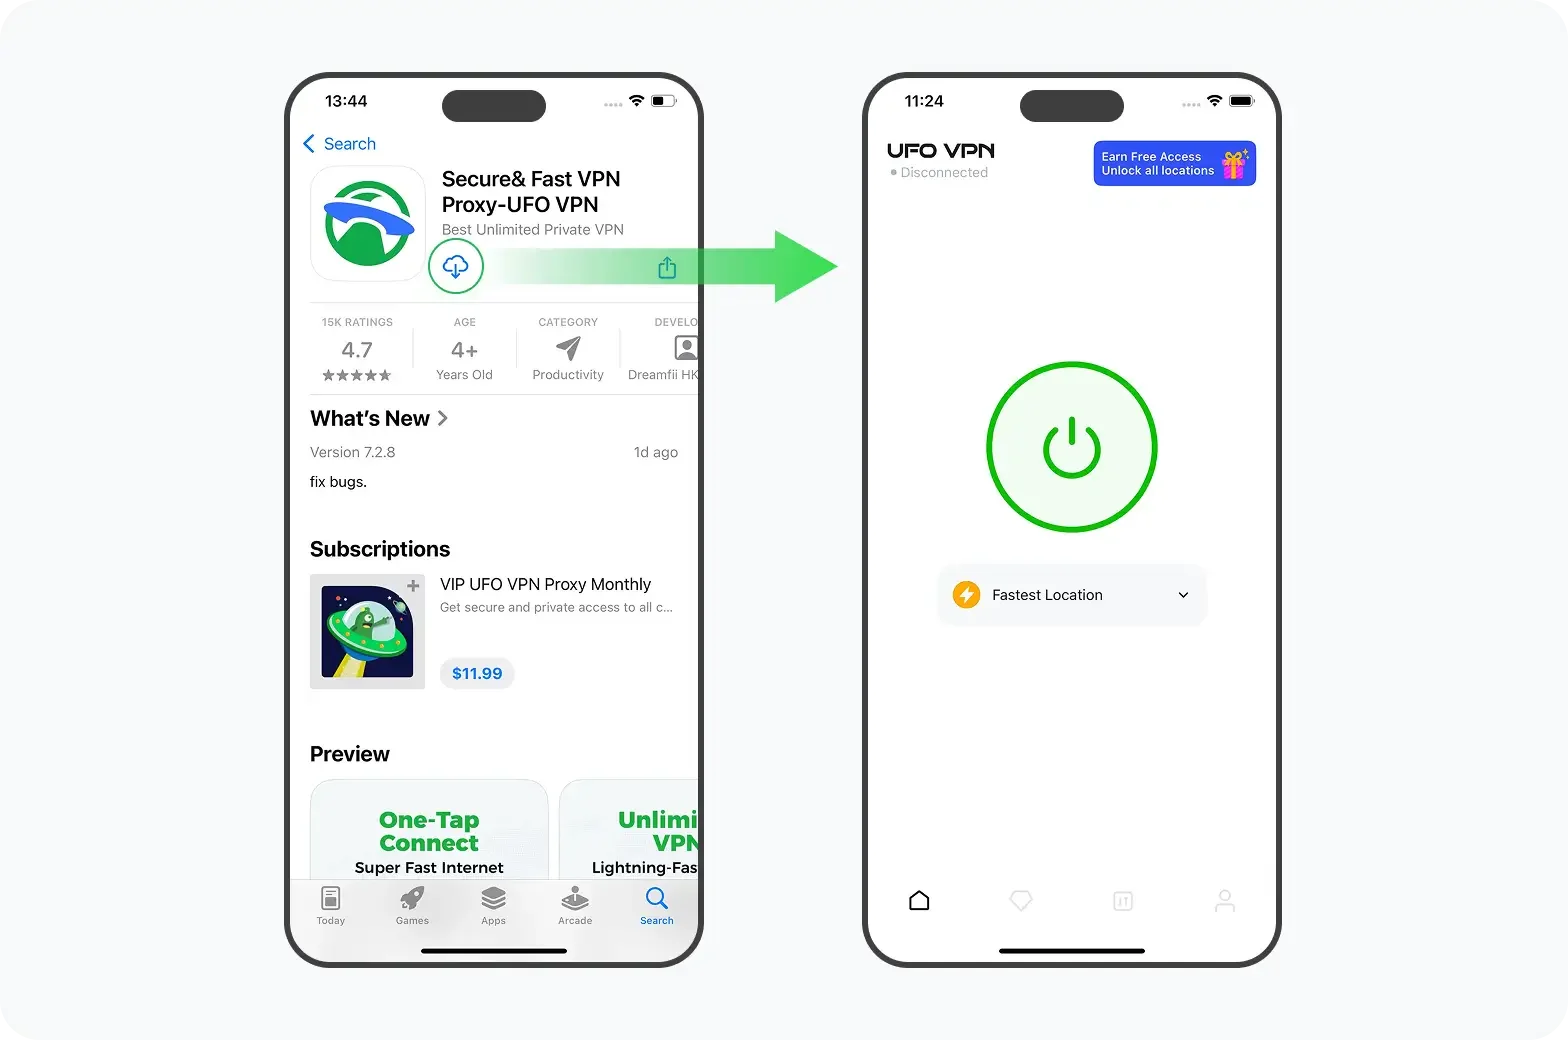
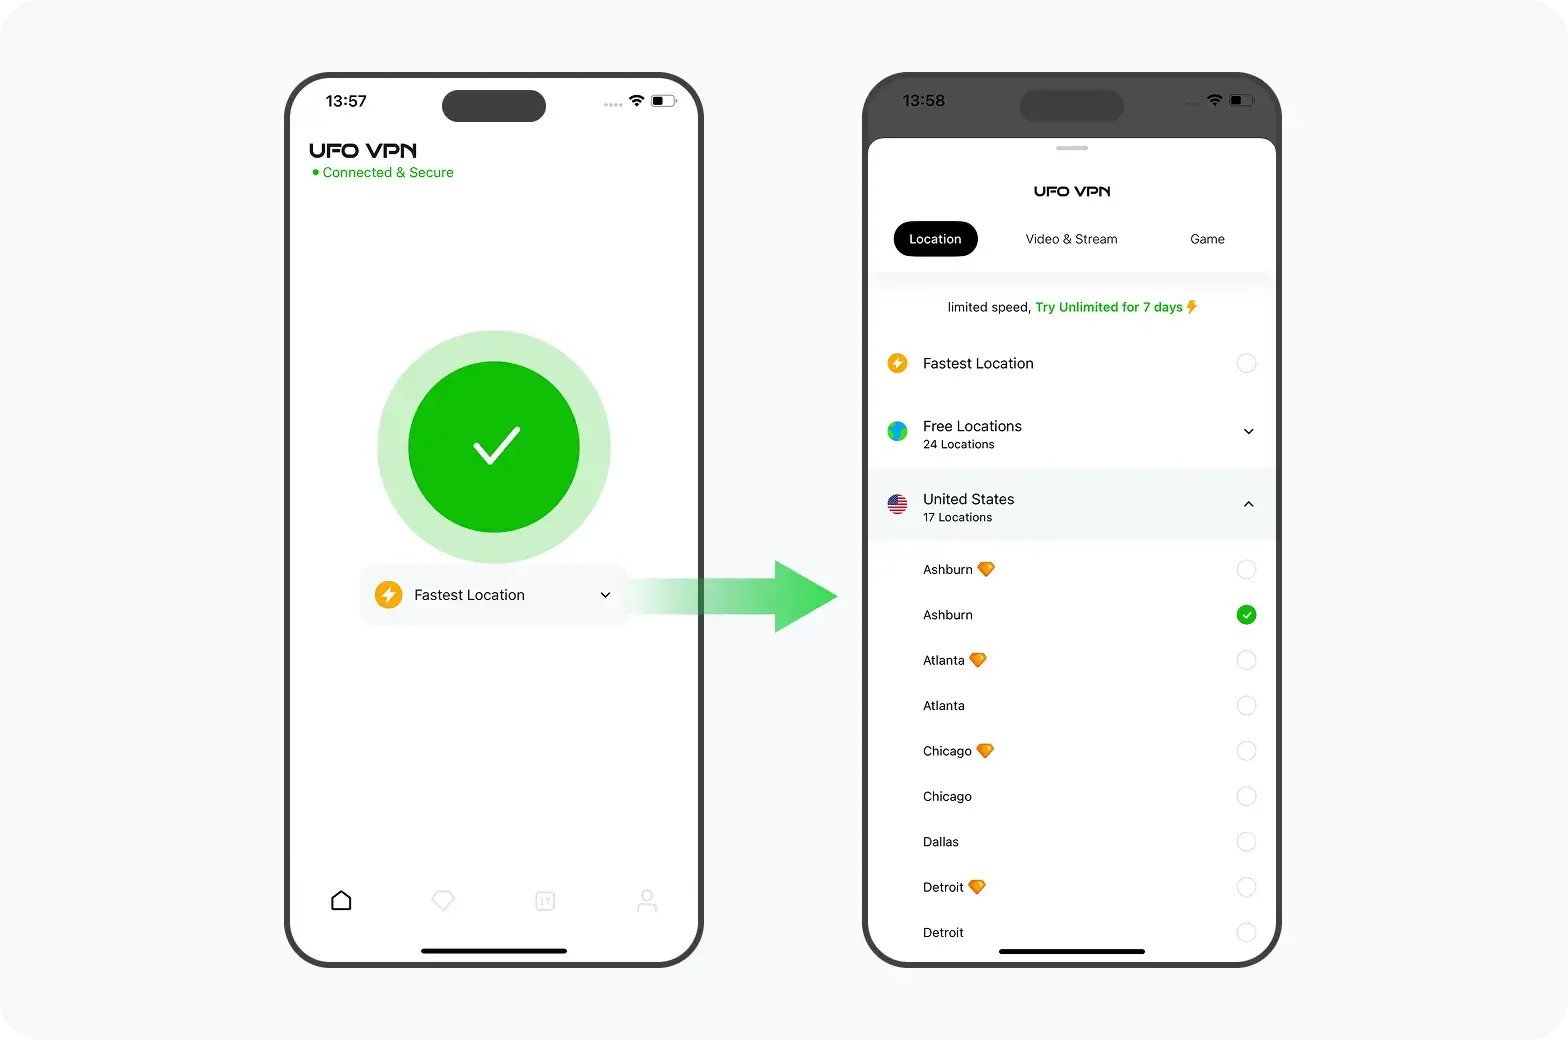
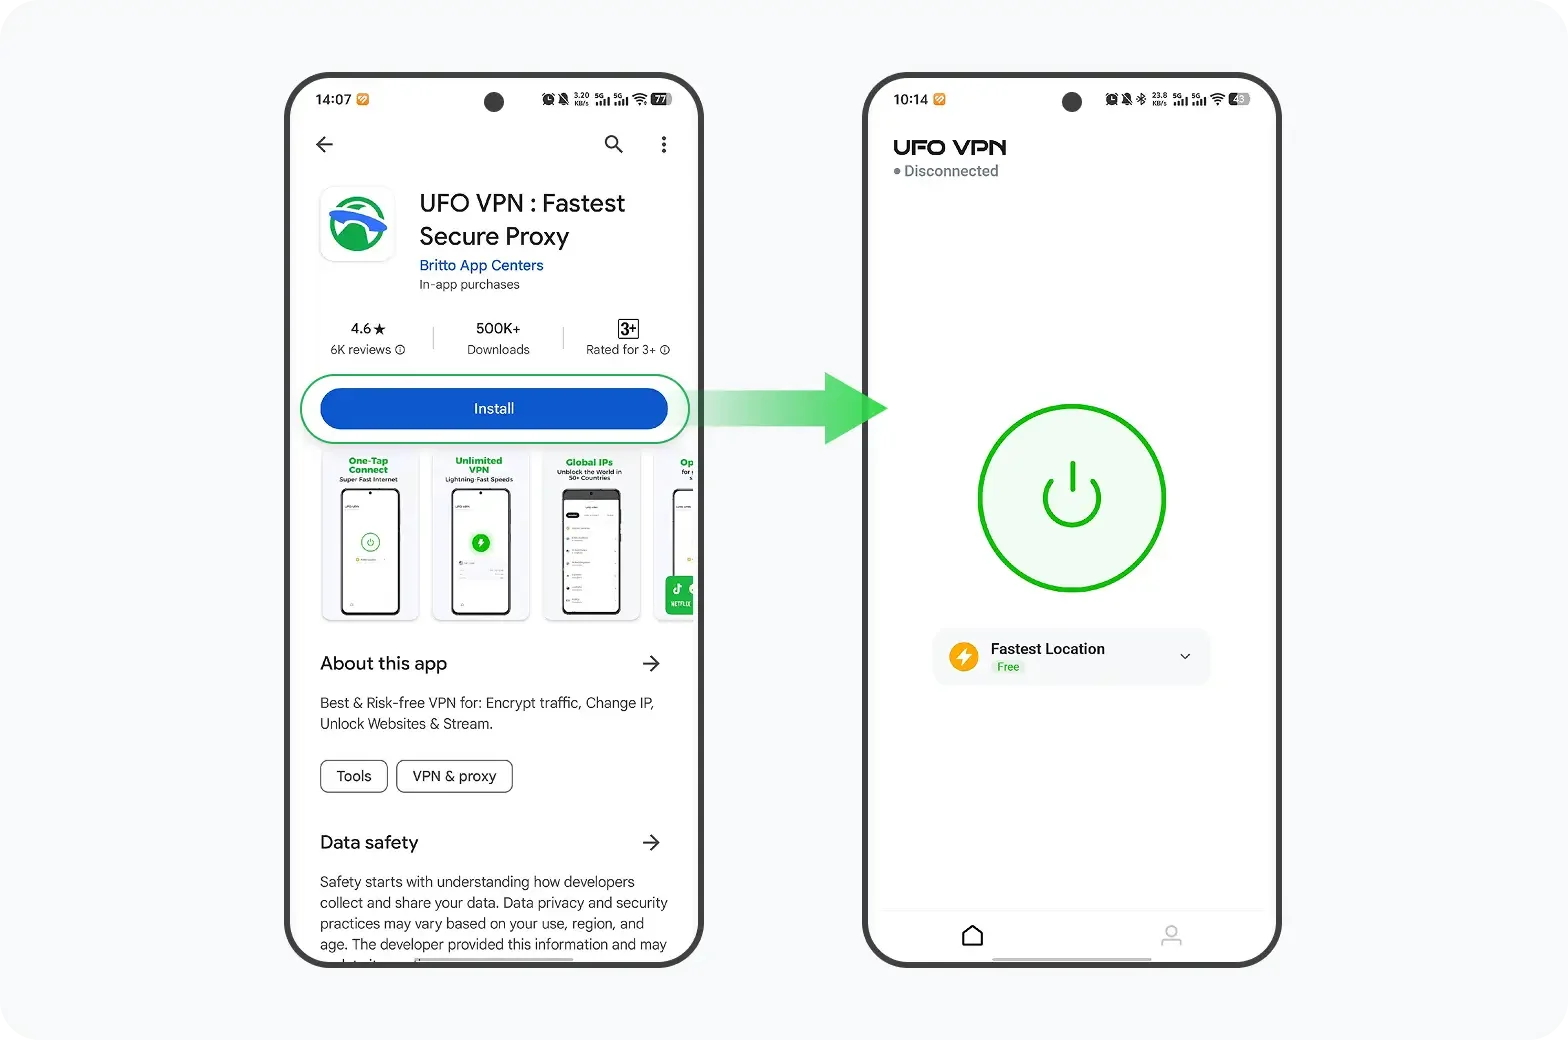
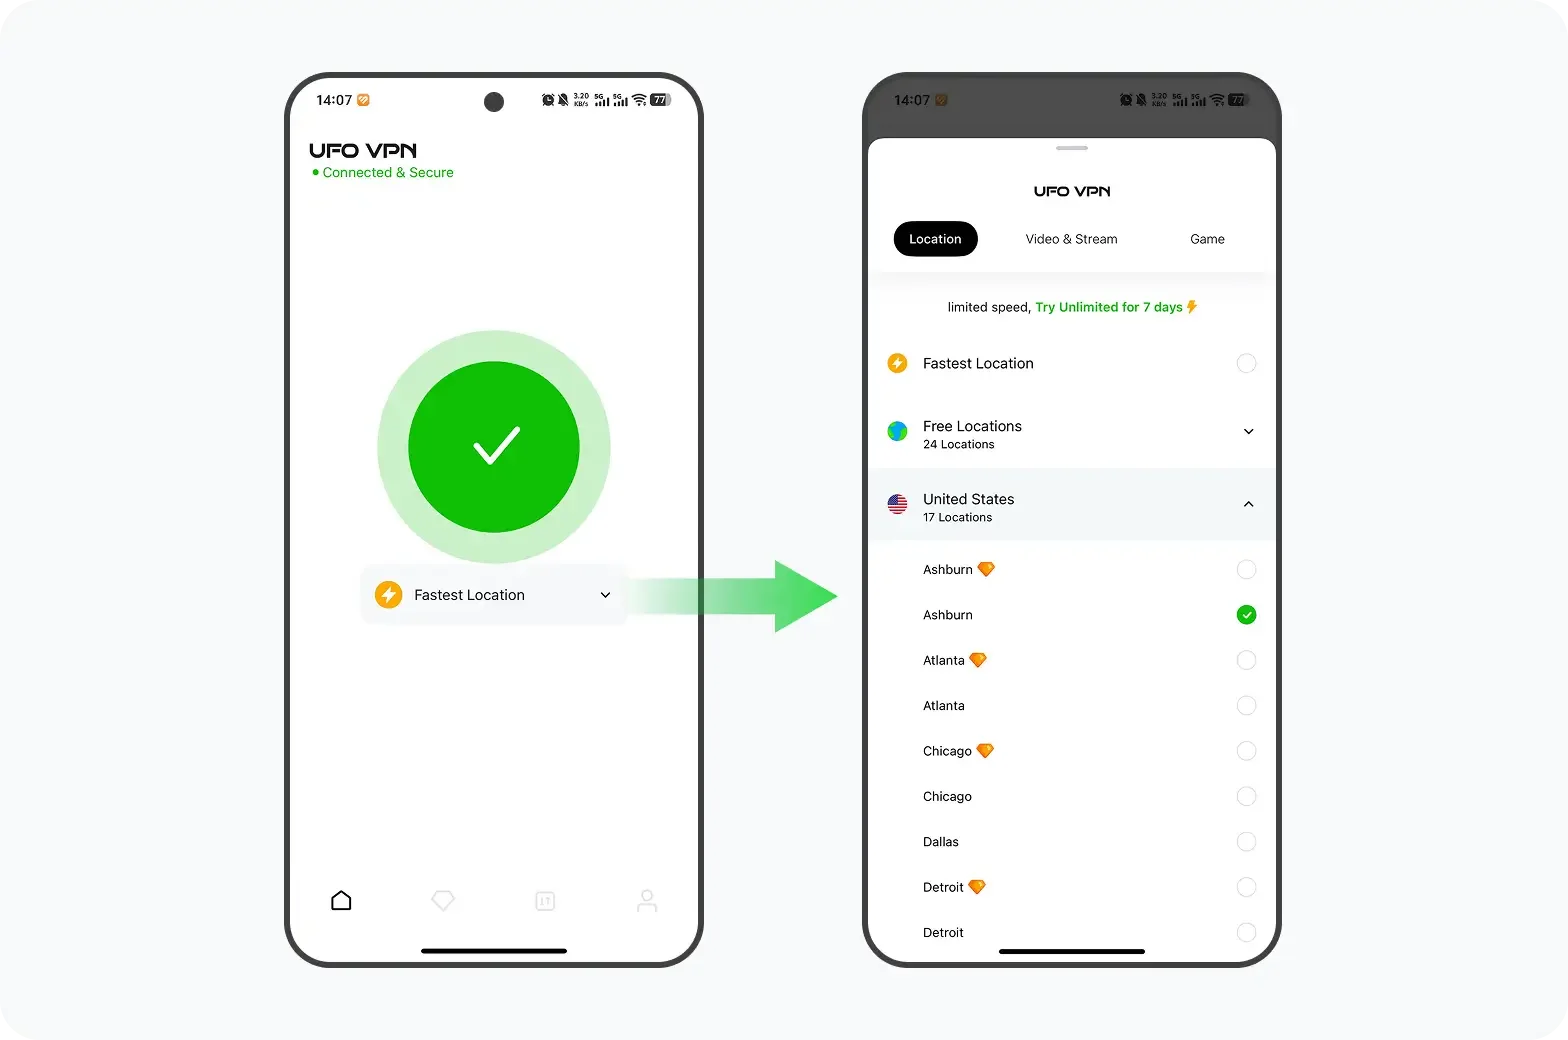
For users in Russia and other countries where access restrictions are stricter, activating a VPN may require some extra steps. If the App Store or VPN apps are unavailable in your current region, you can try a smarter approach:
- Temporarily change your Apple ID country to an available region
→ Choose a country where VPN apps are accessible, such as the United States server, Japan server, or another supported region. - Download UFO VPN from the App Store
→ Install and set up the VPN app after switching regions. - Connect to a suitable VPN server
→ Select a server location that provides smoother access for your needs. - Switch your Apple ID country again if needed
→ Once the VPN is ready, you can more easily access different regions and download apps that are unavailable in your original location.
With the right combination of Apple ID region settings and a reliable VPN connection, you can enjoy a wider selection of apps, services, and digital content across different countries.
Final Thoughts
Changing your Apple ID country is a useful way to access region-specific apps, services, and digital content. However, you need to complete several preparations before switching, including canceling subscriptions, clearing your balance, and preparing a valid payment method.
By following the steps above, you can safely change your Apple ID country without unnecessary account issues.
FAQs
How often can I change my Apple ID country or region?
Apple does not set a fixed limit on how many times you can change your country. However, frequent changes may create account restrictions, especially if you repeatedly switch between regions.
Will I lose my apps after changing my Apple ID country?
No, installed apps usually remain on your device. However, some apps may not receive updates or may become unavailable if they are not offered in the new region.
Can I change apple ID region without credit card?
Yes, you can change your Apple ID region without a credit card in some cases. When changing your country or region, Apple may ask you to provide a valid payment method and billing address. However, you can choose “None” as the payment option if it is available.
How many times can I change my Apple ID country?
You can change your Apple ID country multiple times, but Apple may require you to complete certain requirements before each switch.
Does changing my Apple ID country delete my iCloud data?
No. Your iCloud photos, contacts, and files remain linked to your Apple ID. However, some services and subscriptions may change based on your new region.
Can I use the same Apple ID after changing countries?
Yes. You can continue using the same Apple ID. Changing the country only updates your App Store region and related services, not your entire account.