Why You Need to Blur Photos on your phone?
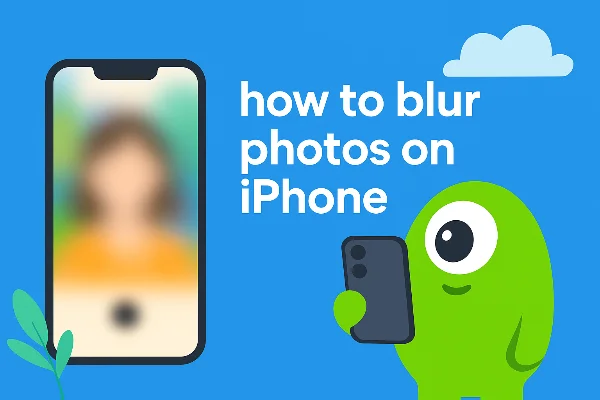
Blurring is more than a style choice. It can hide IDs, addresses, license plates, or children’s faces before you post, and it can also declutter busy scenes so the subject pops. The source highlights both security and clarity benefits, noting that blurring can prevent exposing sensitive information and help viewers focus on the main subject. It also warns that modern AI (face/location recognition) raises the stakes for what a photo can reveal.
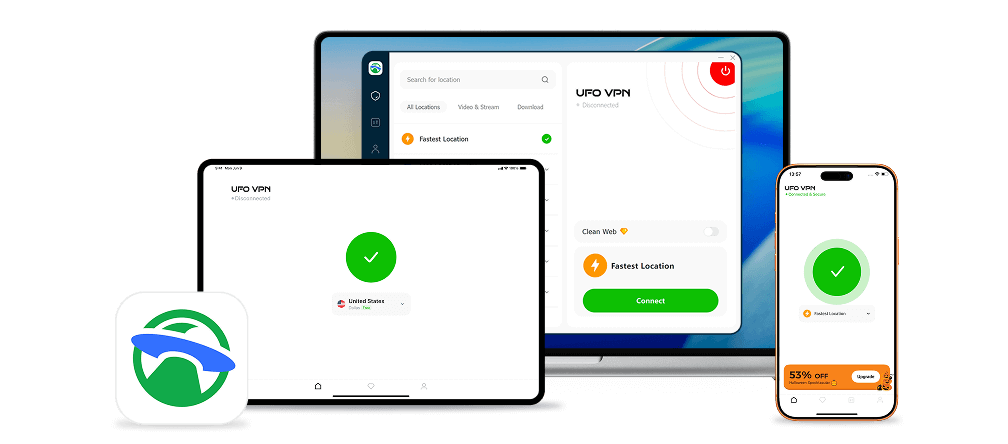
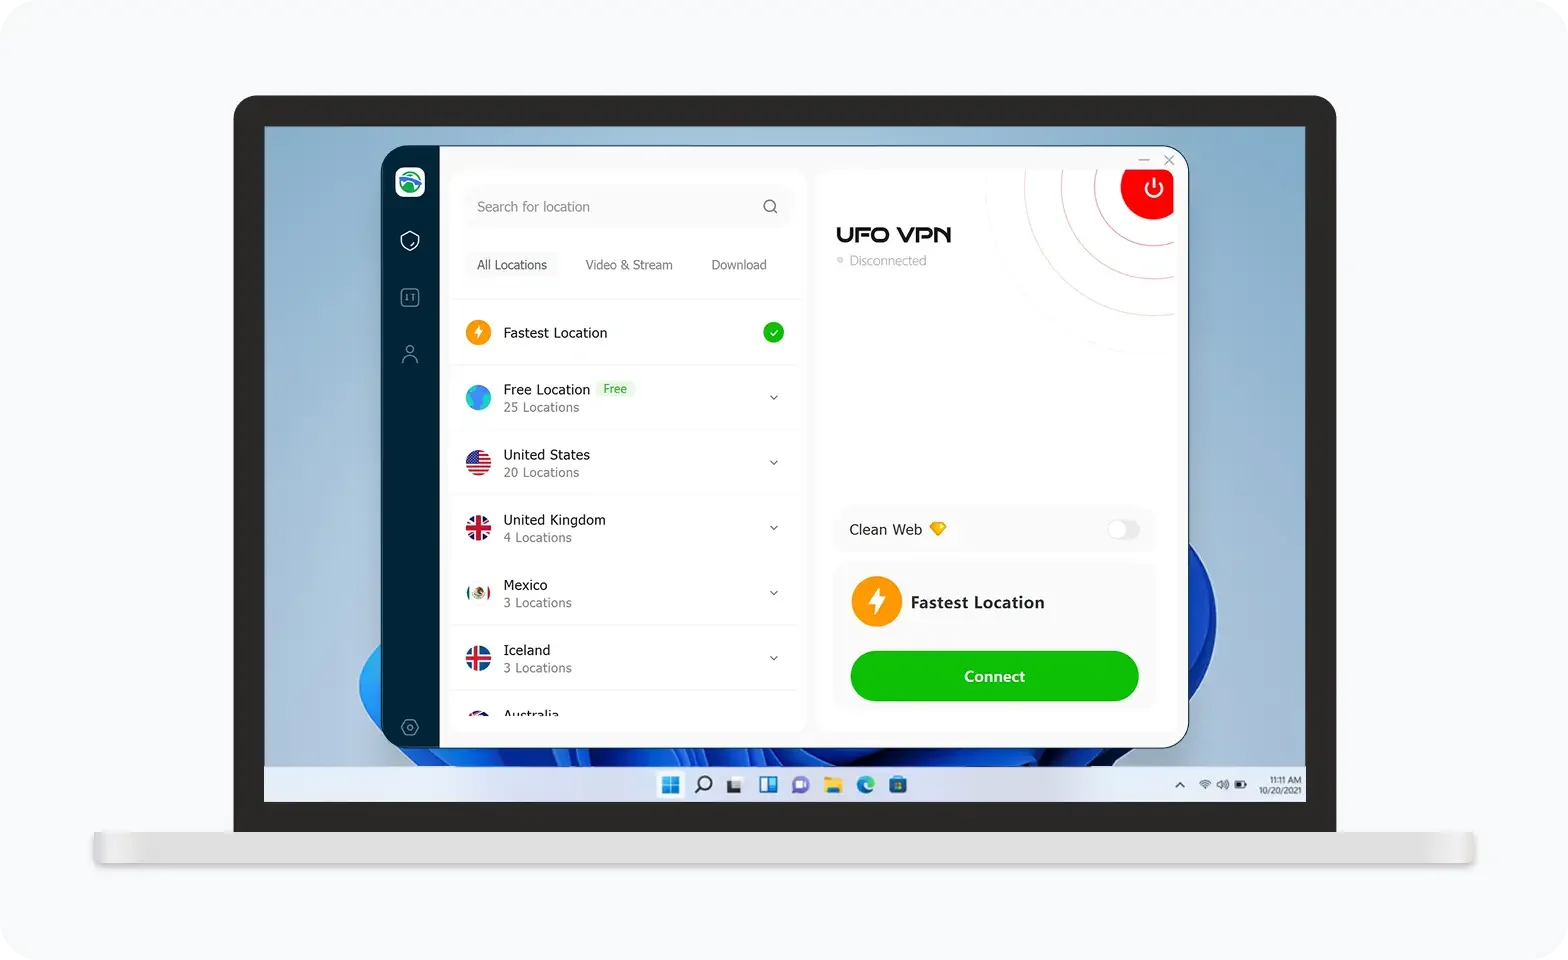
When you share or sync images over café or airport Wi-Fi, pair these steps with a VPN. free proxy VPN in UFO VPN encrypts your connection end-to-end so uploads, edits, and logins aren’t exposed on open networks.
One click to unblock Netflix, Hulu, Disney+ etc, and enjoy buffer-free streaming.
How to Blur background on iPhone
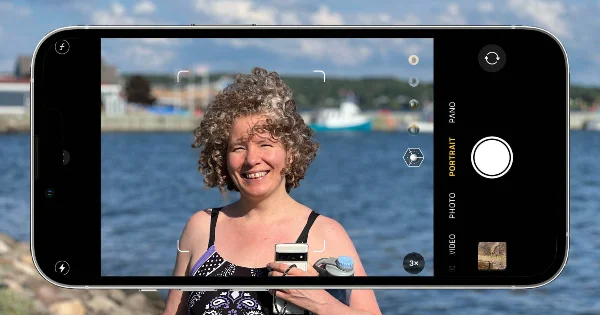
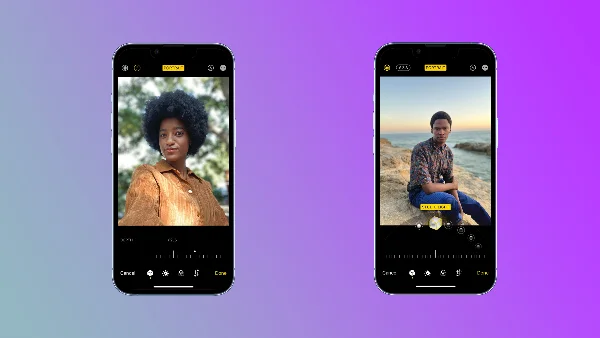
If your goal is blur background iPhone, Apple’s depth controls in Photos make it easy—especially for pictures taken in iPhone Portrait mode. The reference explains that background blur is integrated into Portrait and can be adjusted afterward in the Photos app. You open the photo, tap Edit, then use the Portrait controls to tune the strength and lighting effects; “Stage Light” can isolate the subject dramatically.
Step-by-step (fast):
-
Open a Portrait photo → Edit.
-
Use the depth/Portrait sliders to increase or decrease the blur (aperture-style control).
-
Optionally try Portrait Lighting (e.g., Stage Light) to hide or darken the background.
-
Save.
If you’re drafting tutorials titled how to blur photos on iPhone, this workflow should be your first recommendation—native, fast, and reversible.
Pro shooting tips for stronger blur:
-
Keep your subject closer to the lens and the background farther away.
-
Add light to the subject; iPhone detects people/edges better with good contrast.
-
Avoid busy, high-contrast backgrounds that confuse edge detection.
How to Blur part of a picture with Markup
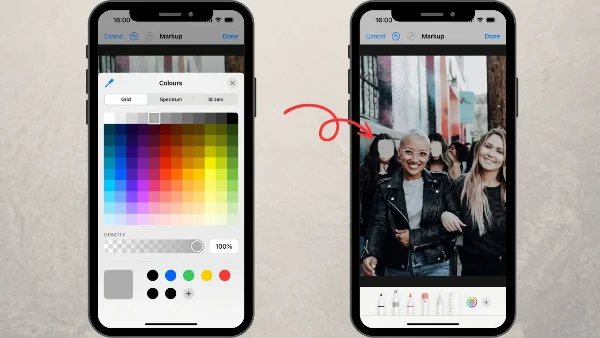
Sometimes you don’t want to blur everything—just a label, face, or bank card. The article’s recommended method is iOS Markup inside Photos.
- Open the image/screenshot
- Edit → tap the Markup icon
- + → Add shape (rectangle/oval), position over the sensitive area, then adjust fill, border, and blur intensity before saving.
Why this matters: A selective blur (or solid fill) hides only what’s risky while keeping the rest readable. If your blog’s primary keyword is how to blur photos on iPhone, include this Markup method prominently so readers can blur part of a picture iPhone style without third-party apps.
Alternatives: If you need pixelation or mosaics for extra privacy, try a reputable editor (e.g., Pixelate/Blur apps) after exporting a copy. Keep originals safe in an encrypted cloud or offline drive.
How to blur photos on iPhone after you’ve already shot them
Not every shot is Portrait. If you’ve taken a regular photo but still want blur:
-
Re-edit Portrait shots: Any Portrait photo remains adjustable in Photos with depth sliders.
-
For non-Portrait images: Use Markup shapes to hide sensitive bits, or export to a third-party app that simulates bokeh.
-
Leverage “Stage Light” look: On compatible Portrait images, Stage Light can effectively remove or black out the background for maximum privacy.
In tutorials labeled how to blur photos on iPhone, be explicit about the difference between true depth blur (Portrait) and effect blur (shape overlays or third-party filters).
Safety first: share smarter with Smarter Tools
Even when you master how to blur photos on iPhone, you still expose metadata or traffic if you post from untrusted networks.
-
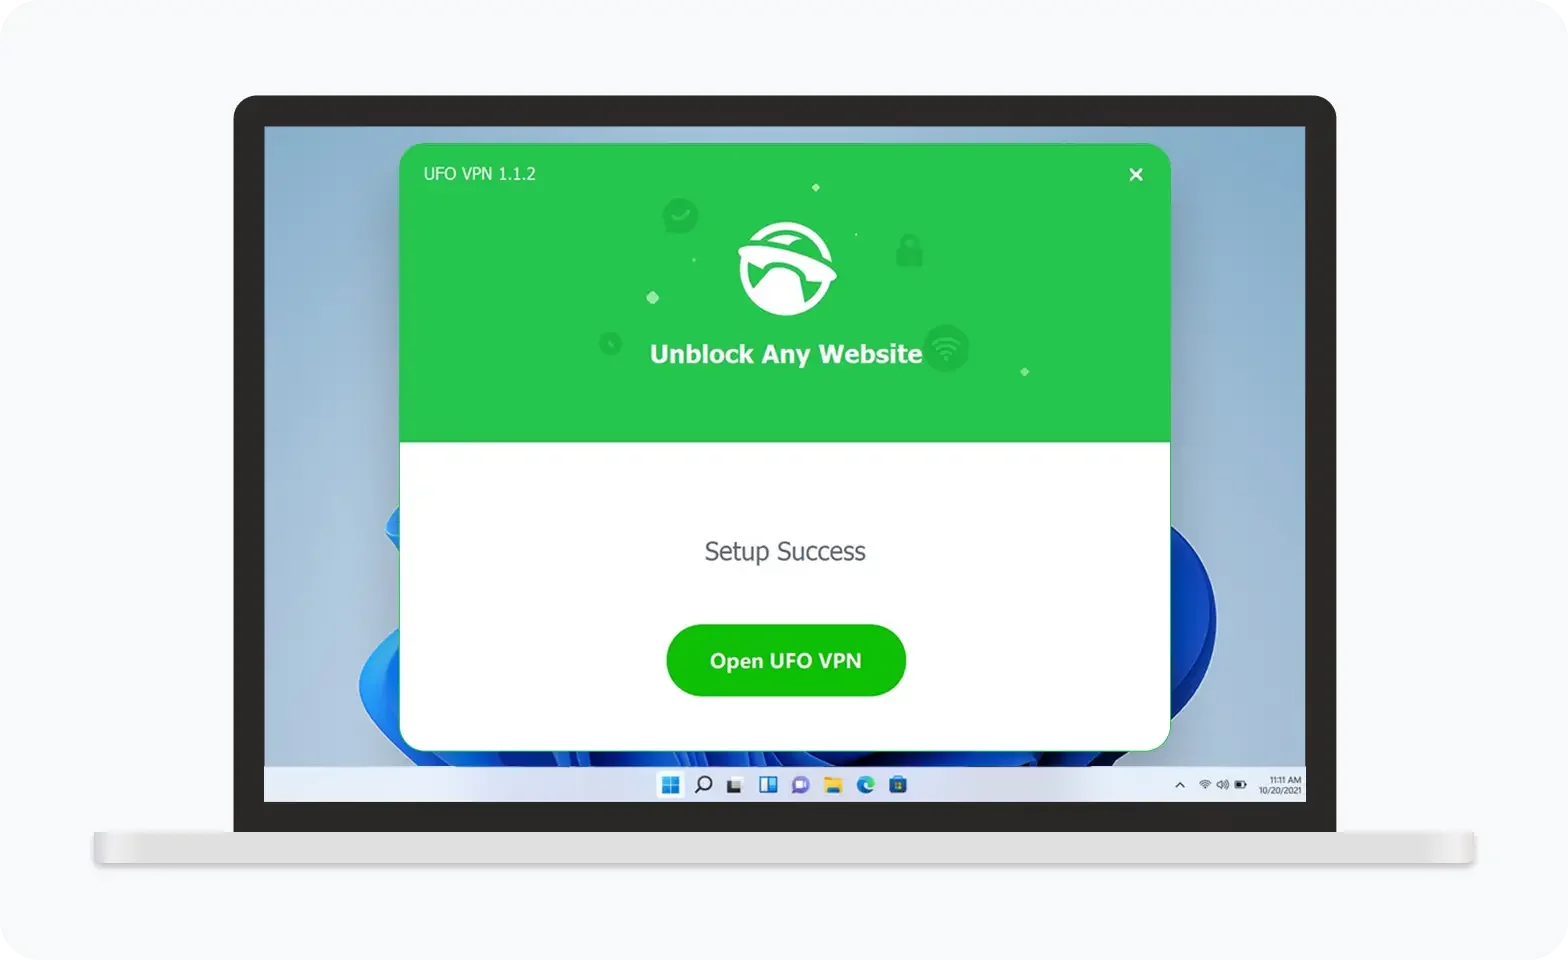
Use a VPN on public Wi-Fi: UFO VPN encrypts all app traffic—Photos, cloud drives, social apps—so uploads and logins aren’t visible to snoops on open networks.
-
Double-check the crop: Ensure sensitive corners aren’t visible in reflections, mirrors, or window glare.
-
Review file details: Consider removing location metadata before sharing (Photos → Info → adjust sharing options; or export without location in the share sheet).
-
Post a lower-res copy when possible: Less detail = fewer clues for stalkers and data harvesters.
These habits complement the blur steps the source advocates and respond to its warning about AI-enhanced data gathering from images.
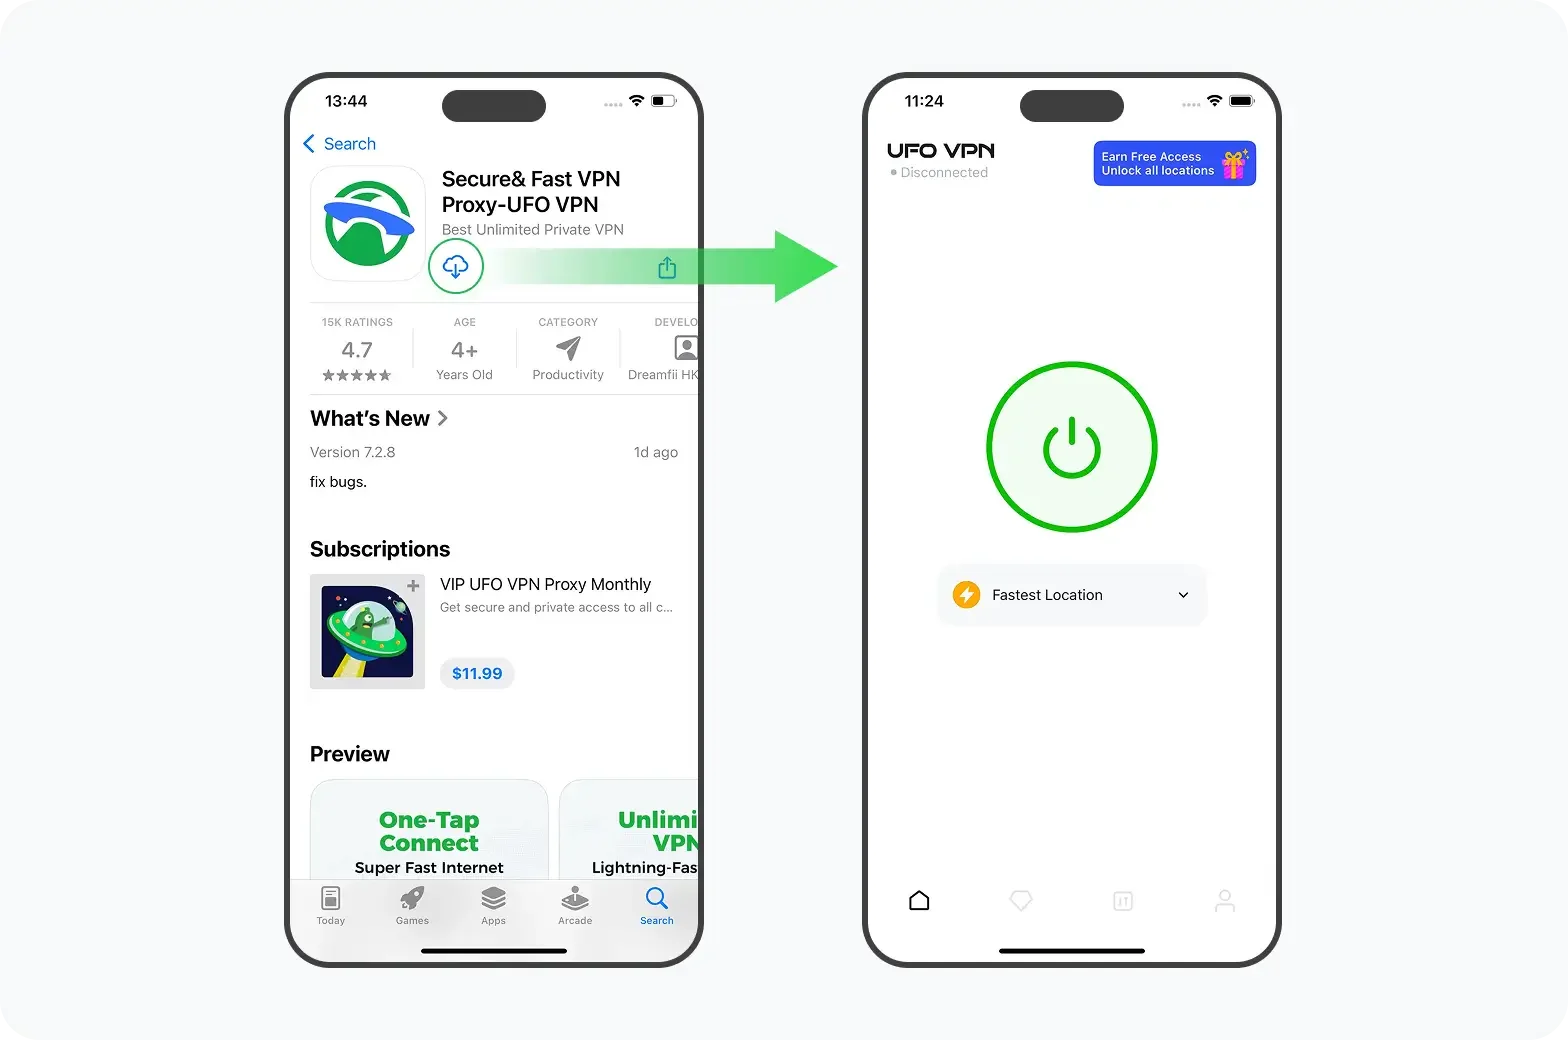
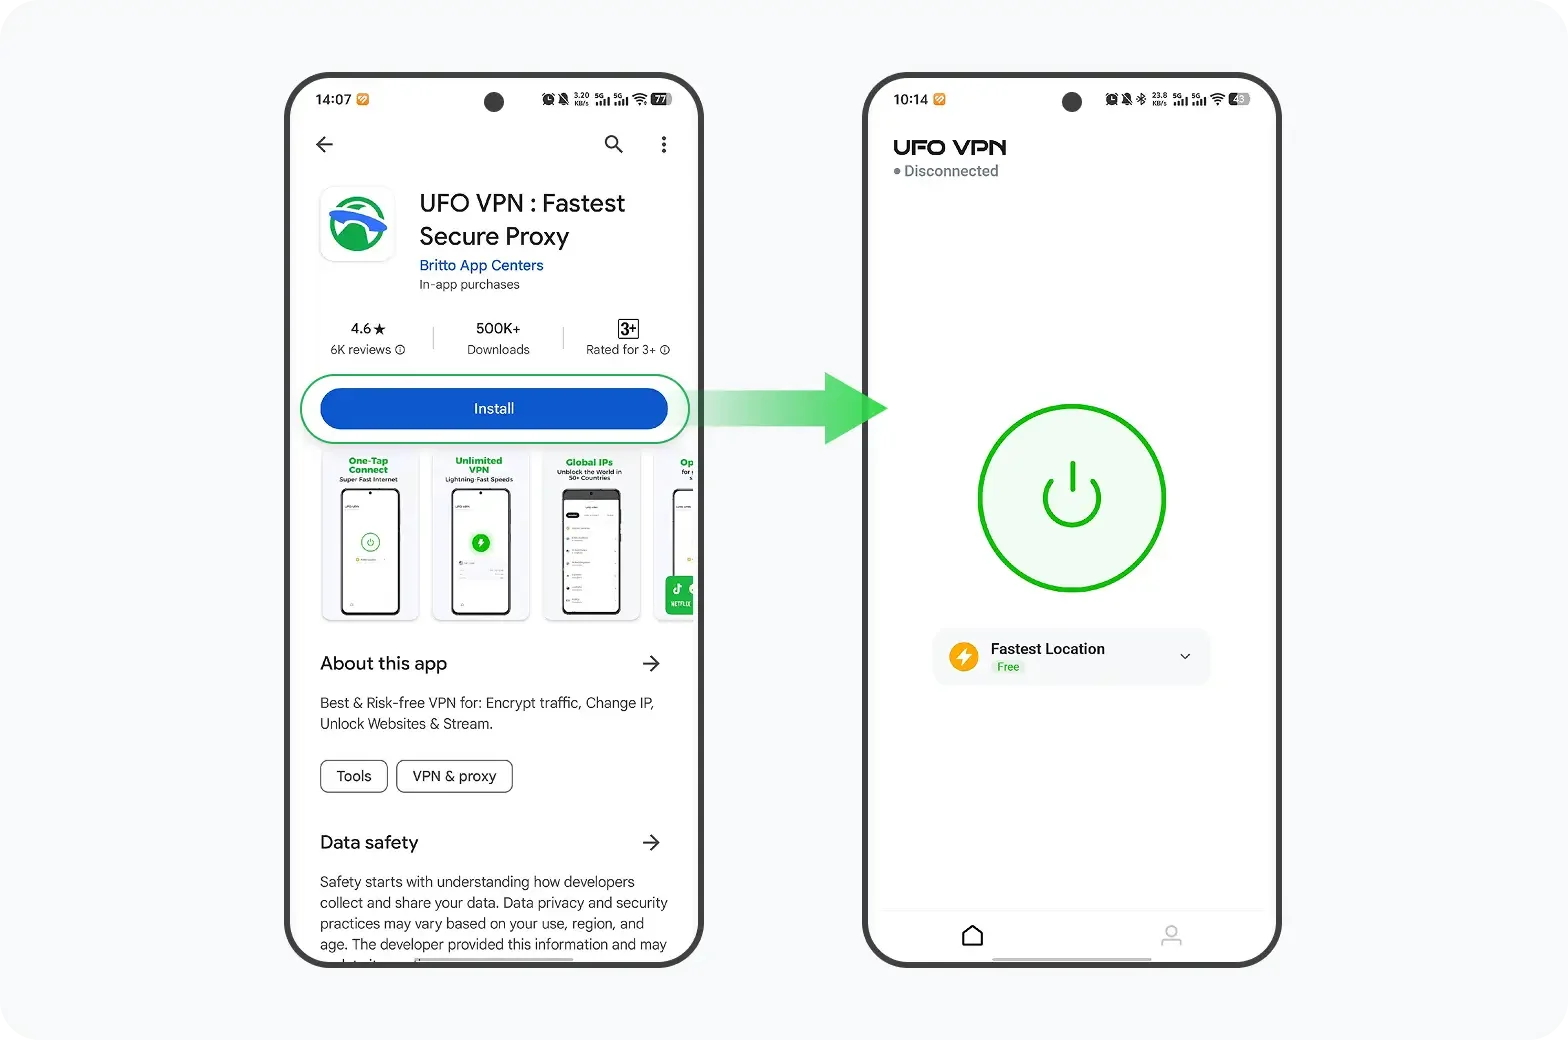
⬇️Get a VPN to protect your privacy in just 4 steps
Pro Tip
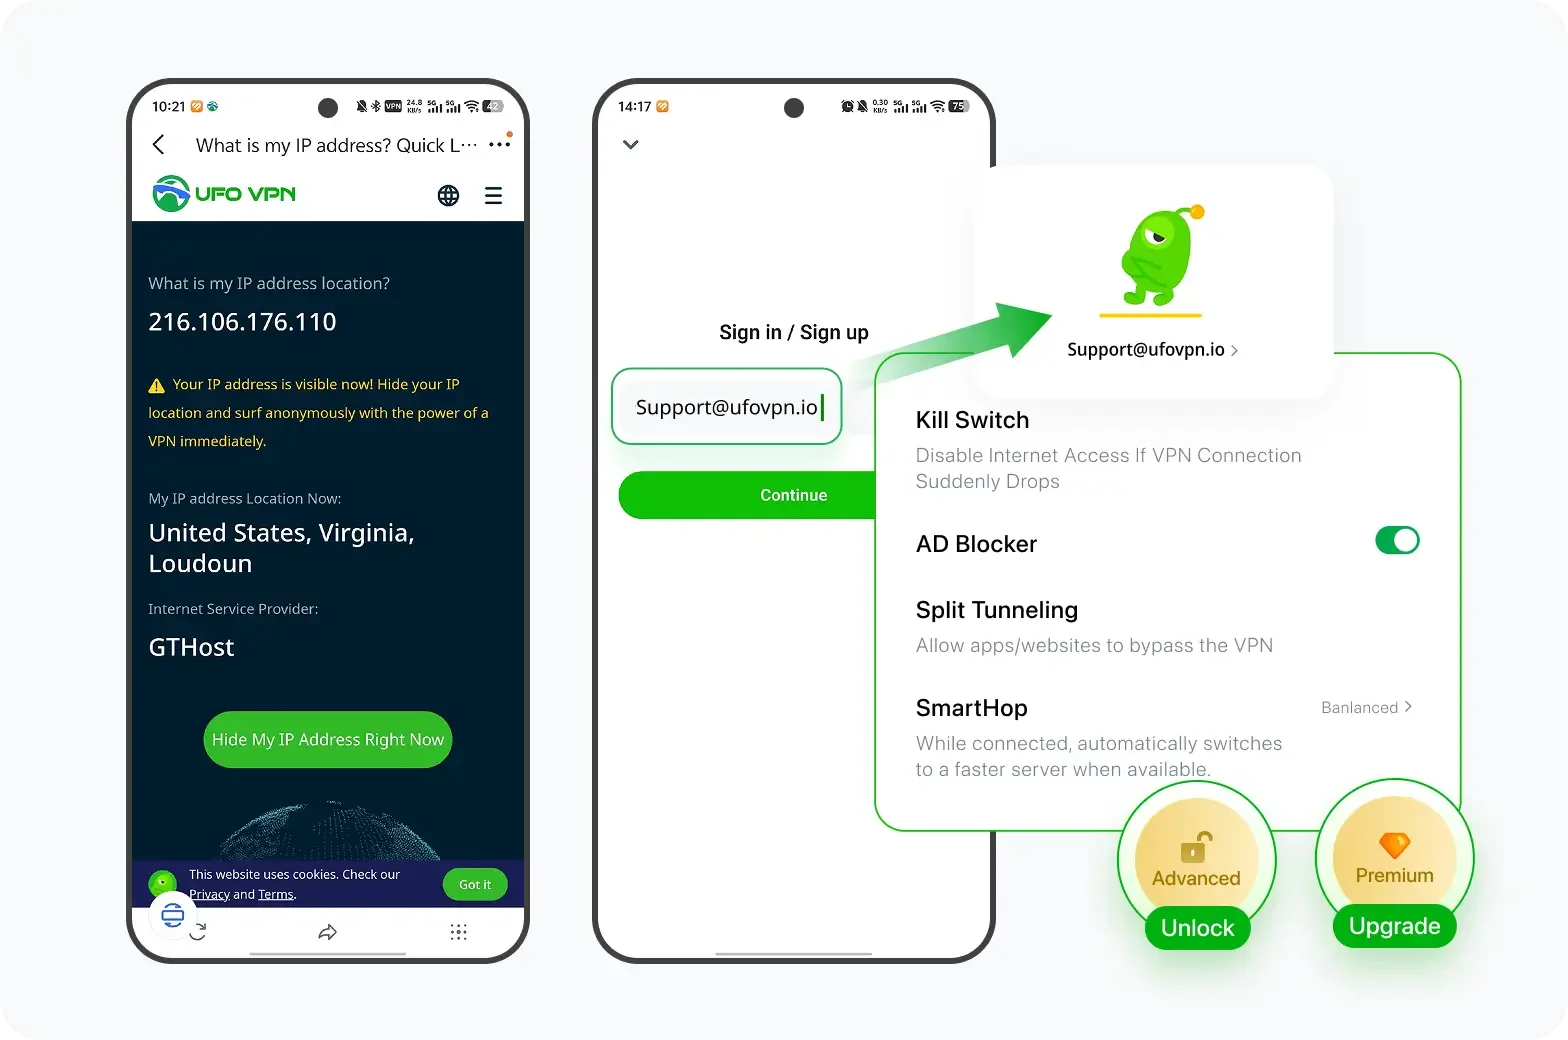
UFO VPN is an all-in-one VPN that offers unlimited access to 4K streaming like Netlfix, Disney Plus, no-ping gaming as PUBG, Roblox, CODM and social networking for YouTube, X, Facebook and more.
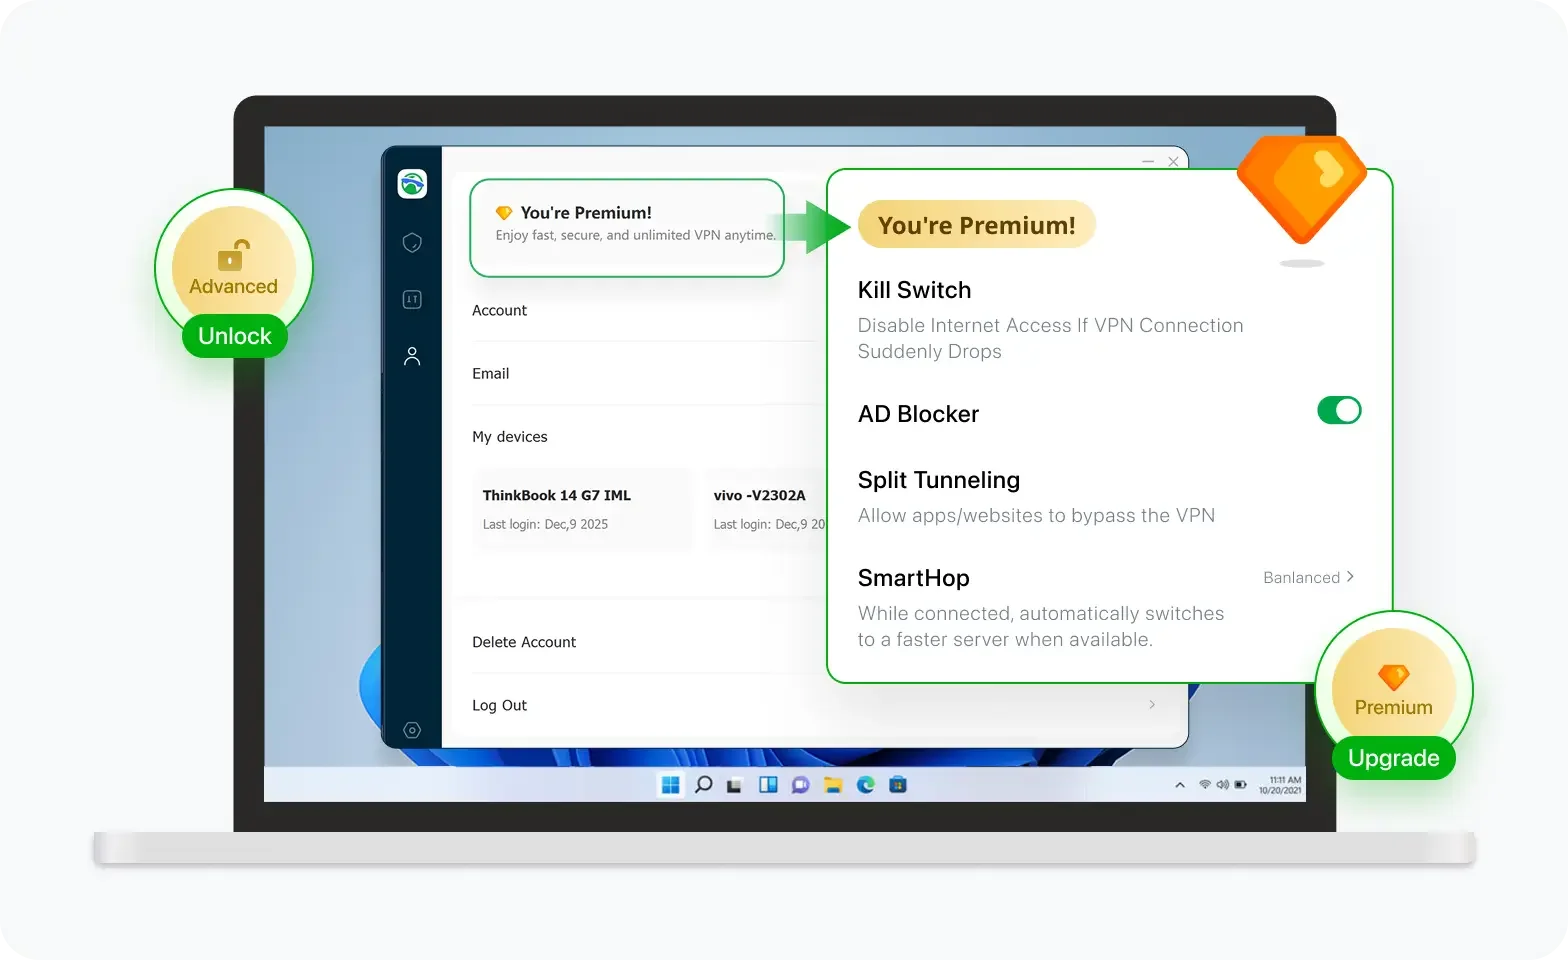

Unlock Pro Features
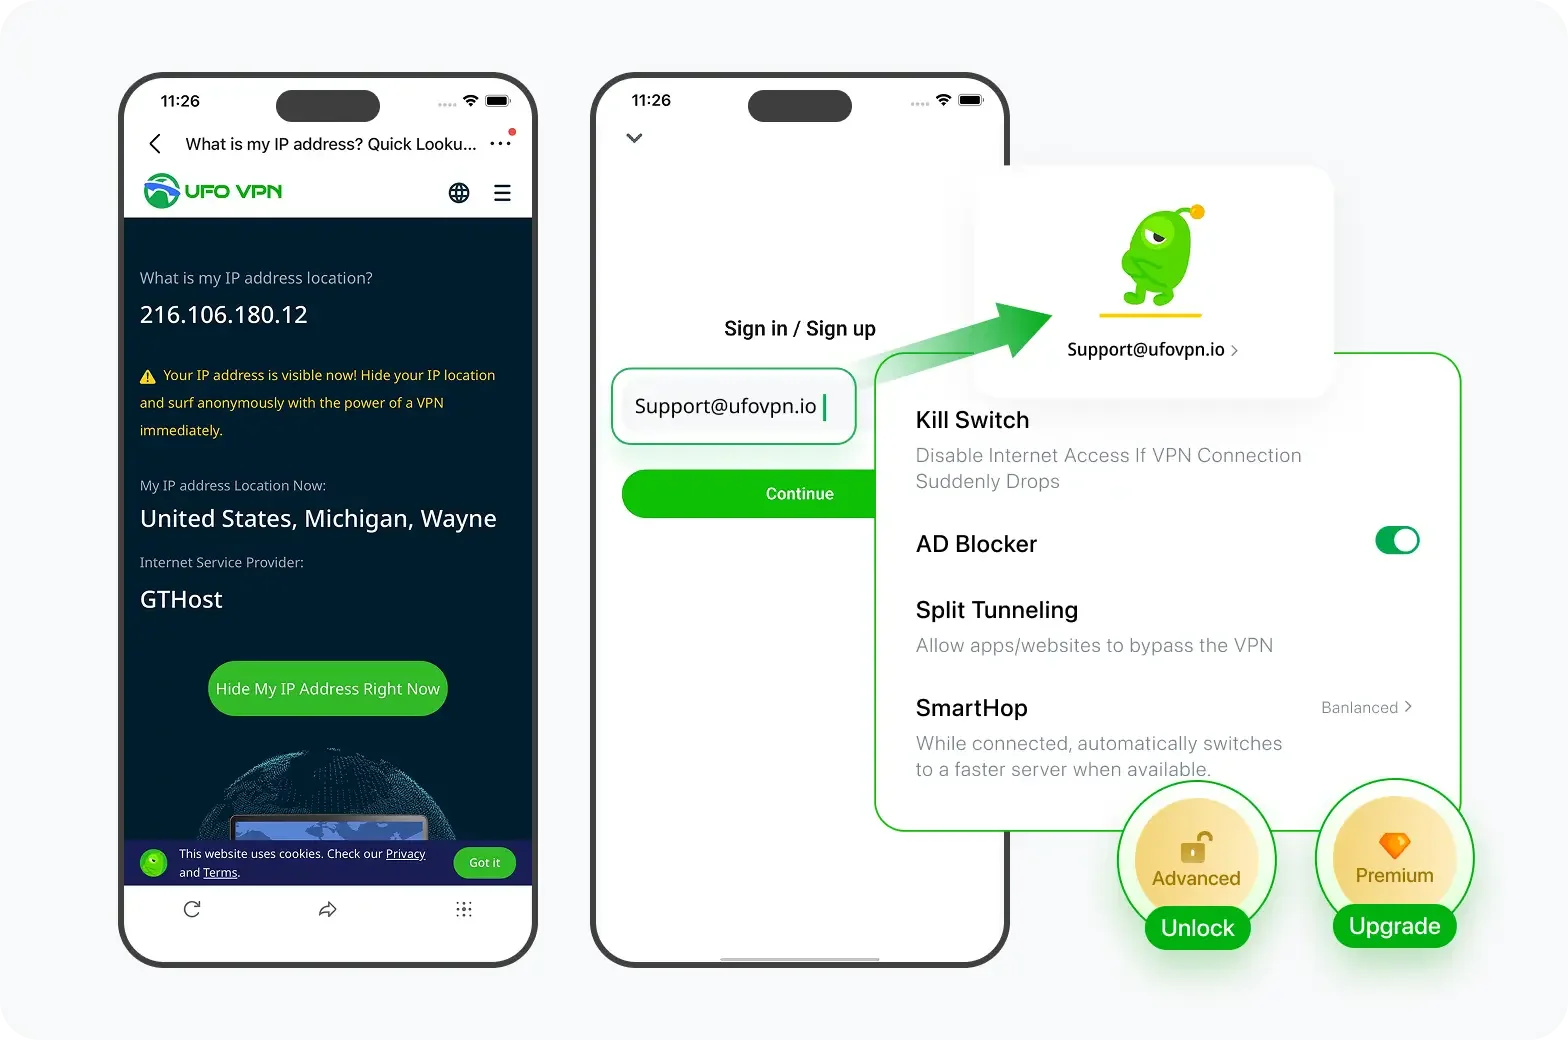
If you have upgraded to premium plan , feel free to enjoy premium servers for 4K streaming and advanced features like Kill Switch, Split Tunneling, and gaming acceleration. Your Mac is now fully optimized and protected. Inaddition to basic functions, we recommend you turn on

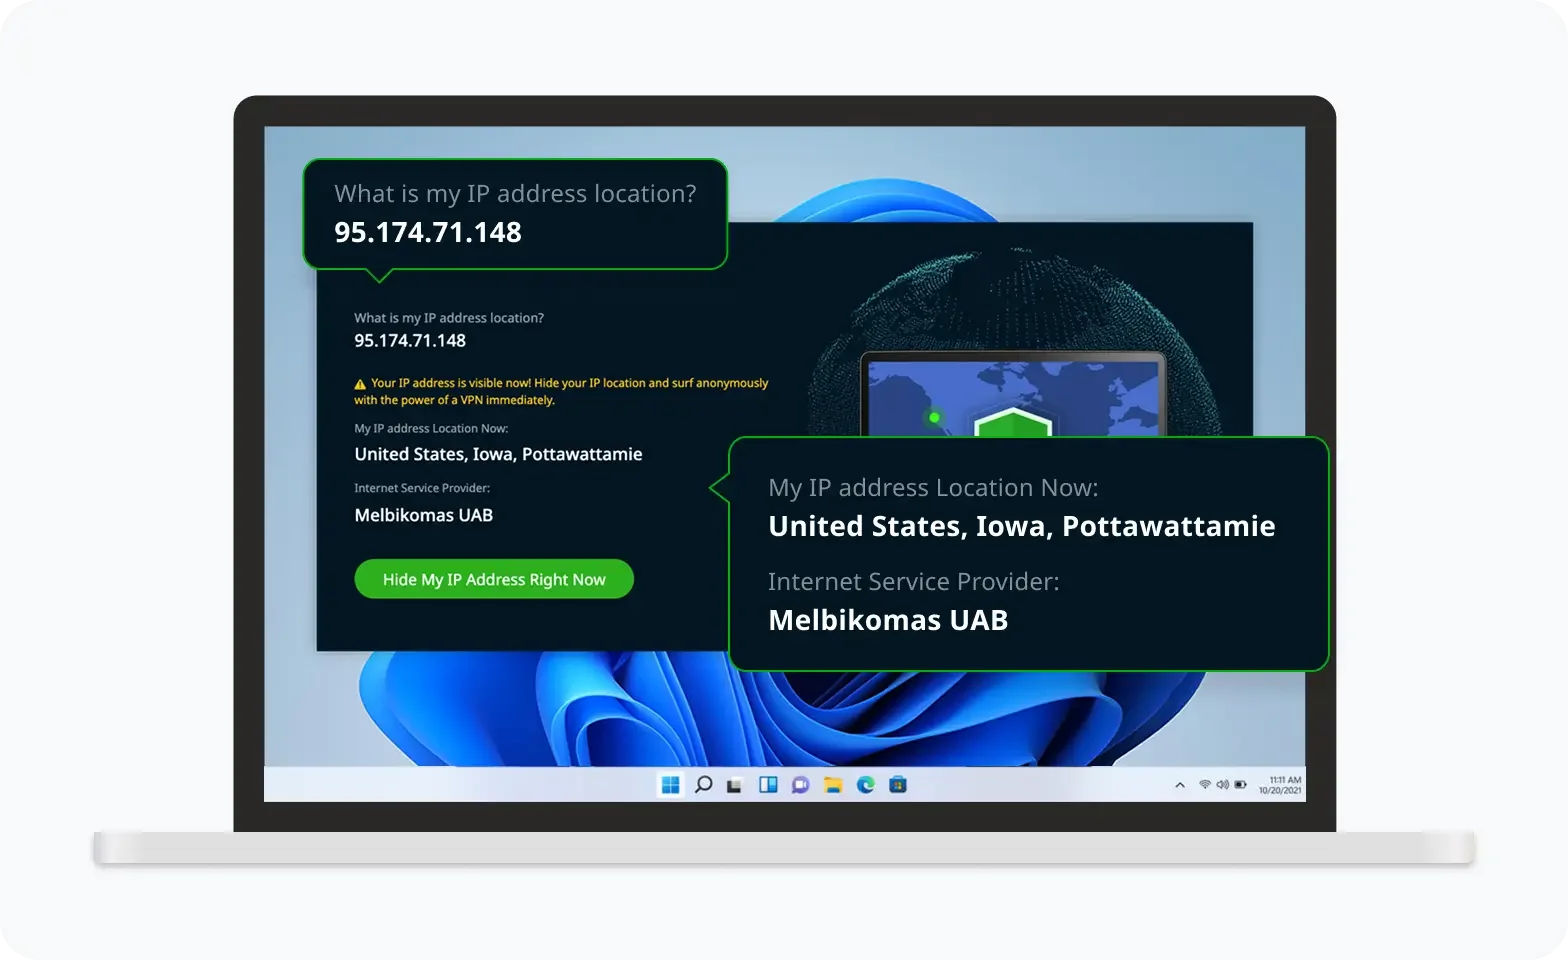
Verify Your IP Now
Use UFO VPN's " What is My IP " feature to see your new IP and location. This confirms your connection is secure, anonymous, and ready for safe browsing online anywhere at any time.


Troubleshooting & edge cases
Readers who search how to blur photos on iPhone often run into the same pitfalls:
-
No Portrait controls? The image probably wasn’t captured in Portrait mode. You can still blur parts with Markup or a third-party app.
-
Edges look “cut-out”? Move the subject away from patterned backgrounds or re-shoot with better separation and light.
-
Need to hide a whole room quickly? Use Portrait Lighting’s more aggressive styles (e.g., Stage Light on a compatible photo) to push everything else to black.
-
Screenshots of chats or tickets: Use Markup rectangles with solid fill (not just transparency) to cover names, codes, or barcodes before posting. The source explicitly suggests using localized blur/cover for sensitive details.
While you refine technique, keep UFO VPN on whenever you’re sharing or backing up over public networks.
Complete quick-reference checklist
To keep how to blur photos on iPhone practical, here’s a concise workflow:
-
Background blur (Portrait): Photos → Edit → adjust depth & lighting → Save.
-
Selective blur (Markup): Edit → Markup → + → Add shape → adjust fill/blur → Done.
-
Hide entire background: Use Stage Light (where available) to isolate the subject.
-
Before posting: Remove location data; review reflections; export a lower-res copy.
-
When uploading on public Wi-Fi: Use UFO VPN for encrypted traffic.
This list keeps your how to blur photos on iPhone article scannable and beginner-friendly.
FAQs
What’s the fastest way to blur a background on iPhone?
Use iPhone Portrait mode and adjust blur in Photos → Edit with the depth/Portrait controls; it’s native and reversible.
How do I blur part of a picture iPhone style without extra apps?
Open the image/screenshot → Edit → Markup → + → Add shape, position it, and tweak fill/blur intensity; save when done.
Can I completely remove the background with built-in tools?
On compatible Portrait shots, Stage Light can dramatically darken/isolate the subject for maximum privacy.
Why should I blur photos for privacy?
Blurring helps hide IDs, plates, and other sensitive details. With AI recognition rising, masking private data before posting reduces risk.
Does incognito/private browsing protect photo uploads?
No. Incognito affects local history, not network exposure. Use UFO VPN to encrypt uploads and logins on public Wi-Fi.
What if I didn’t shoot in Portrait—can I still get background blur?
You won’t have true depth sliders, but you can use Markup to cover sensitive areas or third-party apps to simulate blur.
Where does a VPN fit in all of this?
A VPN doesn’t blur images—it protects the connection when you upload, share, or sync. UFO VPN keeps your traffic encrypted and masks your IP, which pairs perfectly with the privacy best practices above.