What is a Private DNS Server?
A Private DNS server is used to encrypt DNS queries, protecting your online privacy. Unlike traditional public DNS servers, a Private DNS server transmits data over secure protocols like DNS-over-TLS (DoT) or DNS-over-HTTPS (DoH), ensuring that your DNS requests are not intercepted or tampered with by third parties. By routing your DNS requests securely, Private DNS increases privacy and security, preventing surveillance and DNS poisoning attacks.
Common Causes of “Private DNS Server Cannot Be Accessed” Error
This error may arise from several issues that prevent your device from connecting to the Private DNS server. The common causes include:
-
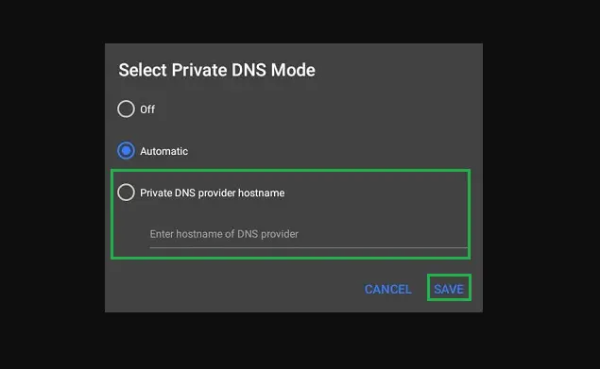
Incorrect DNS Configuration: If the Private DNS provider’s hostname is entered incorrectly, your device will not be able to reach the DNS server.
-
Weak or Unstable Network Connection: Poor Wi-Fi or mobile data connections can disrupt DNS server access.
-
Security Software Interference: Firewall settings, VPNs, or proxy software can block DNS traffic, causing the error.
-
ISP Restrictions: Some Internet Service Providers may block DNS traffic or restrict access to specific DNS servers.
By understanding the potential causes, you can target the right solution to fix the issue.
How to Fix the “Private DNS Server Cannot Be Accessed” Error
Follow these troubleshooting steps to resolve the error:
-
Check the Private DNS Hostname:
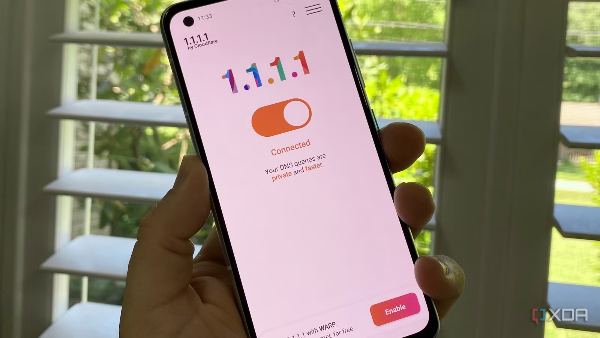
Ensure that the correct DNS provider’s hostname is entered in your device’s settings. Common hostnames includedns.googlefor Google DNS and1dot1dot1dot1.cloudflare-dns.comfor Cloudflare DNS. If the hostname is incorrect, your device will fail to connect to the Private DNS server. -
Restart Your Router:
Sometimes, the issue may stem from your home network. Power cycle your router by turning it off, waiting for 30 seconds, and turning it back on. This can clear any network issues and allow your device to reconnect properly. -
Switch to a Different Network:
If you're using a weak Wi-Fi connection or unstable mobile data, try connecting to another Wi-Fi network or switch to mobile data. A stronger network connection might help your device connect to the Private DNS server successfully. -
Disable Security Software:
Firewalls, VPNs, or proxy services on your device or router may block DNS traffic. Temporarily disable any security software, including VPNs, and check if the error is resolved. You can later configure your VPN settings to ensure they don’t interfere with DNS connections. -
Update Your Device’s Operating System:
Ensure that your device is running the latest software update, as outdated versions may cause compatibility issues with DNS settings. Check for system updates and install them if available. -
Clear DNS Cache:
DNS cache stores previous DNS queries to speed up browsing. If the cache contains outdated or corrupted DNS records, it can lead to errors. Clear the DNS cache on your device to ensure fresh DNS queries are used. -
Try a Different DNS Provider:
If the issue persists, consider switching to a different DNS provider. Google DNS and Cloudflare DNS are excellent alternatives for Private DNS. To use them, simply enter their hostnames in your device’s Private DNS settings.
How VPN Can Enhance Your DNS Security
When facing DNS issues, a free proxy VPN in UFO VPN can help maintain a secure and stable connection by offering an encrypted tunnel for your internet traffic. Here’s how using UFO VPN improves your DNS security:
-
Encryption: UFO VPN encrypts your DNS requests, preventing hackers and third parties from intercepting or tampering with your DNS queries, which could lead to attacks like DNS spoofing.
-
Bypass ISP Restrictions: If your ISP is blocking or restricting access to certain DNS servers, UFO VPN allows you to bypass these restrictions by masking your DNS requests and routing them through a secure server.
-
Improved Privacy: By encrypting your DNS traffic, UFO VPN ensures that your online activity remains private, protecting you from surveillance and tracking while browsing the web.
-
Uninterrupted Connectivity: UFO VPN also prevents interruptions from firewalls or other security measures that could block DNS traffic, ensuring that your connection to Private DNS servers is seamless and uninterrupted.
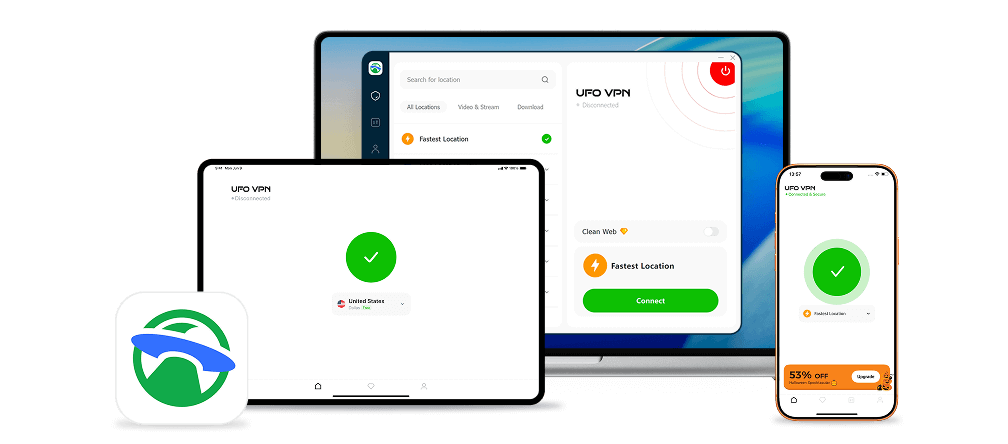
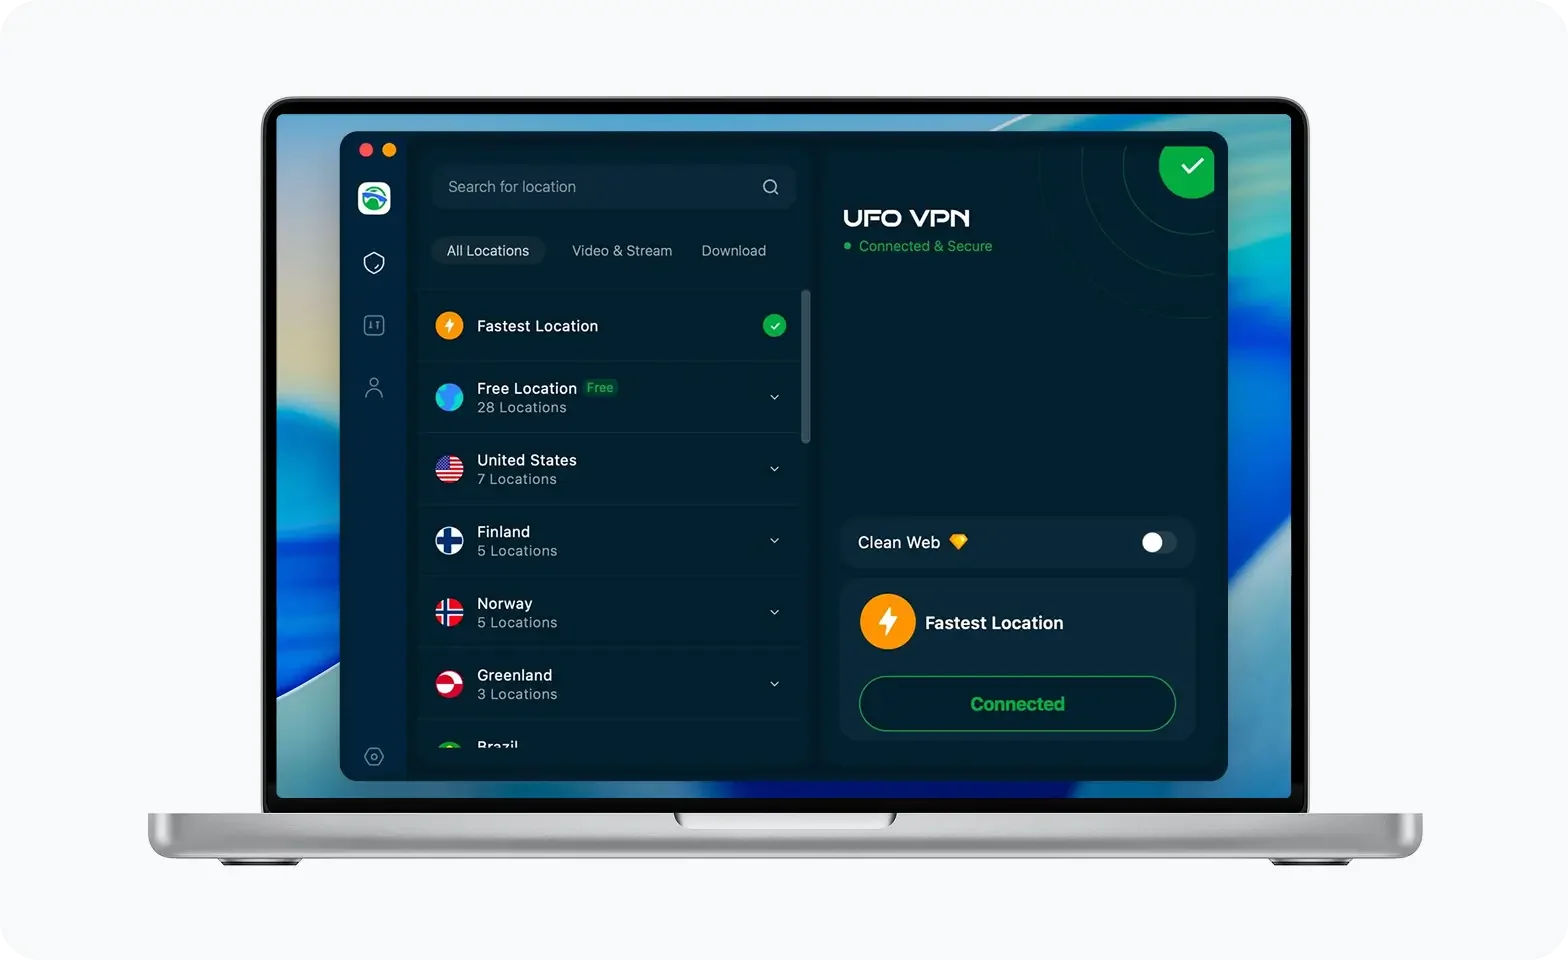
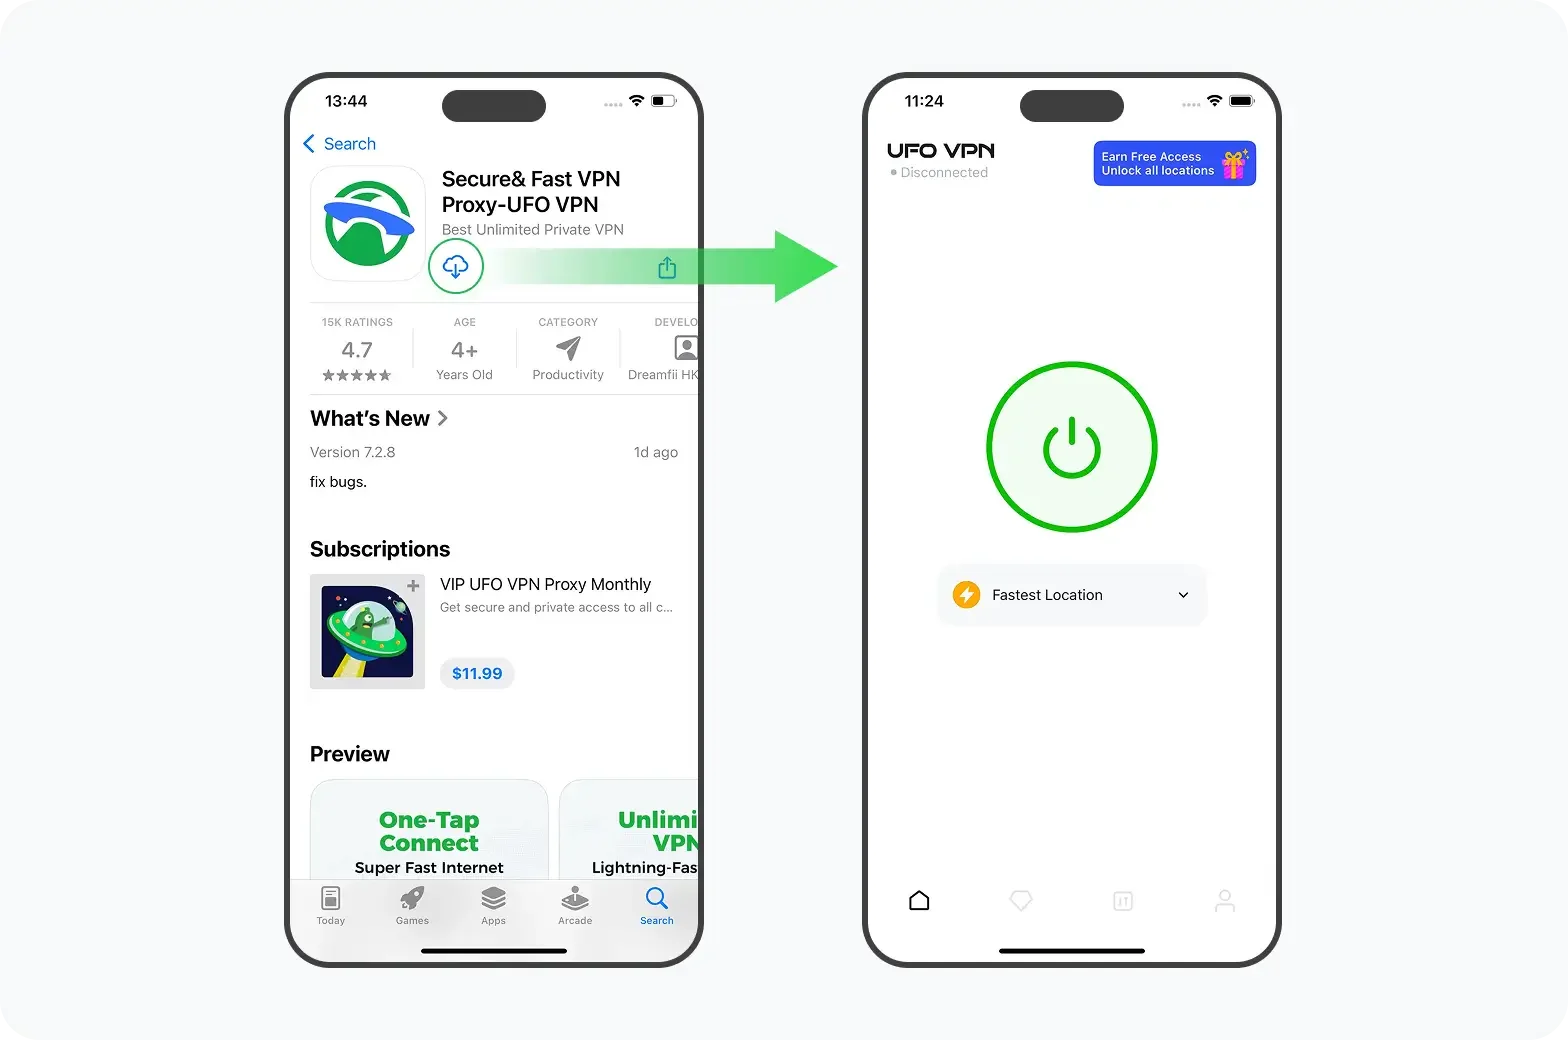
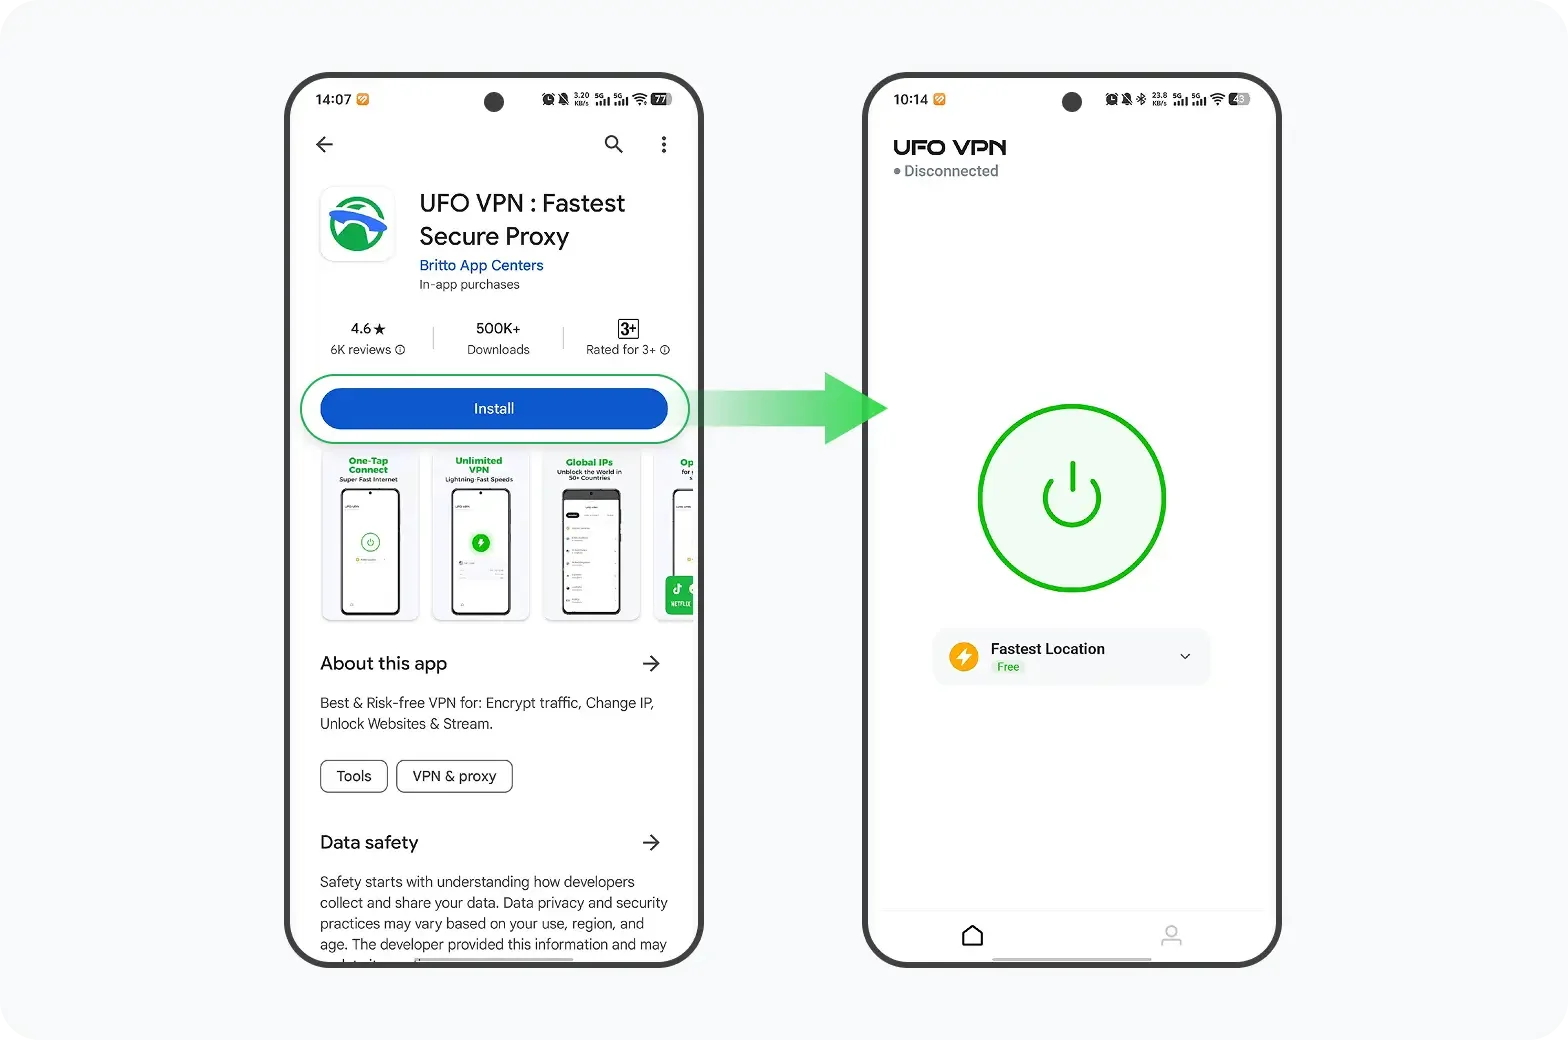
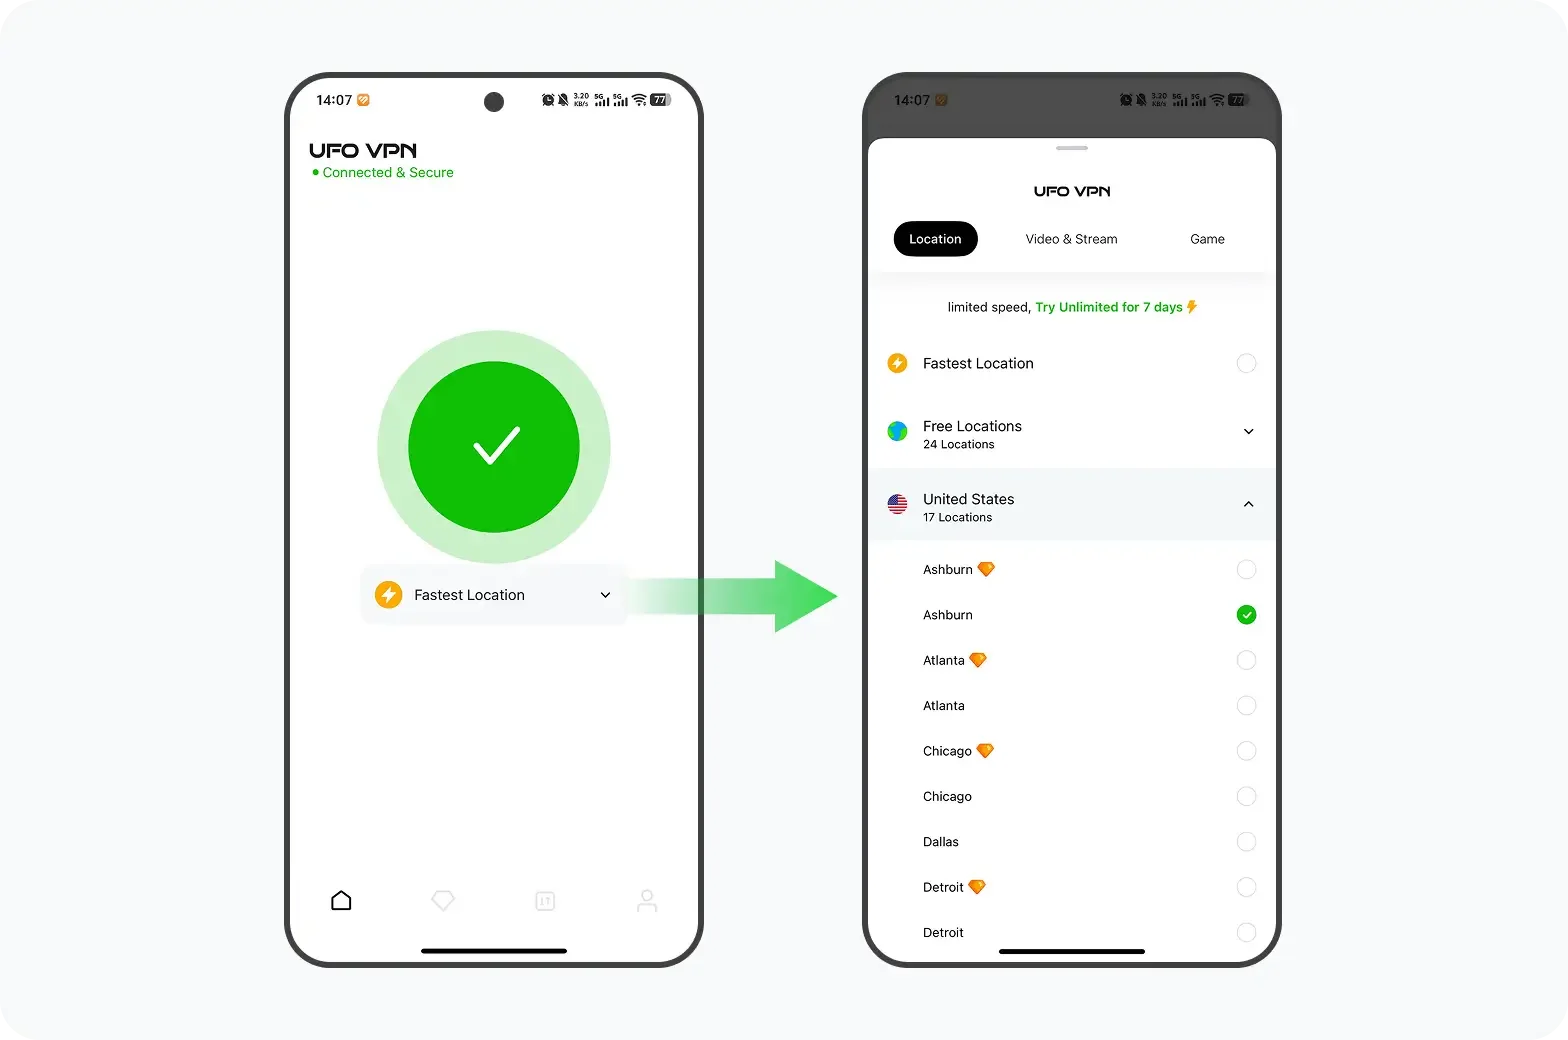
💛4 Steps to Open UFO VPN💛
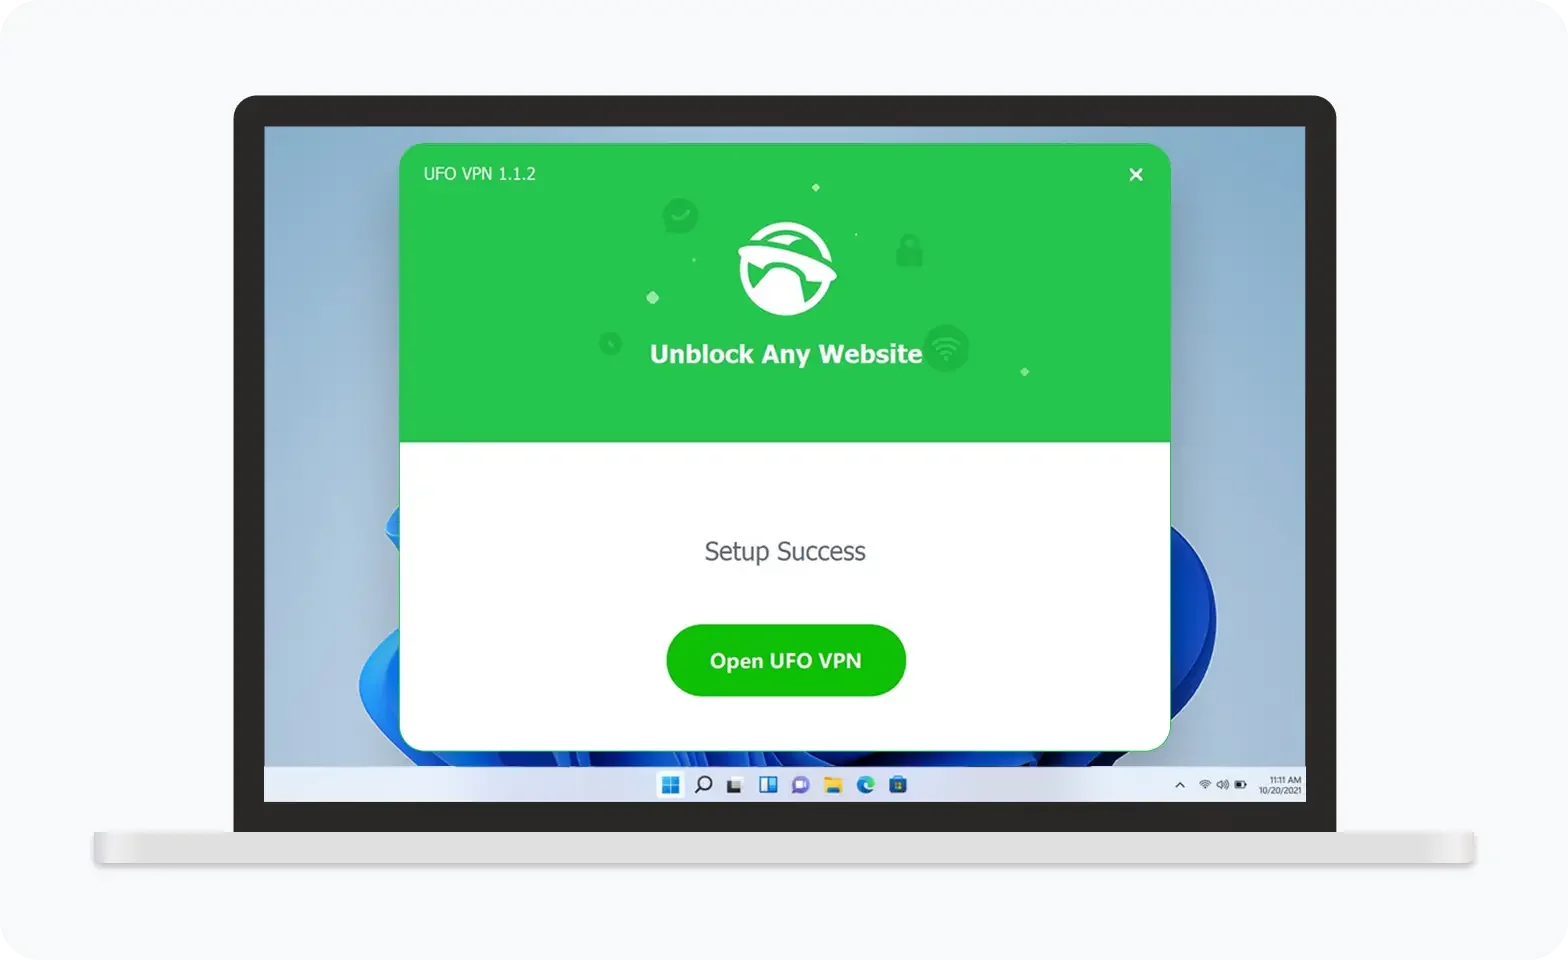
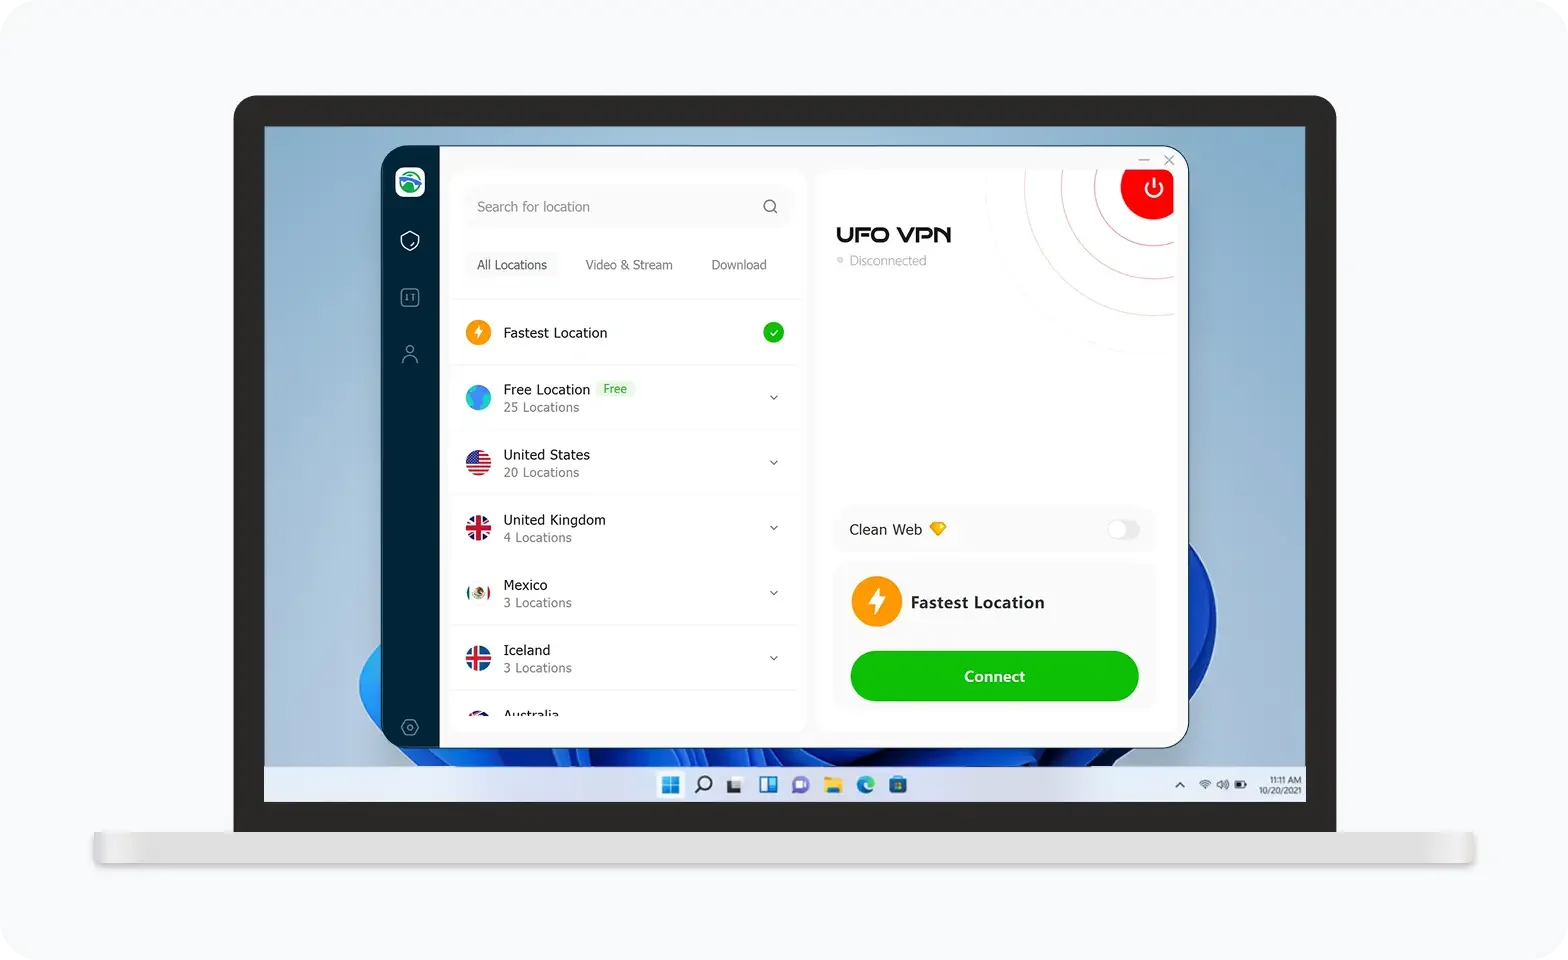
UFO VPN is an all-in-one VPN that offers unlimited access to 4K streaming like Netlfix, Disney Plus, no-ping gaming as PUBG, Roblox, CODM and social networking for YouTube, X, Facebook and more.
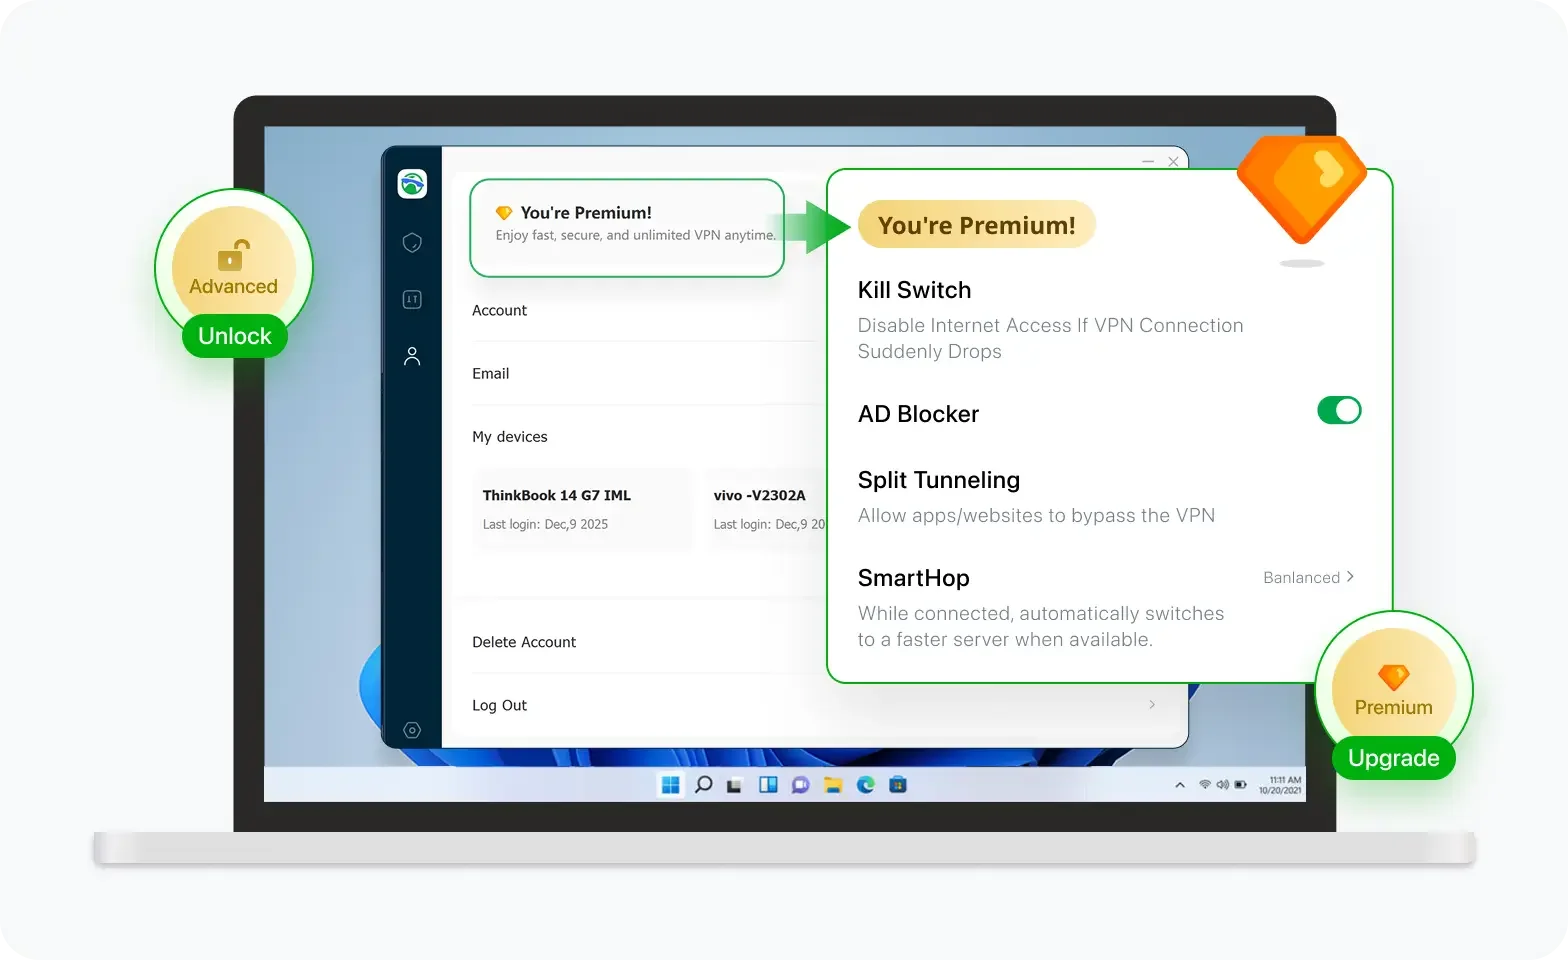

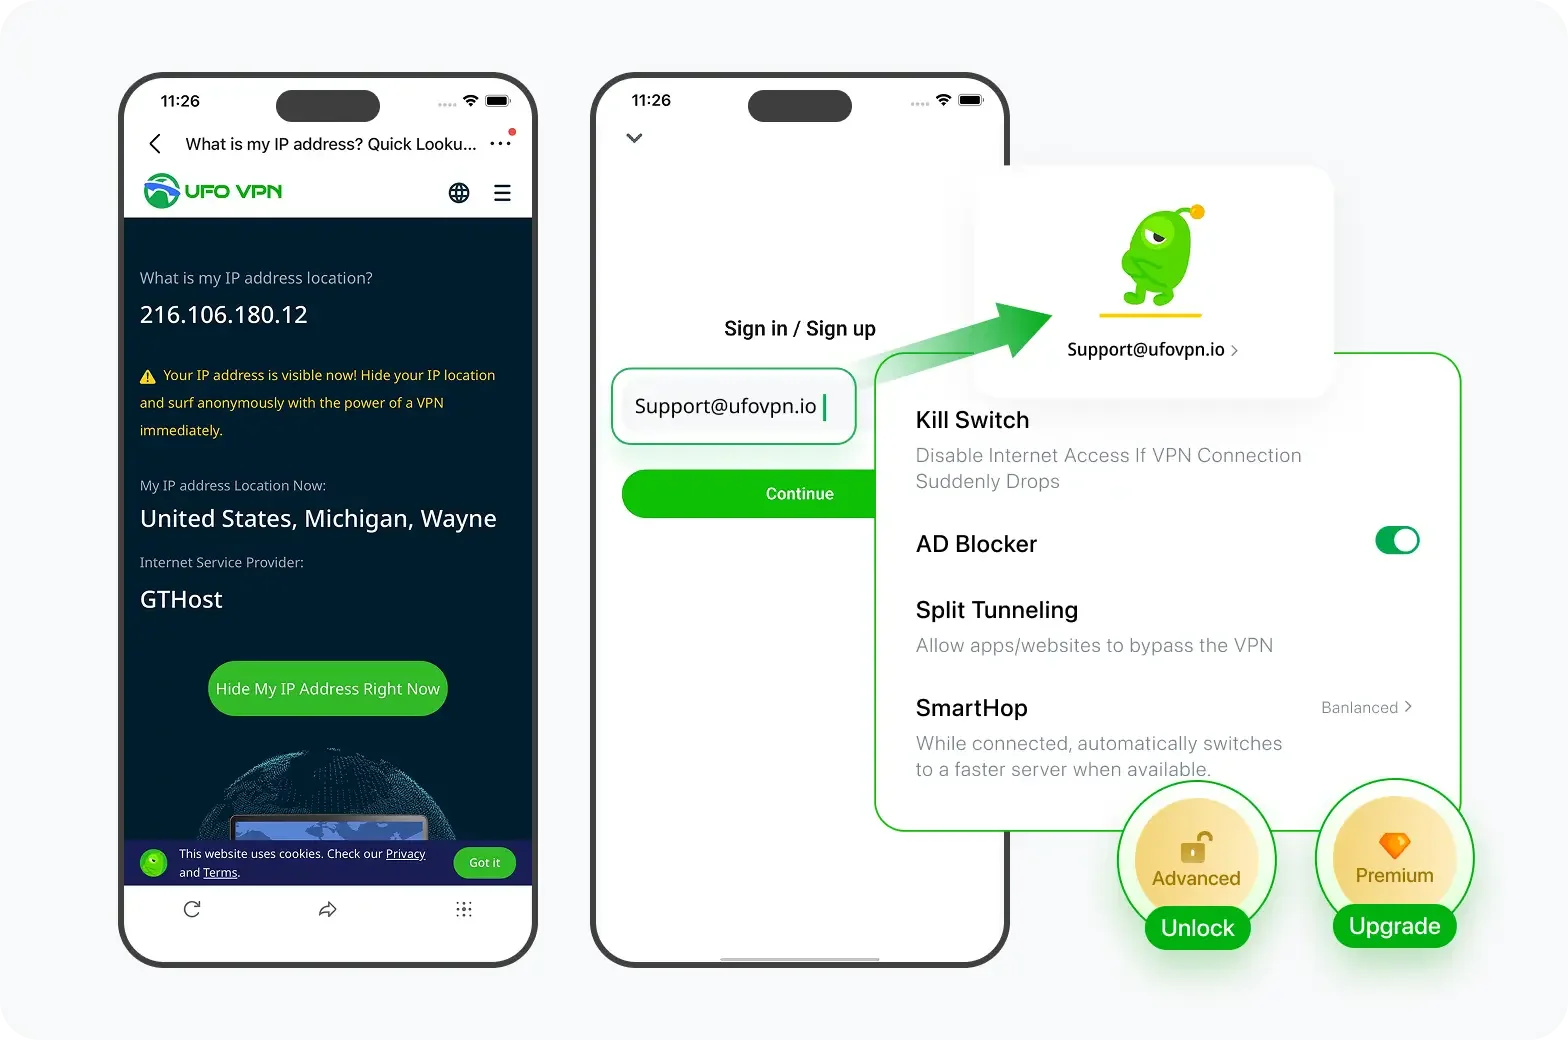
Unlock Pro Features
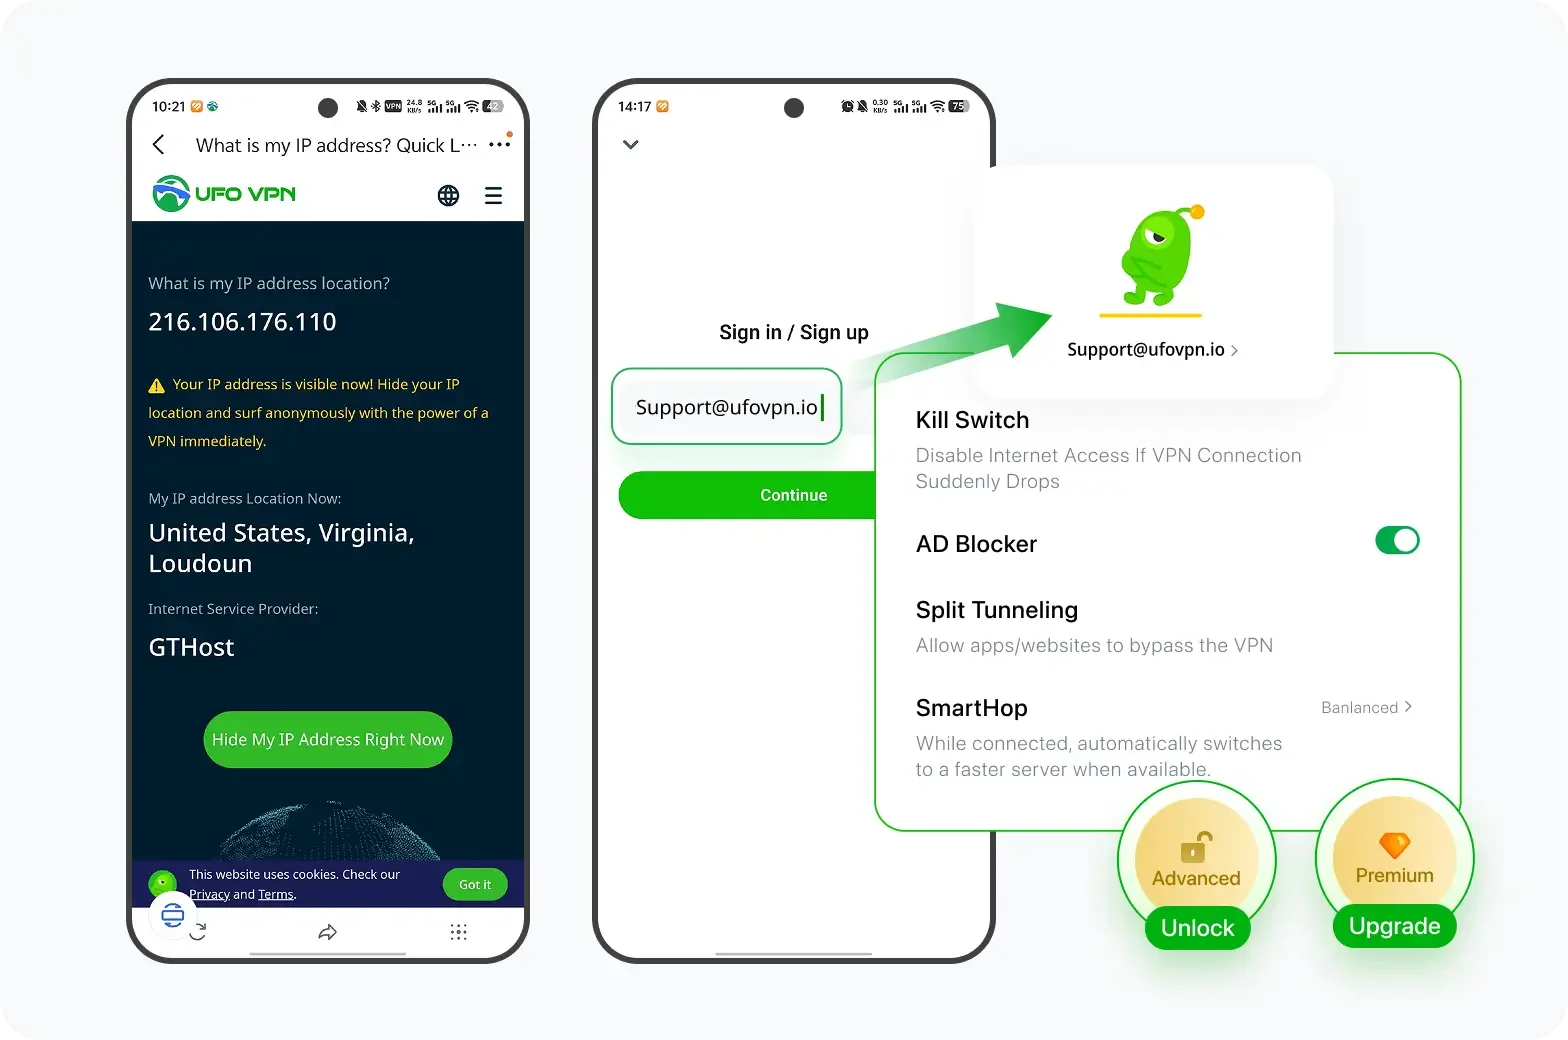
If you have upgraded to premium plan , feel free to enjoy premium servers for 4K streaming and advanced features like Kill Switch, Split Tunneling, and gaming acceleration. Your Mac is now fully optimized and protected. Inaddition to basic functions, we recommend you turn on

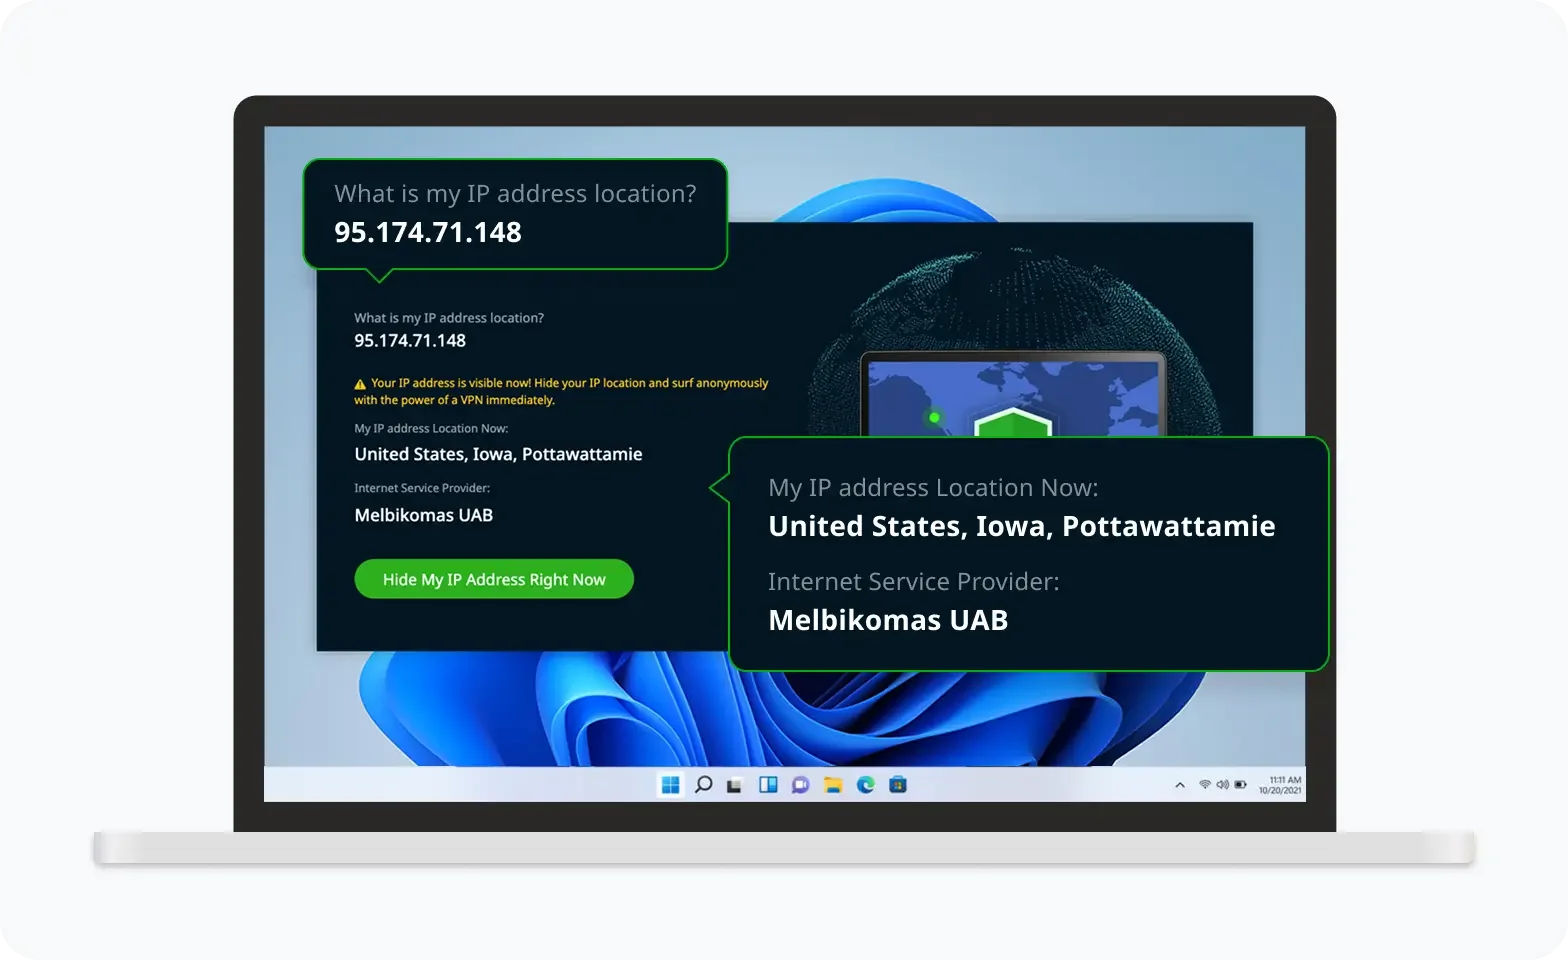
Verify Your IP Now
Use UFO VPN's " What is My IP " feature to see your new IP and location. This confirms your connection is secure, anonymous, and ready for safe browsing online anywhere at any time.


Troubleshooting Advanced Issues about Private DNS
If you’ve followed all the steps above and the error persists, consider these additional troubleshooting methods:
-
Check Router Settings: If your router is configured with its own DNS settings, make sure that the DNS settings align with your device’s Private DNS settings. Misconfigurations in your router can cause devices to be unable to access the DNS server.
-
Consult Your ISP: In rare cases, your ISP may be blocking access to certain DNS providers or the DNS-over-TLS/DoH protocols. Contact your ISP to ensure they are not restricting access to DNS servers.
-
Test with Another Device: To verify whether the issue is with your device or network, try connecting to the same network with another device. If the second device can access the DNS server, the issue may lie with your device’s settings.
FAQs
How do I check if my Private DNS settings are correct?
Navigate to your device’s network settings and verify that the DNS provider hostname matches the correct DNS provider, such as dns.google or 1dot1dot1dot1.cloudflare-dns.com.
Why does my device still show the error after changing DNS providers?
The issue may be due to a weak network connection, outdated software, or interfering security software. Try restarting your router, updating your device, or temporarily disabling firewalls or VPNs.
How can UFO VPN help with DNS issues?
UFO VPN encrypts your internet traffic, including DNS queries, preventing interception and bypassing ISP restrictions, ensuring secure and uninterrupted access to DNS servers.
Can I use any DNS provider with the Private DNS feature?
Yes, you can configure your device to use any DNS provider that supports DNS-over-TLS or DNS-over-HTTPS. Popular options include Google DNS, Cloudflare DNS, and OpenDNS