What is Private DNS and Why Should You Use It?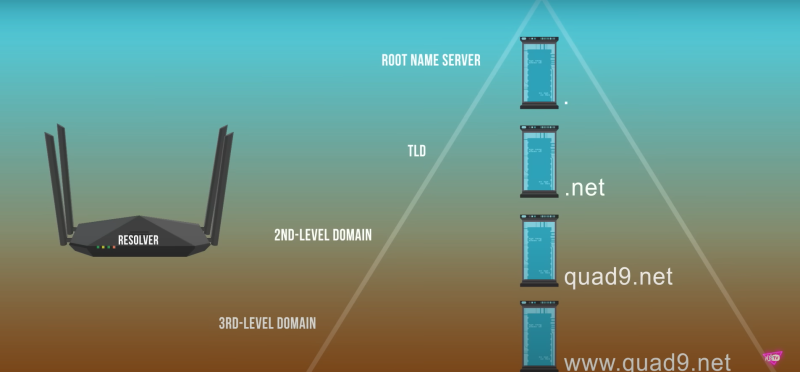
Private DNS on Android is a feature that allows you to encrypt your DNS queries, enhancing the privacy and security of your internet connection. DNS (Domain Name System) is responsible for translating domain names (like www.example.com) into IP addresses. Typically, DNS requests are not encrypted, which means your Internet Service Provider (ISP) or other third parties can potentially monitor your online activities.
Private DNS addresses this by encrypting DNS traffic, preventing anyone from intercepting or reading it. This adds an extra layer of protection against data snooping and tracking. The most popular DNS providers supporting DNS encryption include DNS over HTTPS (DoH) and DNS over TLS (DoT).
Why You Should Use Private DNS on Android:
- Privacy Protection: Encrypts DNS queries, making it harder for your ISP or third parties to track your online activity.
- Enhanced Security: Protects your device from malicious websites by using secure DNS providers.
- Prevents Censorship: Blocks DNS-based censorship by allowing you to choose from a range of trusted DNS servers.
By enabling Private DNS on your Android device, you safeguard your online activity from prying eyes and improve your overall internet security.
Setting Up Private DNS on Android
Steps for Android 9 and Later
If you're using Android 9 (Pie) or later, setting up Private DNS is relatively simple:
-
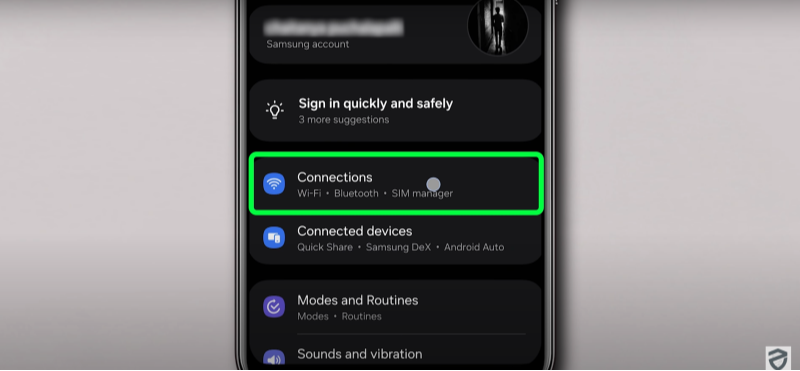
Open Settings: Tap on the "Settings" app on your Android device.
-
Go to Network & Internet: Scroll down and select "Network & Internet."
-
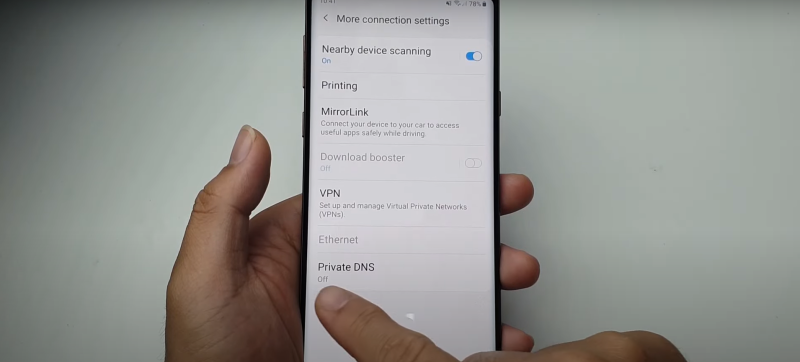
Select Private DNS: Find and tap on the "Private DNS" option.
-
Choose Private DNS Provider: Select the "Private DNS provider hostname" option.
-
Enter the DNS Provider Hostname:
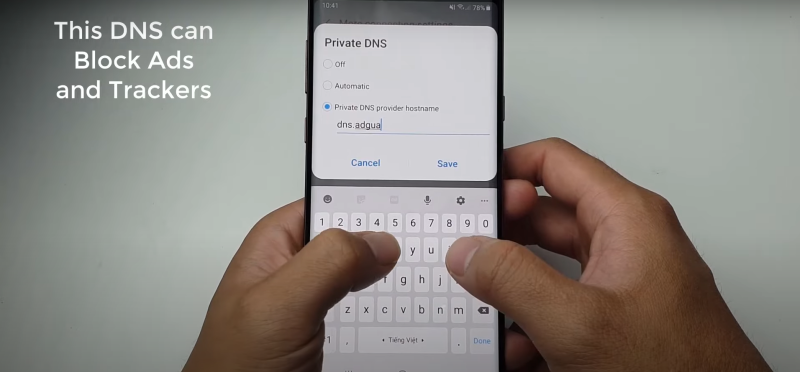
- For Google DNS, enter:
dns.google - For Cloudflare DNS, enter:
1dot1dot1dot1.cloudflare-dns.com - For UFO VPN’s DNS, enter:
shield.ufovpn.io(if you want to pair with UFO VPN for added security).
- For Google DNS, enter:
-
Save Settings: After entering the hostname, tap "Save" to apply the changes.
With this configuration, your Android device will now use encrypted DNS queries through the selected DNS provider.
Steps for Older Android Versions (Android 8 and Below)
Older Android versions don’t have the built-in Private DNS option, so you may need to manually configure it using third-party apps:
- Install a DNS App: Download an app like DNS Changer from the Google Play Store.
- Choose Your DNS Provider: Open the app and choose your desired DNS provider, such as Google DNS or Cloudflare DNS.
- Enable DNS over HTTPS (DoH): Some apps allow you to use DNS over HTTPS for encryption. Select this option for added security.
- Activate DNS: Activate the DNS service, and it will automatically begin using the encrypted DNS.
For those with older Android versions, using a third-party DNS app is an easy way to enable DNS encryption.
Benefits of Using Private DNS on Android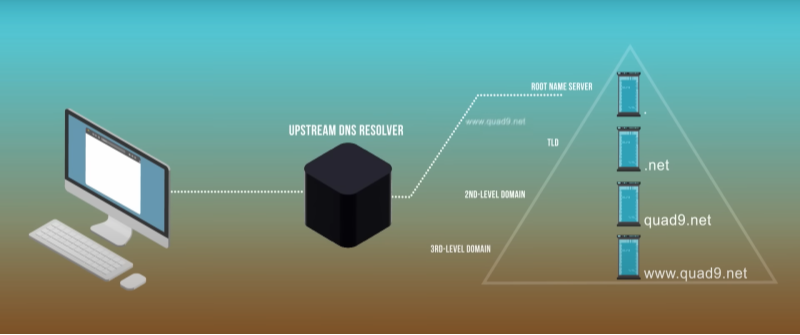
Enabling Private DNS on your Android device provides multiple benefits that enhance your overall online experience:
Enhanced Privacy
By using Private DNS, your DNS queries are encrypted, ensuring that your browsing history and online behavior are not visible to third parties, including your ISP. This makes it much harder for companies or malicious actors to track your activities, improving your privacy.
Protection from Tracking and Malware
Private DNS helps block unwanted tracking from advertising networks and malicious websites that attempt to steal your data. With encrypted DNS, your device is protected from DNS-based attacks and malicious redirects.
Improved Security
A secure DNS service ensures that you are not connecting to malicious or fraudulent websites. By using DNS over HTTPS or DNS over TLS, your device’s communication with the DNS provider is encrypted, providing an extra layer of protection against cyber threats.
With Private DNS, your device benefits from heightened security against various online threats, making it a must-have for any Android user concerned about their privacy.
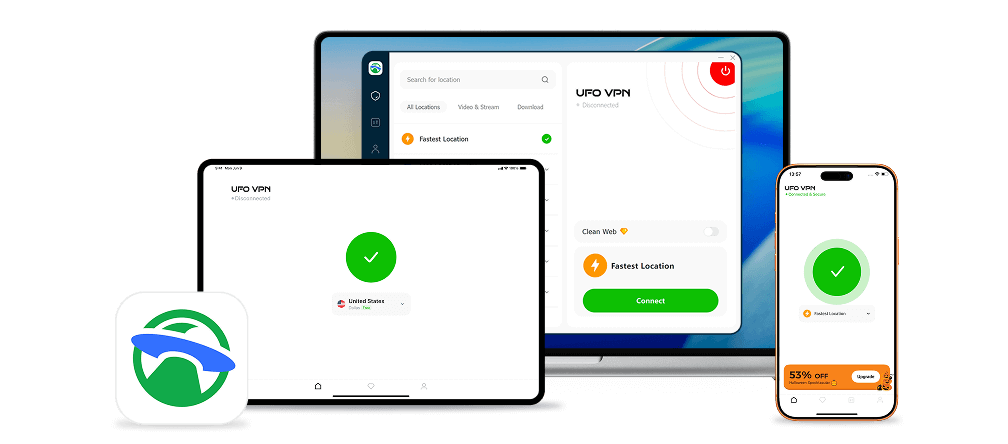
How UFO VPN Complements Private DNS for Maximum Privacy
While Private DNS on Android encrypts your DNS traffic, it doesn’t encrypt the rest of your internet activity. This is where UFO VPN steps in to provide a complete security solution.
What is UFO VPN?
UFO VPN is a free, lightweight VPN service that offers strong encryption and secure browsing for mobile devices. UFO VPN creates a private and encrypted tunnel for all your online activities, ensuring that no one, including hackers or your ISP, can monitor your traffic.
How UFO VPN Enhances Your Private DNS Setup
While Private DNS secures only your DNS traffic, UFO VPN encrypts all your internet activity, making it completely private. By pairing Private DNS with UFO VPN, you can achieve:
- Complete Anonymity: Your DNS queries are protected, and your IP address is masked, ensuring complete anonymity.
- Enhanced Security: UFO VPN provides encryption for all your traffic, protecting you from any vulnerabilities that might remain even with Private DNS alone.
- Bypass Georestrictions: UFO VPN allows you to access content from any country, bypassing geo-blocked sites securely.
Using UFO VPN along with Private DNS gives you maximum protection and ensures that your online activities remain private and secure, no matter where you are.
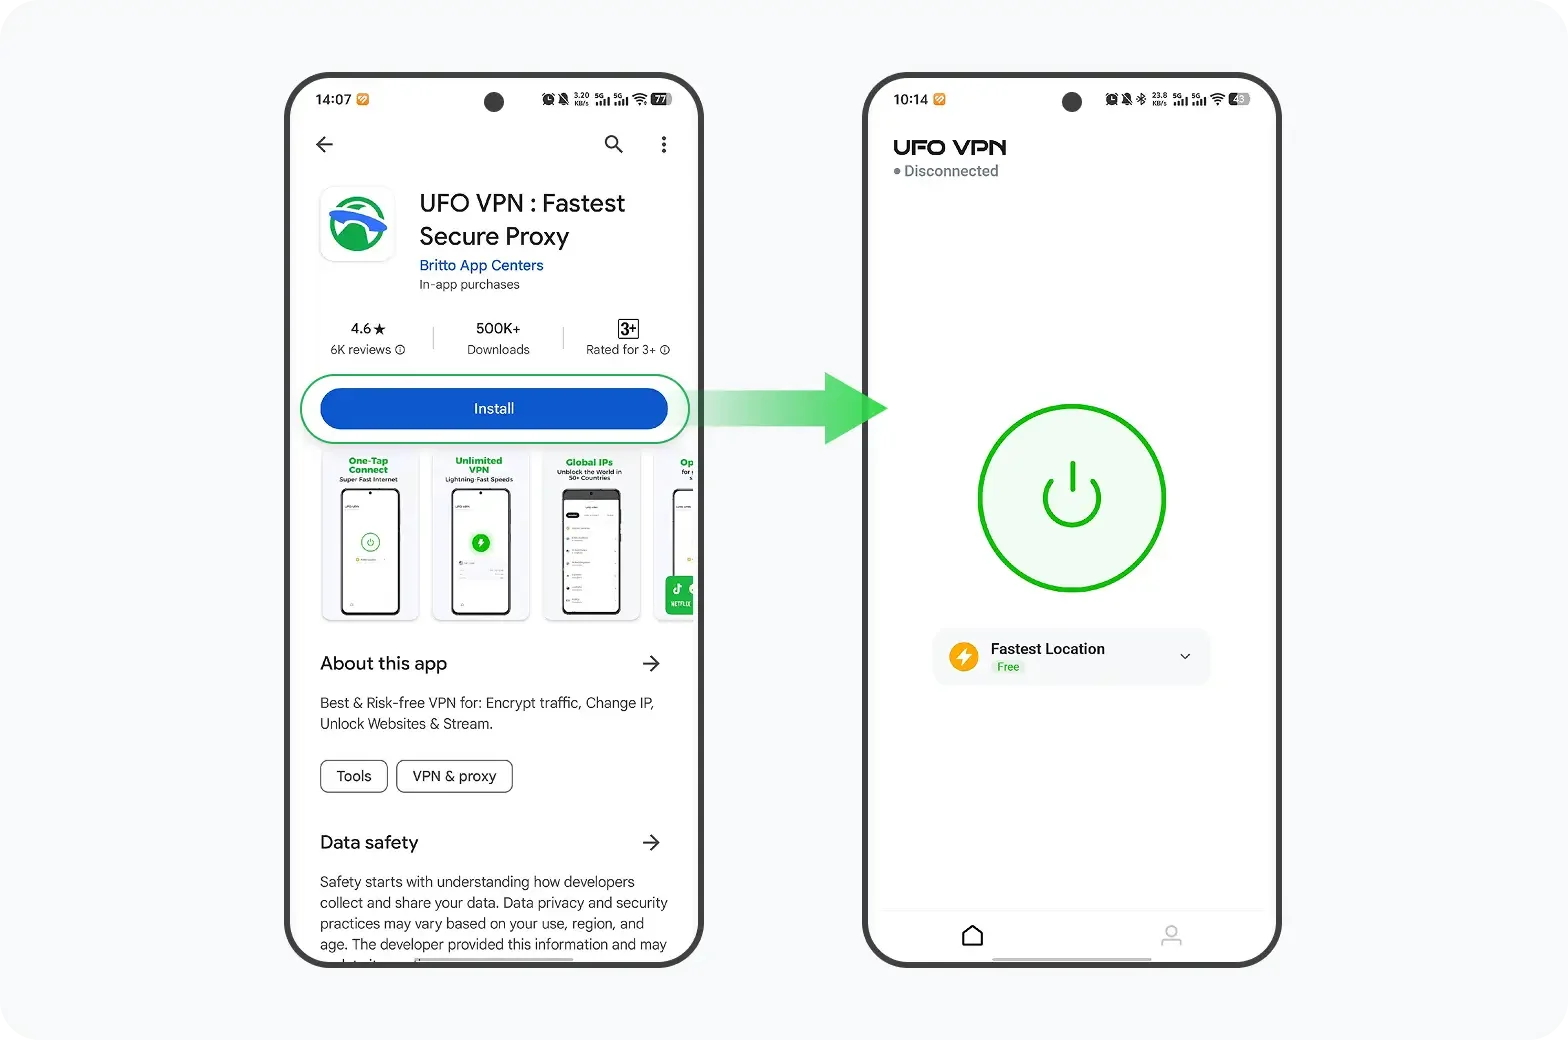
Easy way to get UFO VPN
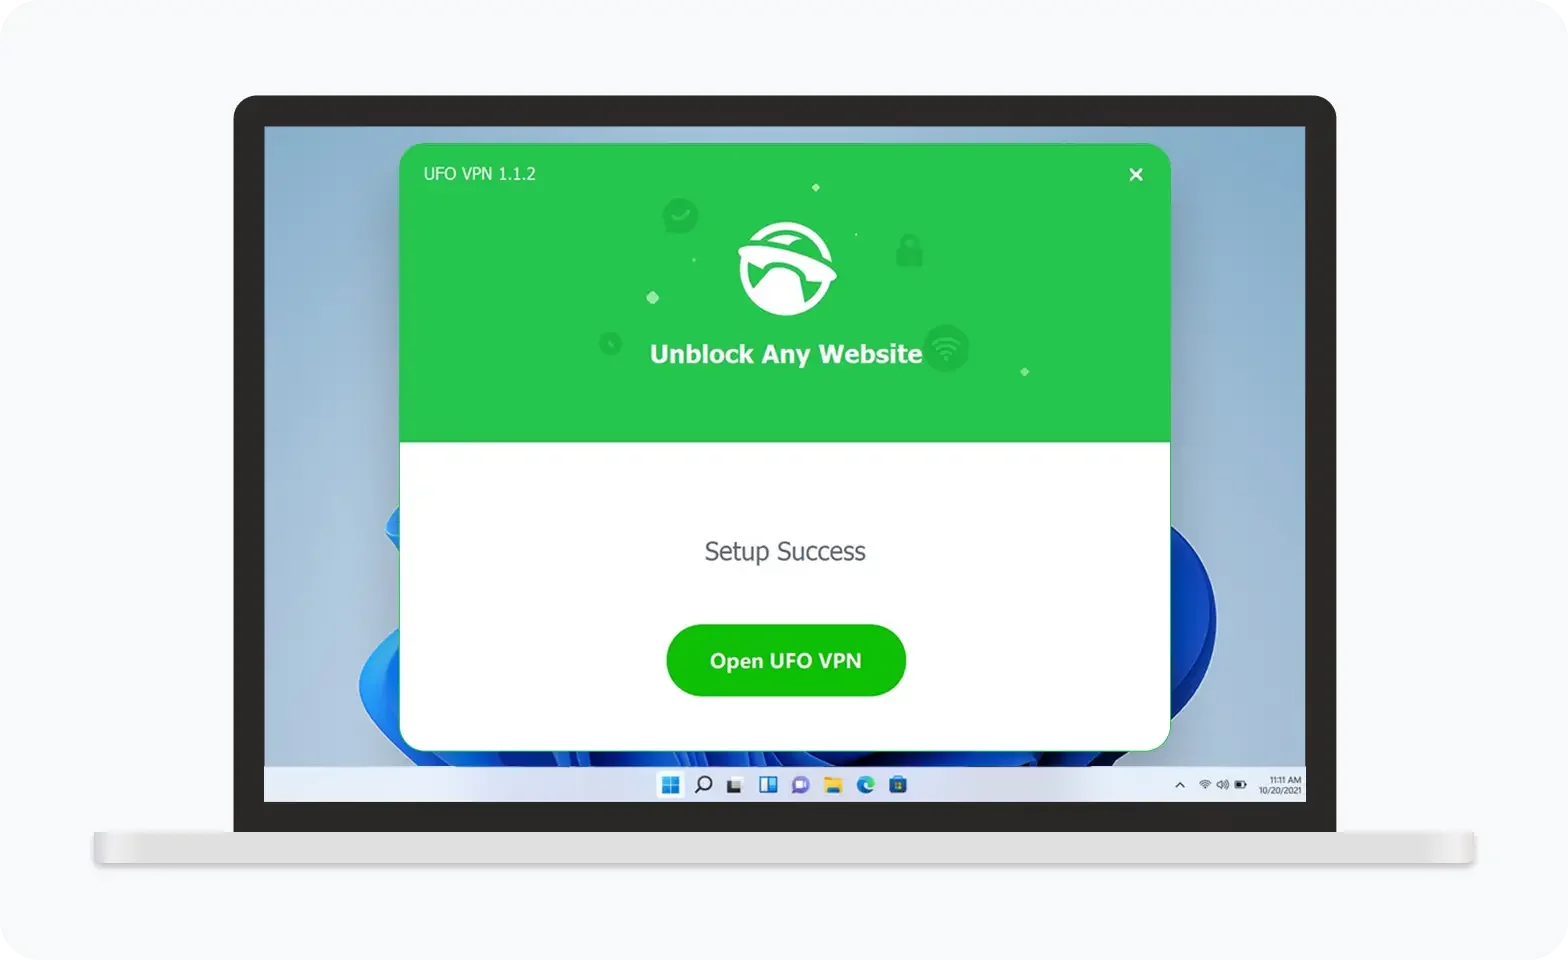
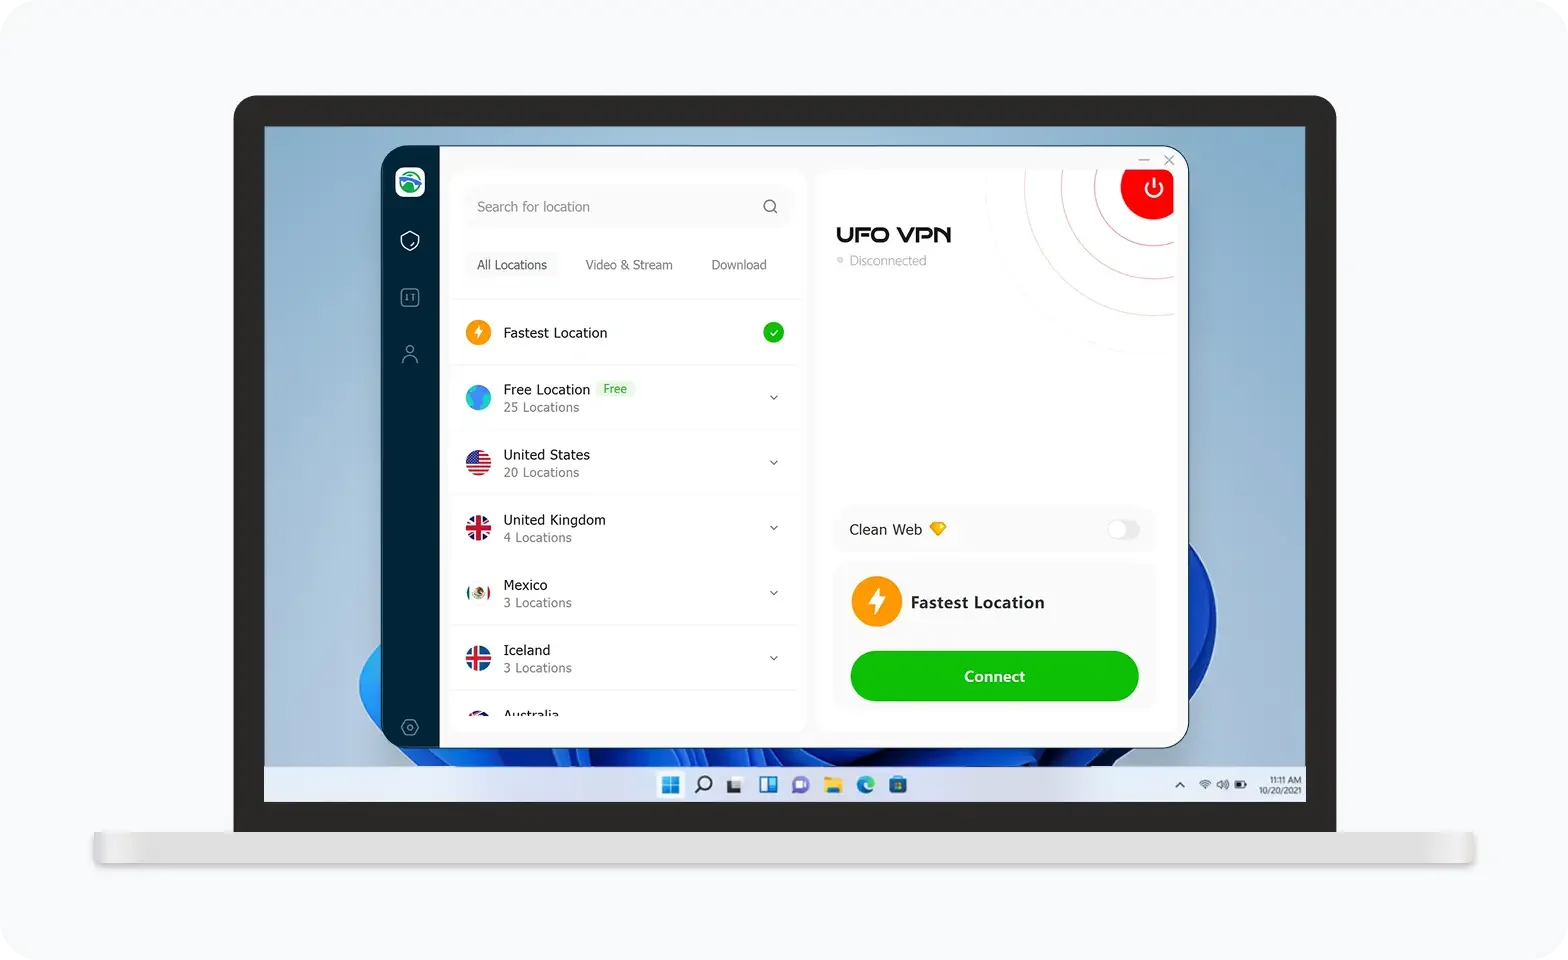
UFO VPN is an all-in-one VPN that offers unlimited access to 4K streaming like Netlfix, Disney Plus, no-ping gaming as PUBG, Roblox, CODM and social networking for YouTube, X, Facebook and more.
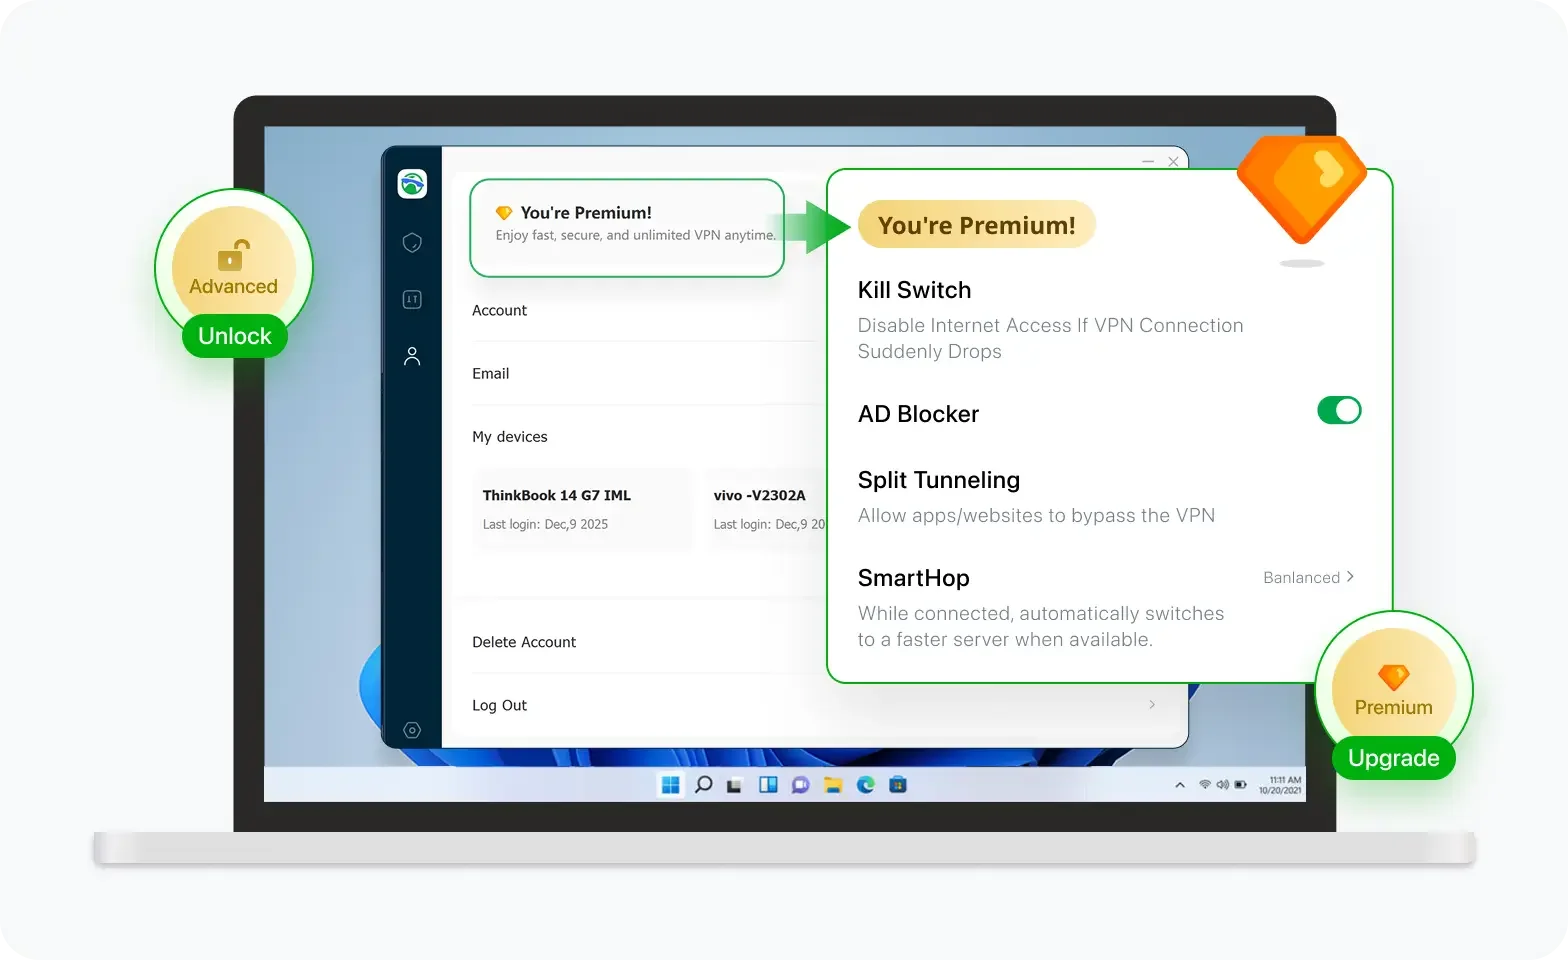

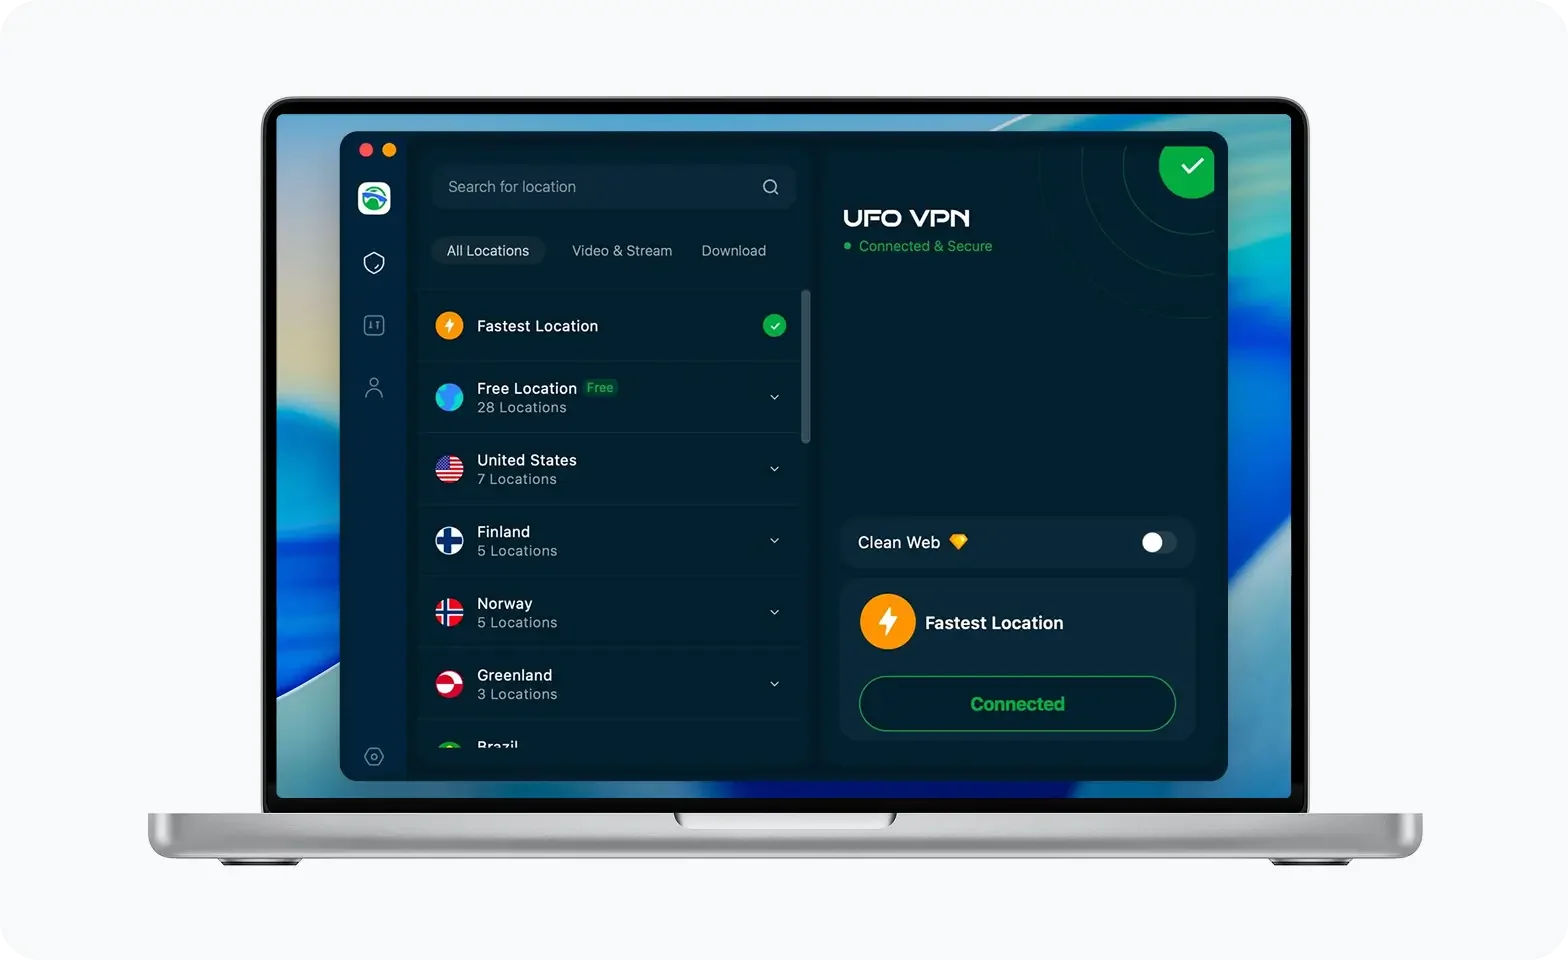
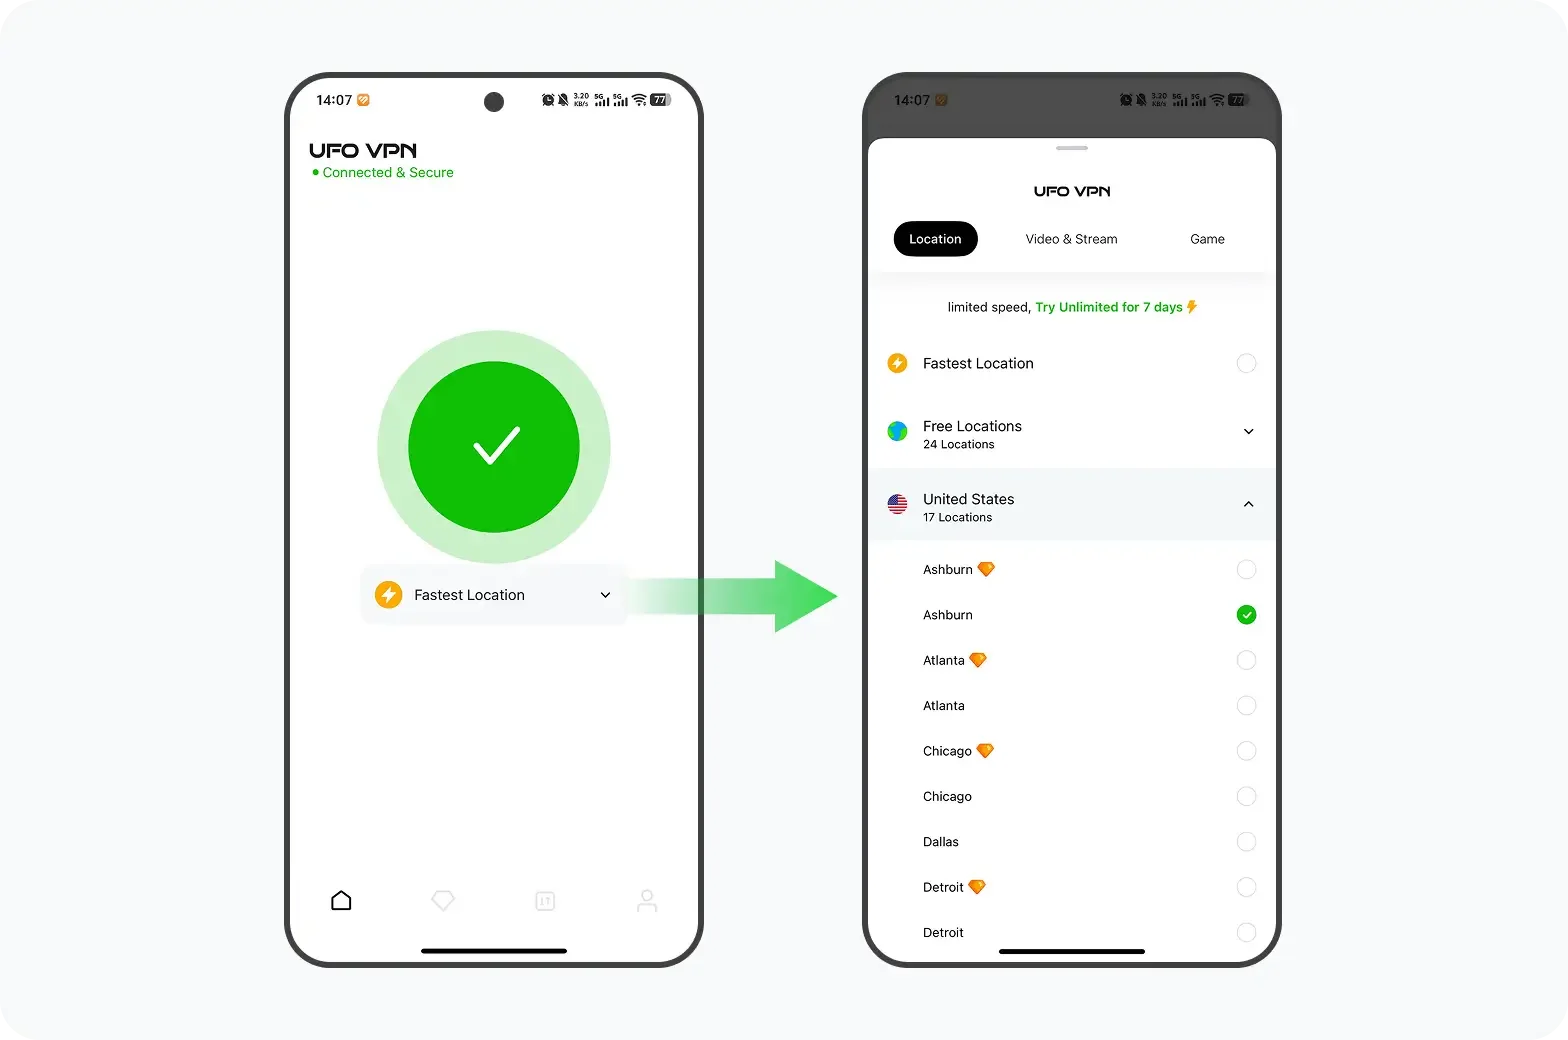
Unlock Pro Features
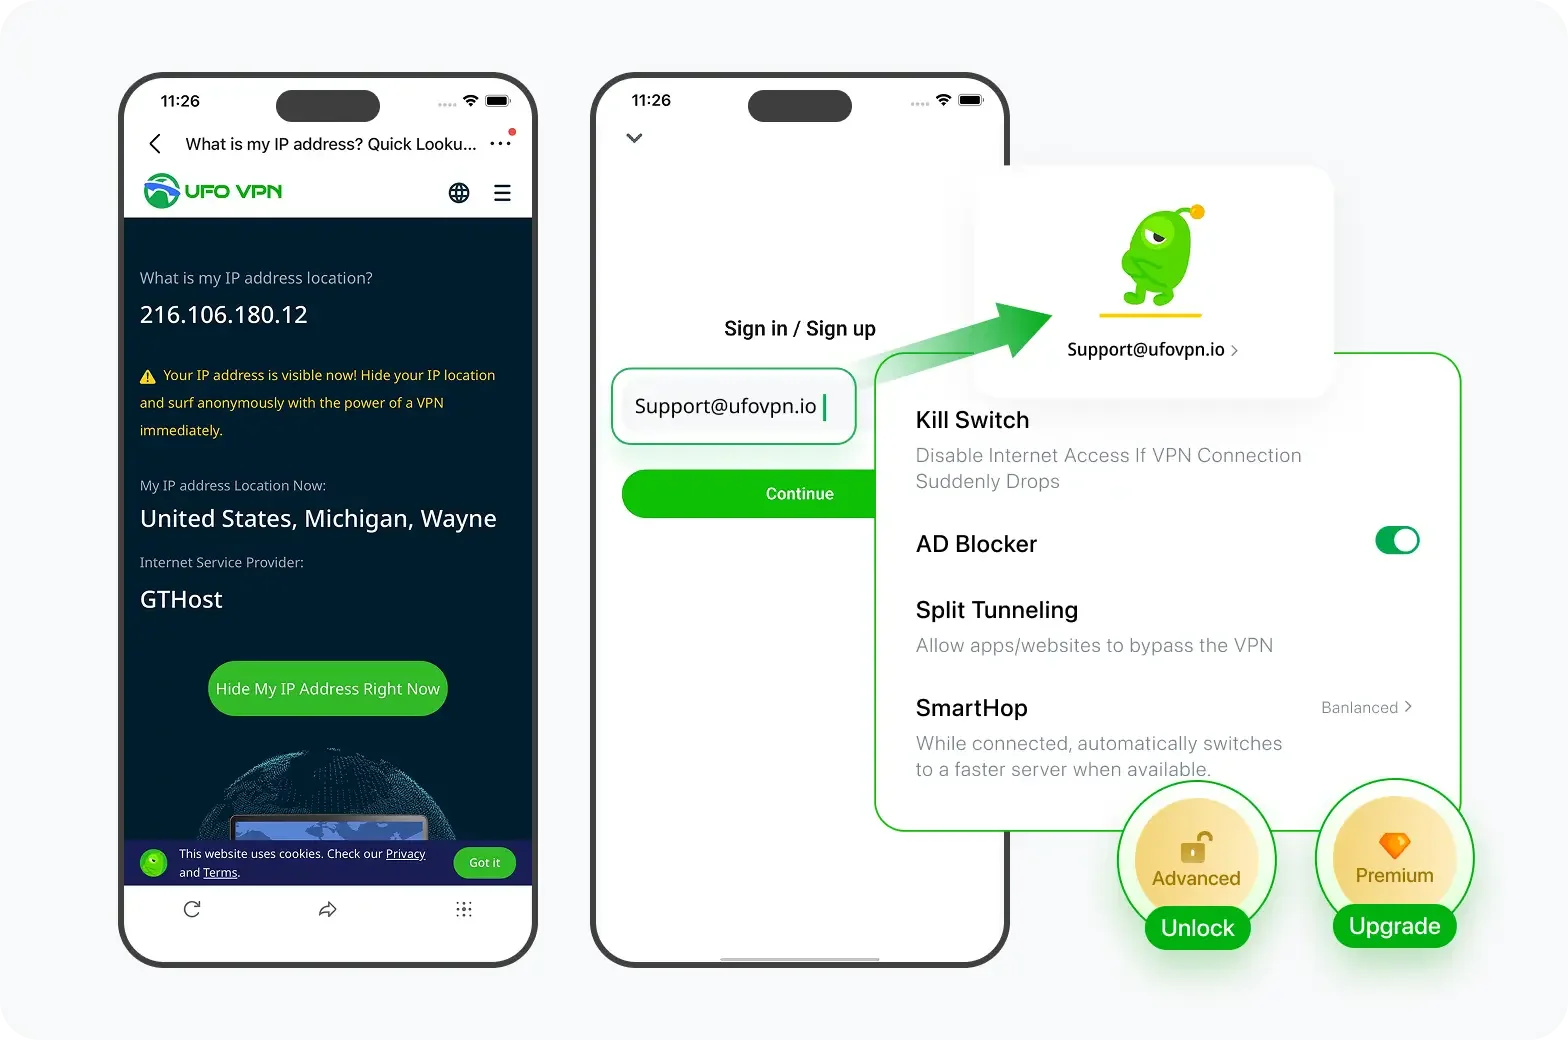
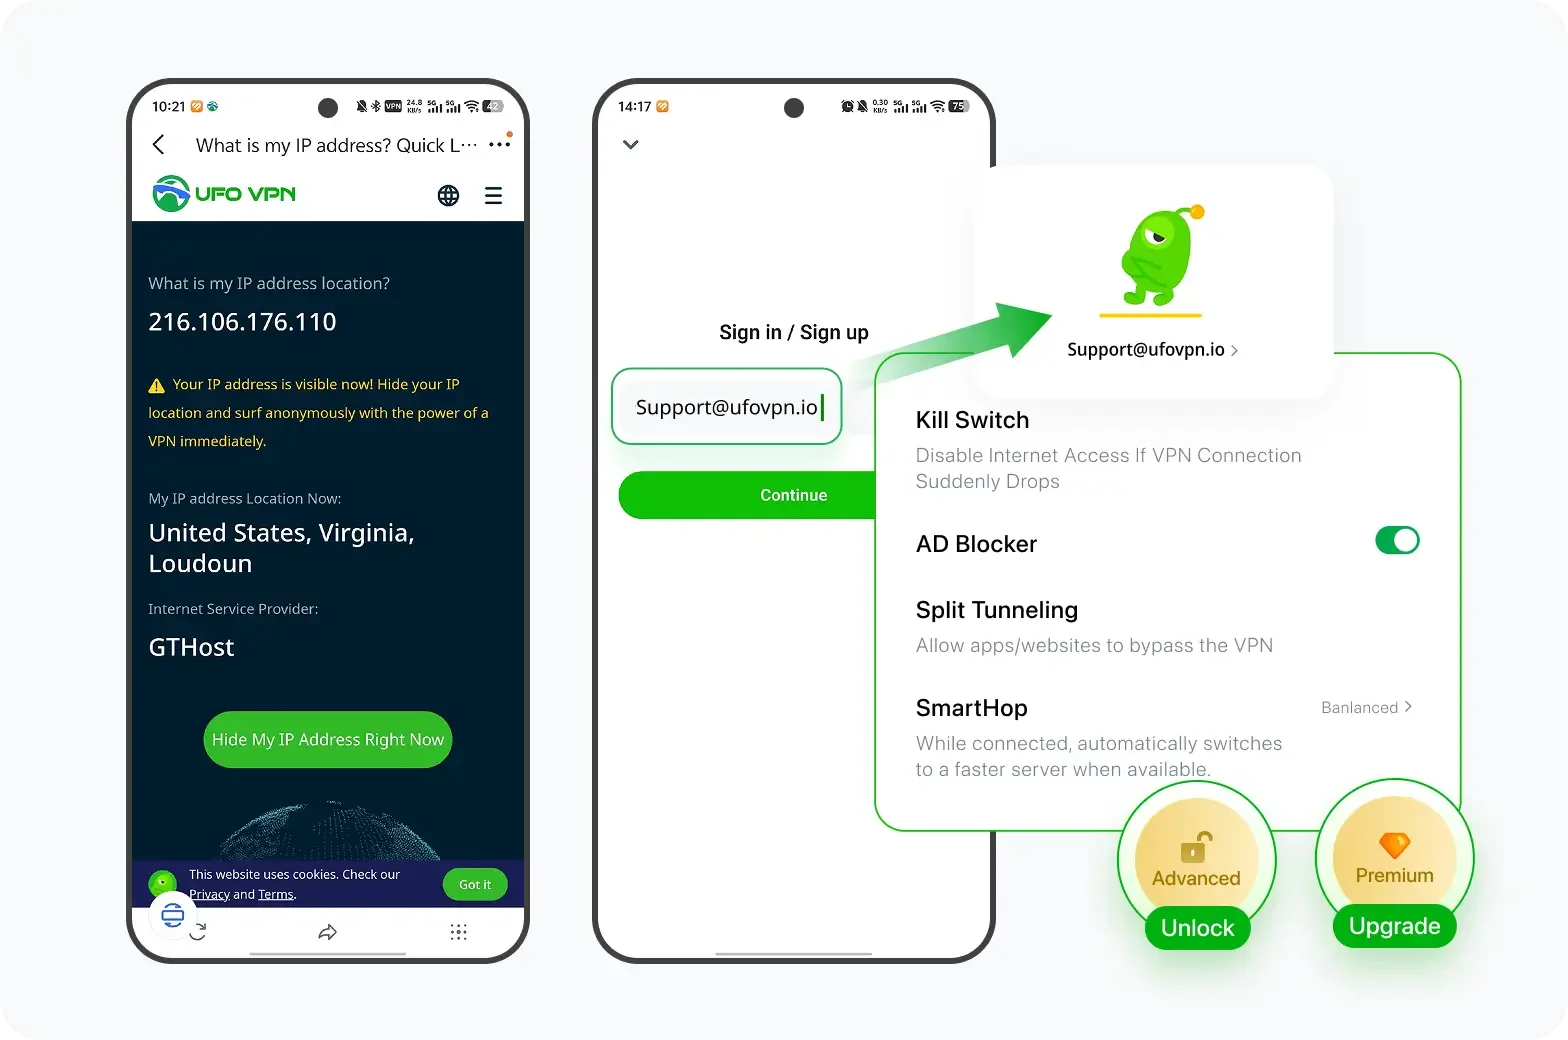
If you have upgraded to premium plan , feel free to enjoy premium servers for 4K streaming and advanced features like Kill Switch, Split Tunneling, and gaming acceleration. Your Mac is now fully optimized and protected. Inaddition to basic functions, we recommend you turn on

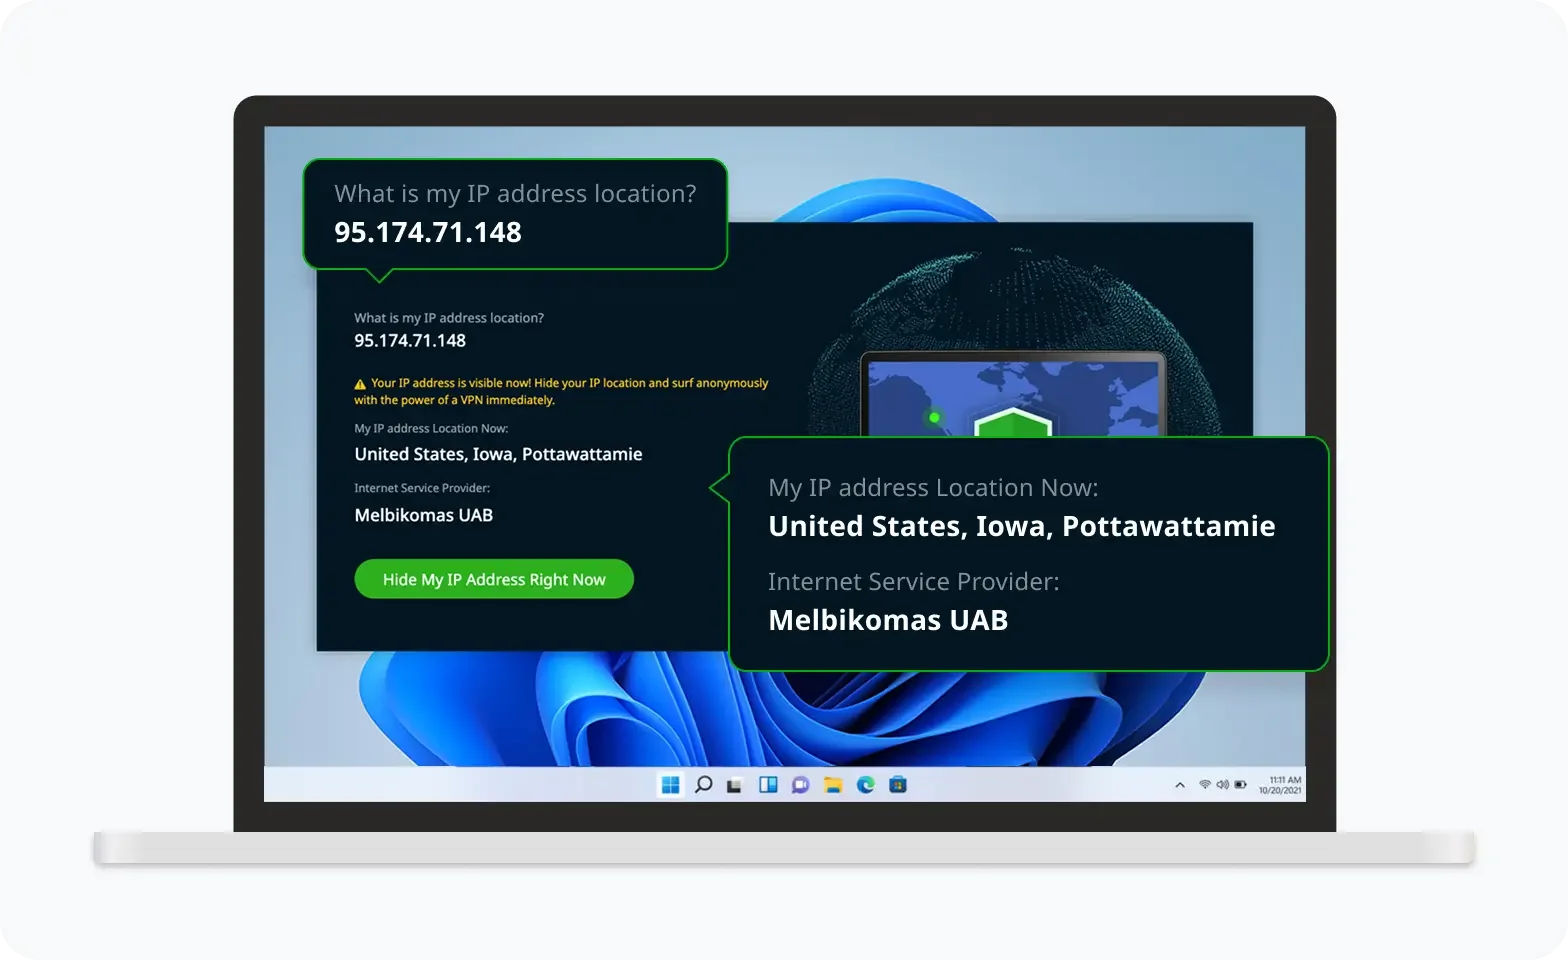
Verify Your IP Now
Use UFO VPN's " What is My IP " feature to see your new IP and location. This confirms your connection is secure, anonymous, and ready for safe browsing online anywhere at any time.


Common Issues with Private DNS on Android
While Private DNS is a great tool for improving security and privacy, some users might experience issues. Here are some common problems and how to fix them:
1. DNS Configuration Errors
If your device cannot connect to the DNS provider, double-check the DNS hostname you entered. Ensure there are no typos and that the provider supports DNS over HTTPS or TLS.
2. Slow Internet Connection
Switching to a secure DNS provider can sometimes slow down your connection. If this happens, try using a different DNS provider or consider pairing UFO VPN with DNS encryption to boost performance.
3. Compatibility Issues with Some Apps
Some apps may not work properly with Private DNS enabled. If you encounter issues, temporarily disable Private DNS and check if the app functions correctly.
By addressing these common issues, you can ensure a smooth and secure browsing experience on your Android device.
Best Practices for Securing Your Android Device
In addition to enabling Private DNS, here are some best practices to further enhance the security of your Android device:
1. Enable Two-Factor Authentication (2FA)
Secure your important accounts (e.g., email, banking) with two-factor authentication to prevent unauthorized access.
2. Use Strong, Unique Passwords
Avoid using the same password across multiple accounts. Use a password manager to store and generate strong passwords.
3. Install Security Apps
Use antivirus and anti-malware apps to further protect your device from threats.
4. Regularly Update Your Device
Keep your Android device updated with the latest security patches to safeguard against vulnerabilities.
By following these security practices, you can further improve the safety of your device and personal data.
Easy-to-Read Comparison: DNS vs VPN
| Feature | Private DNS | UFO VPN |
|---|---|---|
| Encryption | Encrypts DNS queries only | Encrypts all internet traffic |
| Privacy | Protects DNS queries from tracking | Masks IP address, providing complete anonymity |
| Security | Protects against DNS-based attacks | Protects against all online threats |
| Usage | Ideal for privacy-conscious users | Best for complete online security |
| Bypassing Restrictions | Doesn’t bypass geo-blocks or restrictions | Allows access to geo-restricted content |
This comparison chart provides a clear overview of how Private DNS and UFO VPN work together to maximize your online security.
Frequently Asked Questions (FAQs)
1. What is Private DNS on Android?
Private DNS on Android is a feature that encrypts your DNS queries, improving your privacy and security while browsing the internet.
2. How do I set up Private DNS on Android?
Go to Settings > Network & Internet > Private DNS, and enter the hostname of your preferred DNS provider (e.g., dns.google for Google DNS or shield.ufovpn.io for UFO VPN).
3. How does Private DNS protect my privacy?
By encrypting DNS queries, Private DNS prevents third parties, such as your ISP, from tracking your browsing history and online activities.
4. Is UFO VPN necessary if I have Private DNS enabled?
While Private DNS secures DNS queries, UFO VPN provides full encryption for all your internet activity, ensuring complete anonymity and protection.
5. Can I use Private DNS and UFO VPN together?
Yes, combining Private DNS and UFO VPN provides enhanced privacy and security by encrypting both your DNS traffic and all other online activities.
Final Thoughts
Enabling Private DNS on Android is an excellent way to enhance your security and privacy while browsing. When combined with a VPN service like UFO VPN, you can ensure a completely encrypted, private, and secure browsing experience. Whether you’re concerned about trackers, malware, or general data privacy, these tools offer the protection you need. Start today and take control of your Android device’s privacy settings—your data deserves it!