How to Disable Private Browsing on iPhone? (Step-by-Step)

Many iPhone users don’t know how to properly turn off private mode. You may face issues like tabs being inaccessible, Safari features being limited, or confusion between normal and private windows. Here’s how to fix that.
-
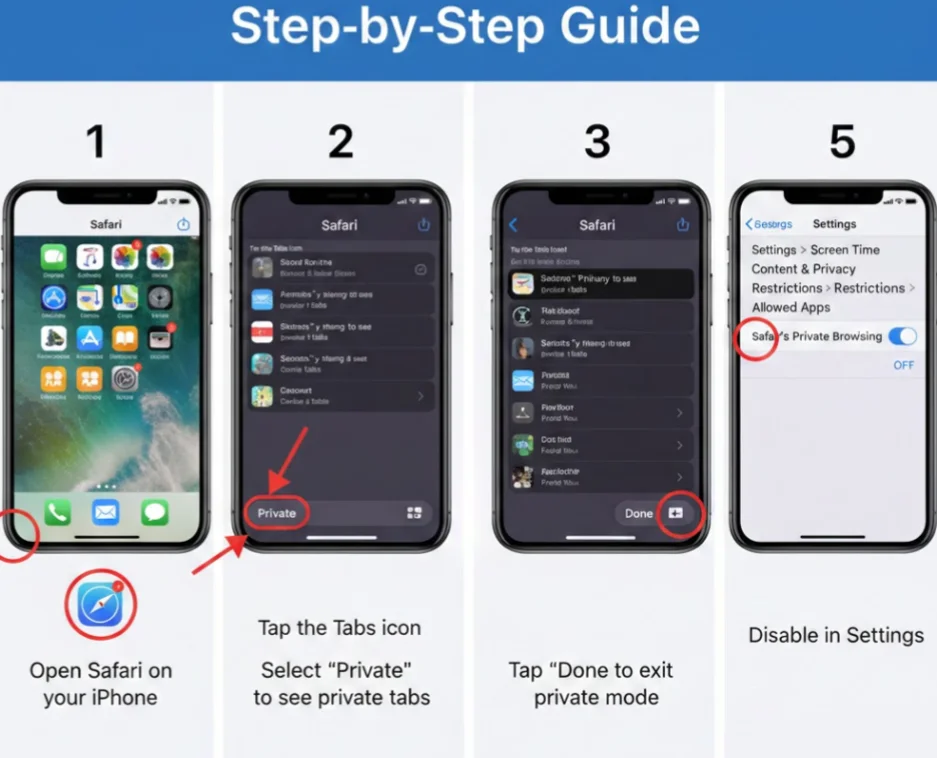
Open Safari on your iPhone.
-
Tap the Tabs icon in the bottom-right corner.
-
Select “Private” at the bottom left to see all private tabs.
-
Tap “Done” to exit private mode.
-
To permanently disable private browsing, go to Settings > Screen Time > Content & Privacy Restrictions > Allowed Apps, and turn off Safari’s private browsing.
By following these steps, you’ll ensure your Safari always opens in normal mode, giving you access to all browsing features and saved history.
How to Disable Private Browsing in Safari Permanently
Sometimes turning off private browsing temporarily is not enough. If you often find it confusing because Safari defaults back to private mode after closing the app, here’s how to disable private browsing permanently:
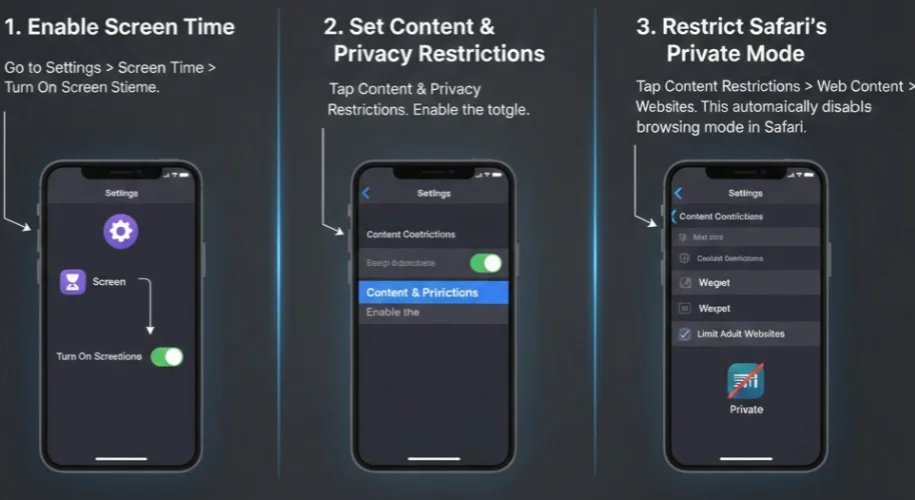
1. Enable Screen Time
-
Go to Settings > Screen Time > Turn On Screen Time.
2. Set Content & Privacy Restrictions
-
Tap Content & Privacy Restrictions.
-
Enable the toggle.
3. Restrict Safari’s Private Mode
-
Tap Content Restrictions > Web Content > Limit Adult Websites.
-
This automatically disables private browsing mode in Safari.
Once set, Safari will always open in normal browsing mode. This is particularly useful for parents or anyone who wants full access to history, autofill, and bookmarks without private tabs interfering.
How to Protect Privacy After Disabling Private Browsing on iPhone?
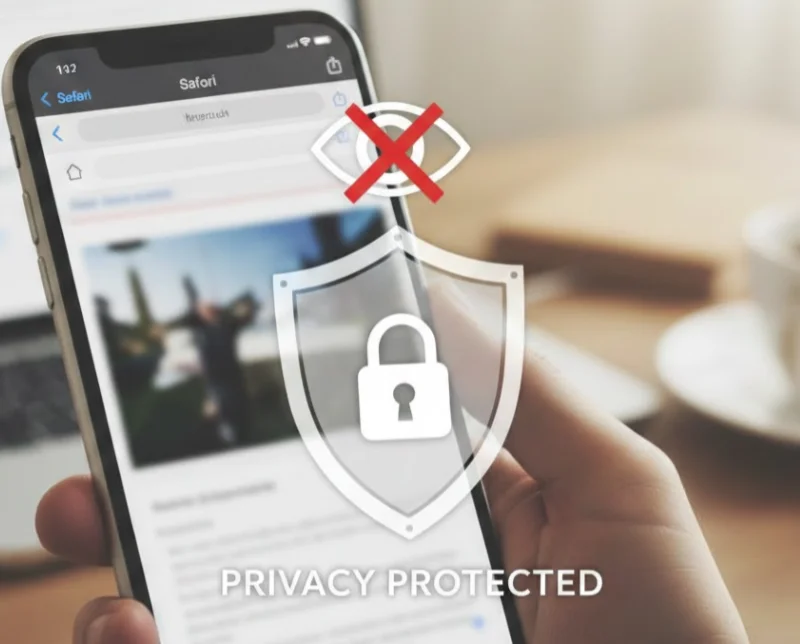
When you disable private browsing on iPhone, Safari starts saving your browsing history, cookies, and website data by default. This makes your online activity easier to track by ISPs, advertisers, and third-party trackers. This part will tell you how to stay private and secure while using normal browsing mode.
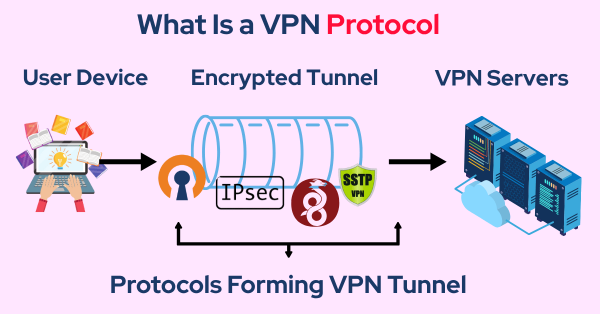
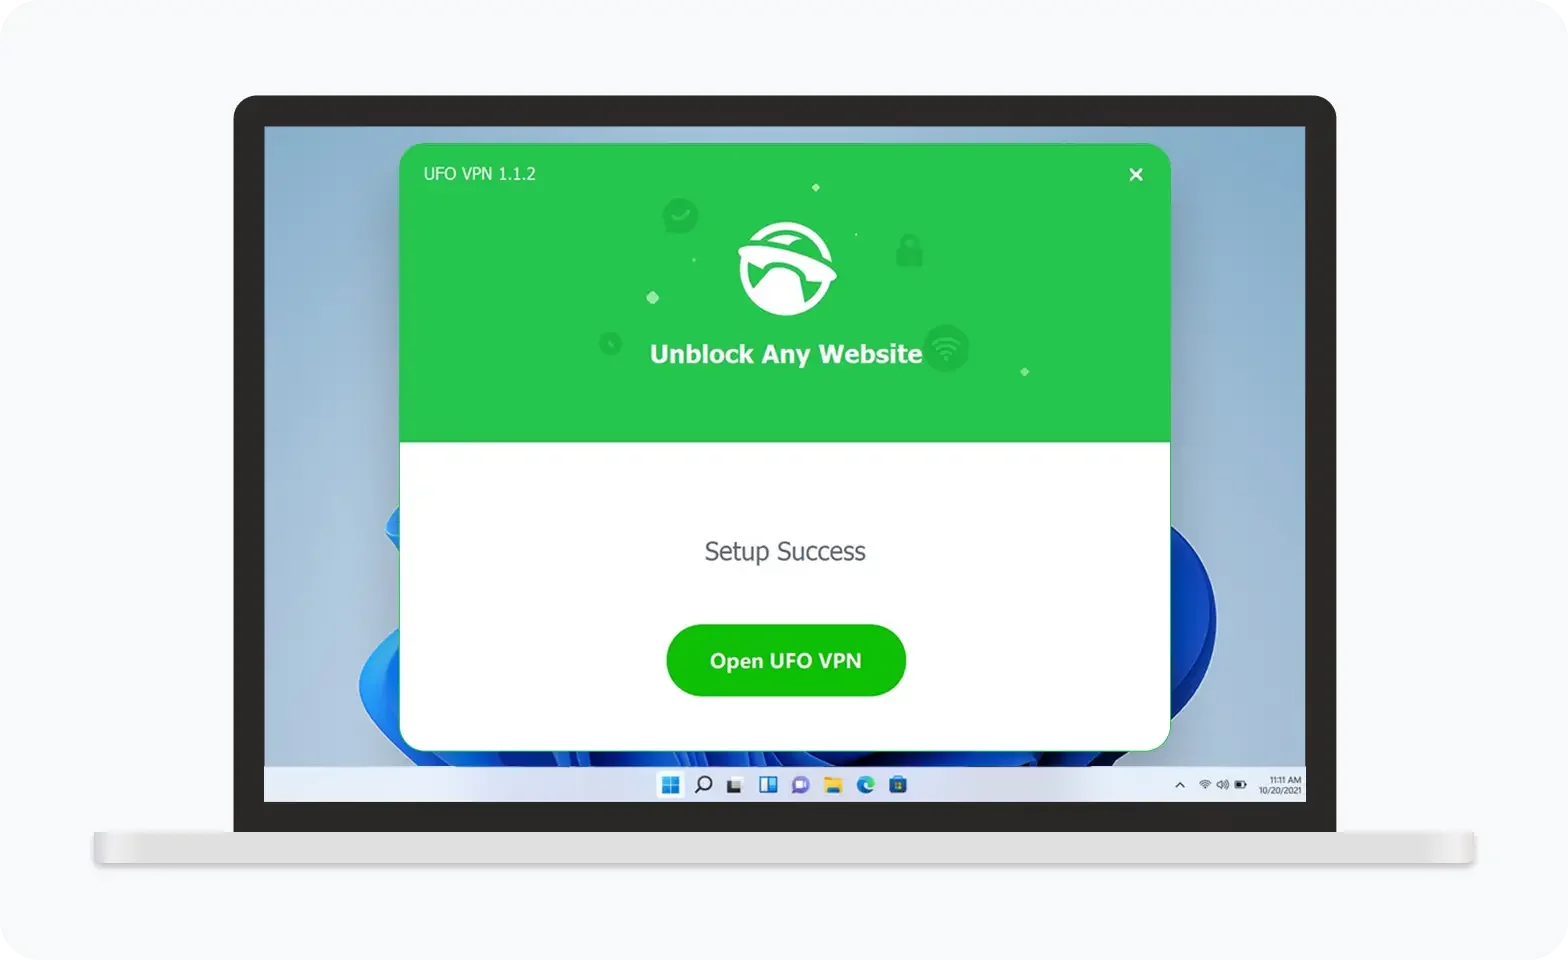
1. Use a VPN
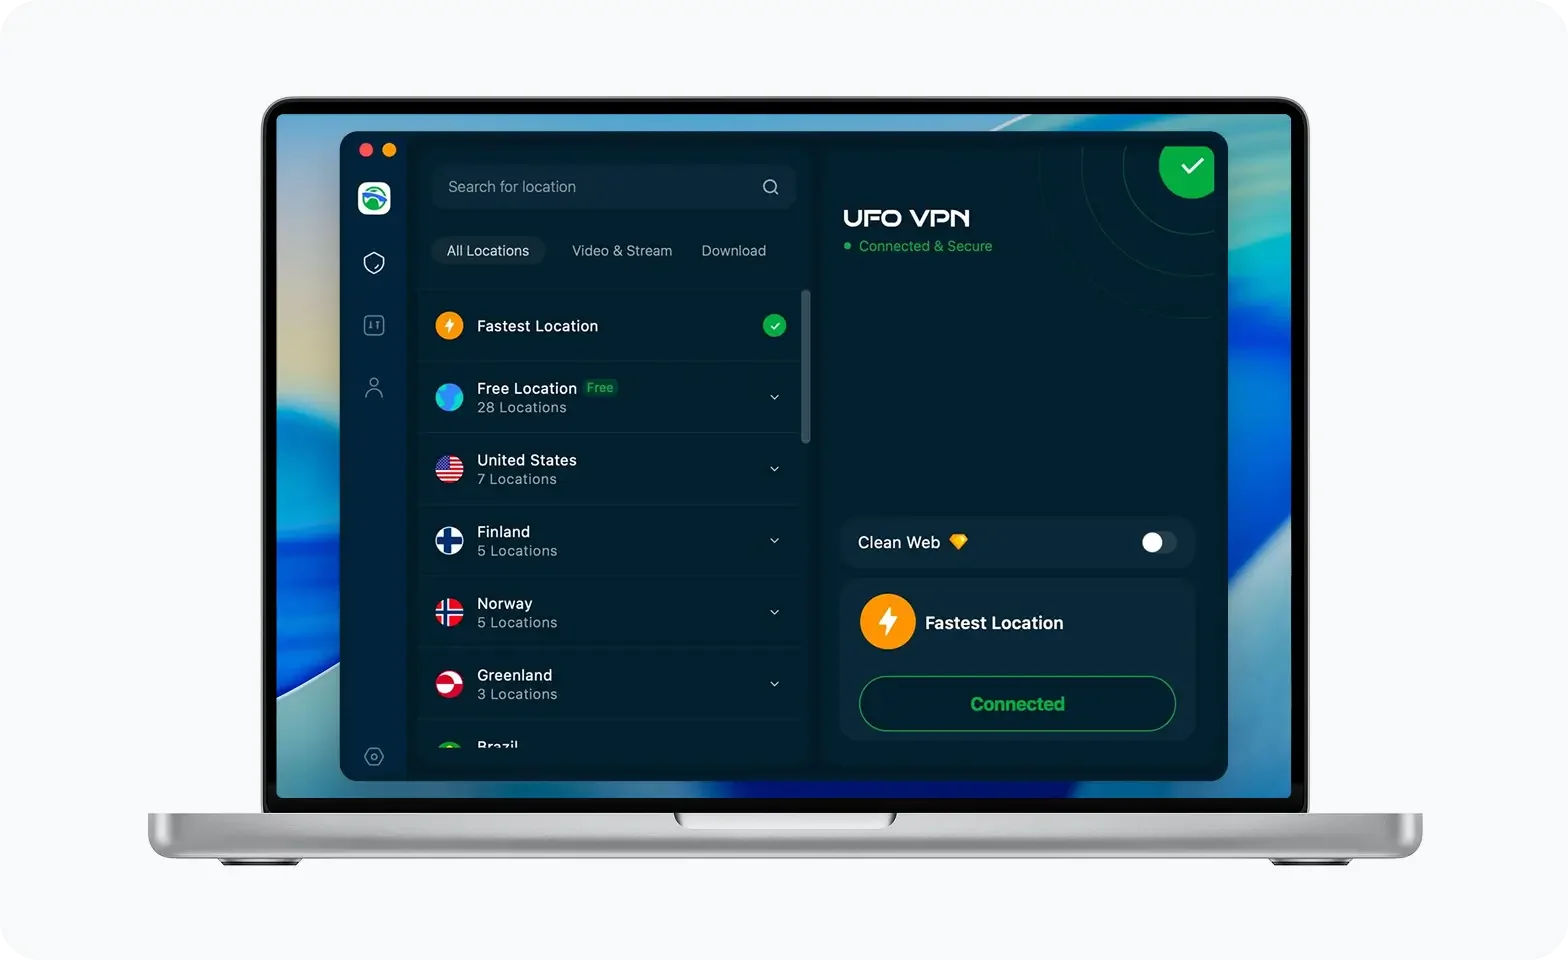
Using a free proxy VPN in UFO VPN is the most effective solution. By encrypting your internet connection, it prevents ISPs, hackers, and trackers from monitoring your activity—even when Safari is in normal mode.
UFO VPN helps by:
-
Encrypting your connection to keep browsing private from ISPs, hackers, and trackers.
-
Hiding your IP address to prevent location and activity tracking.
-
Securing public Wi-Fi against cyber threats.
-
Bypassing geo-restrictions for safe access to content anywhere.
-
Protecting privacy without limiting Safari features like bookmarks and autofill.
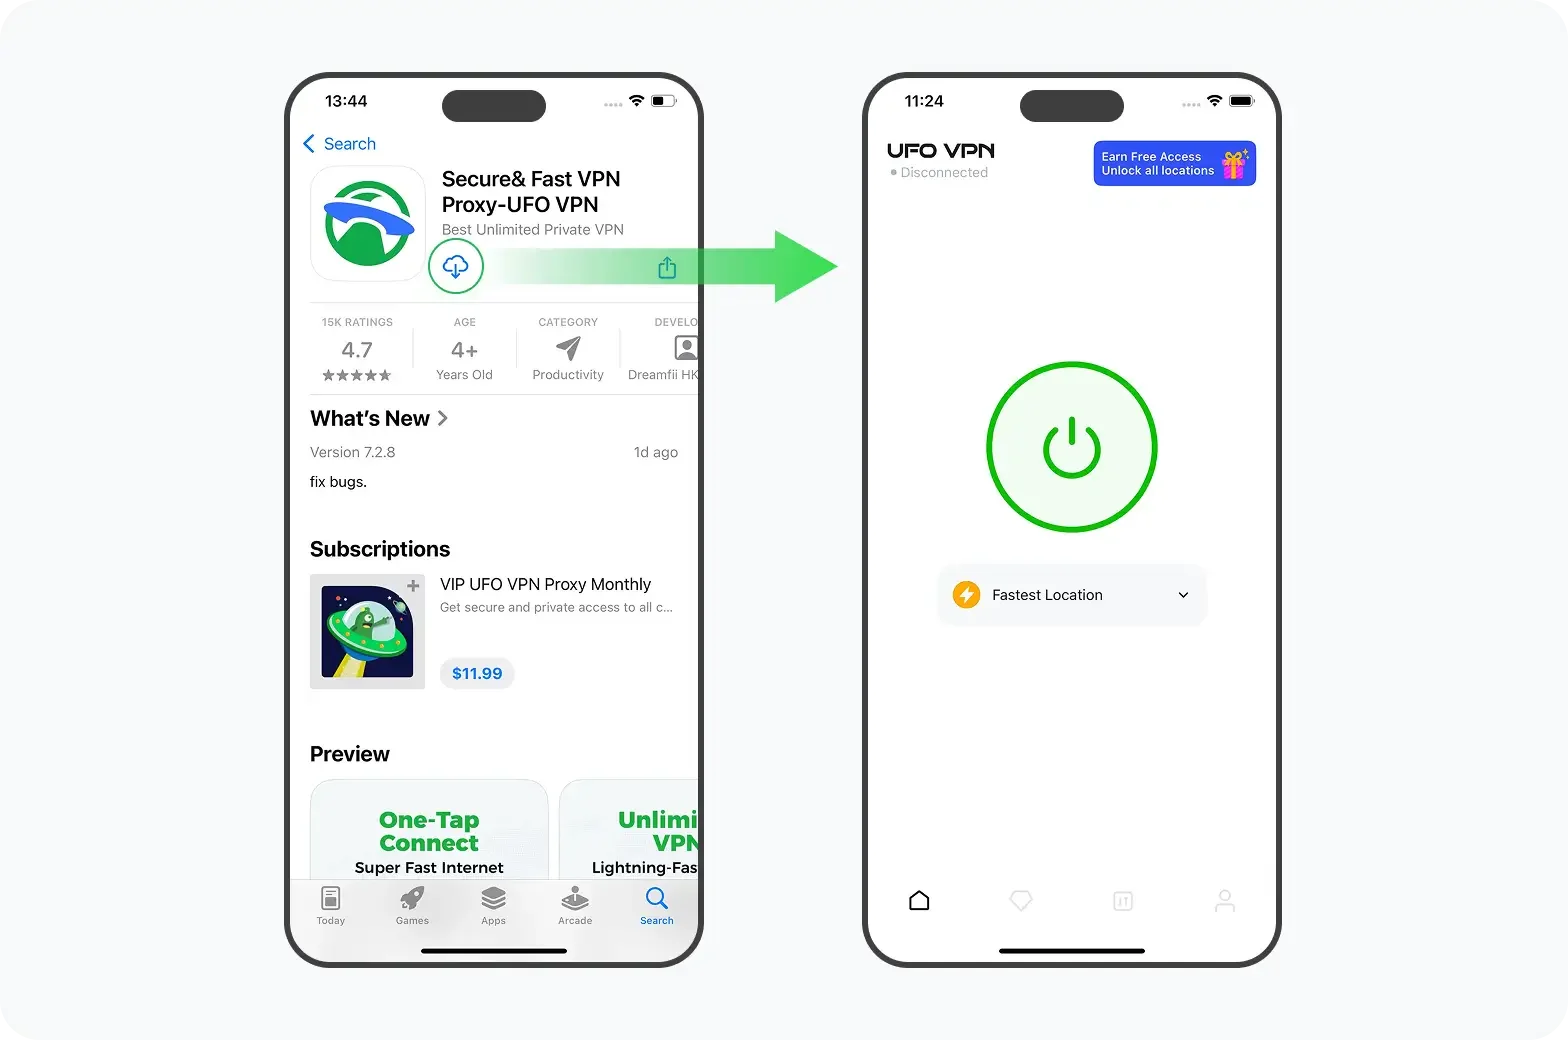
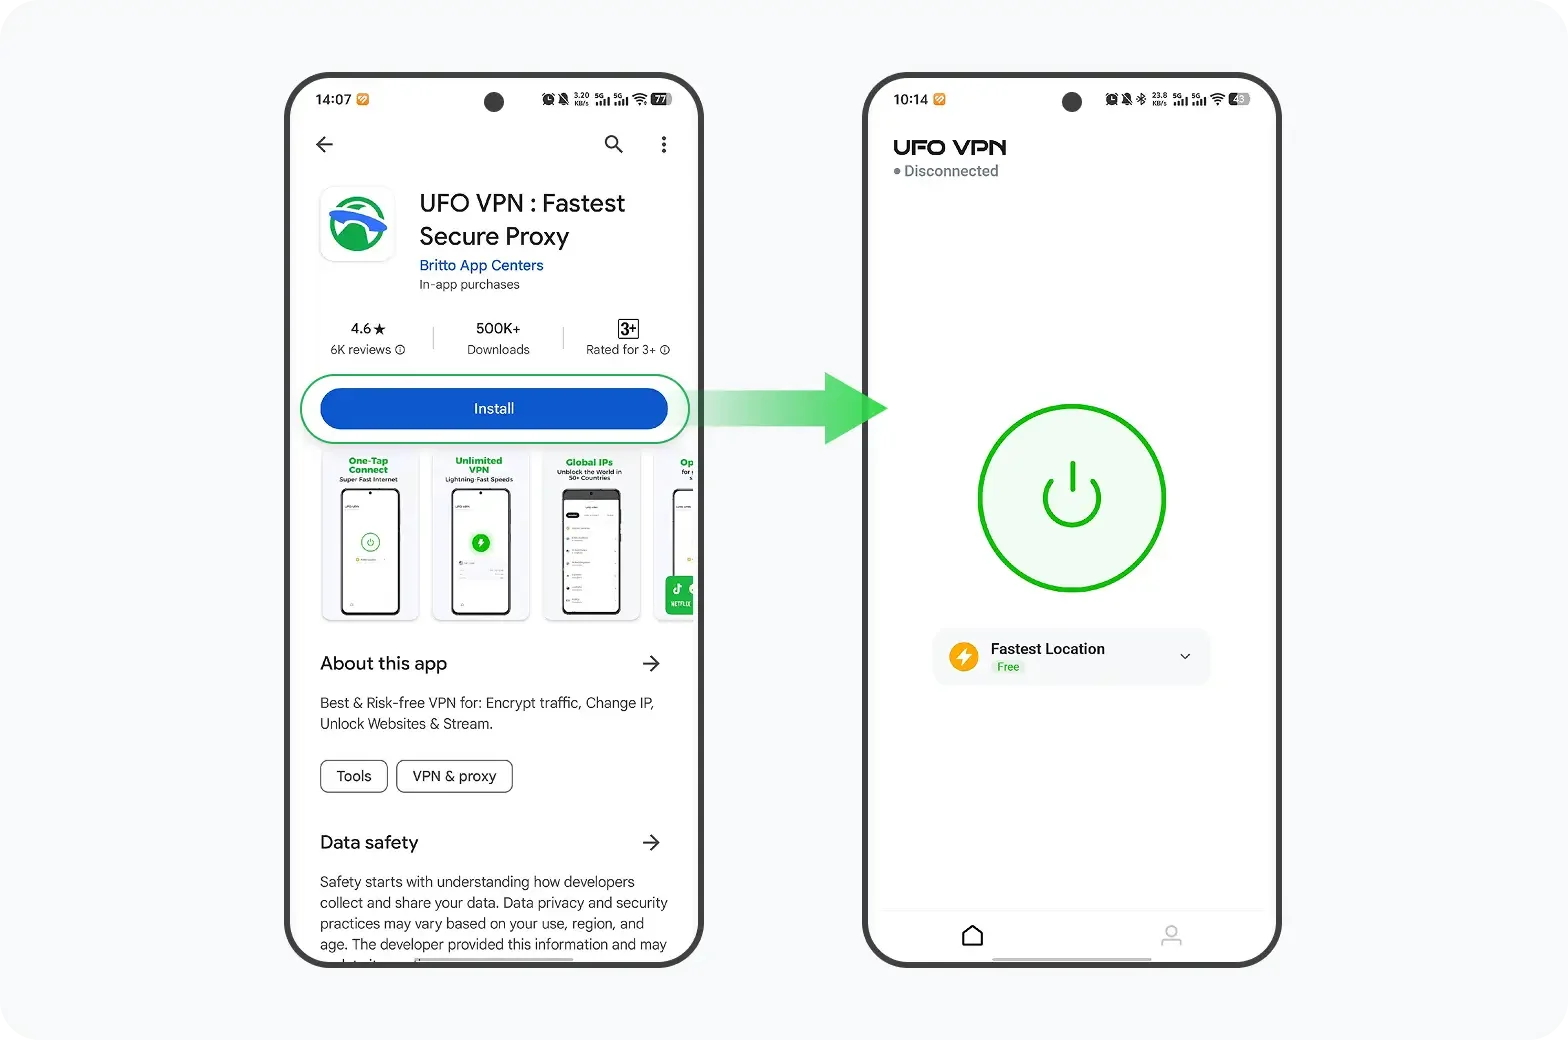
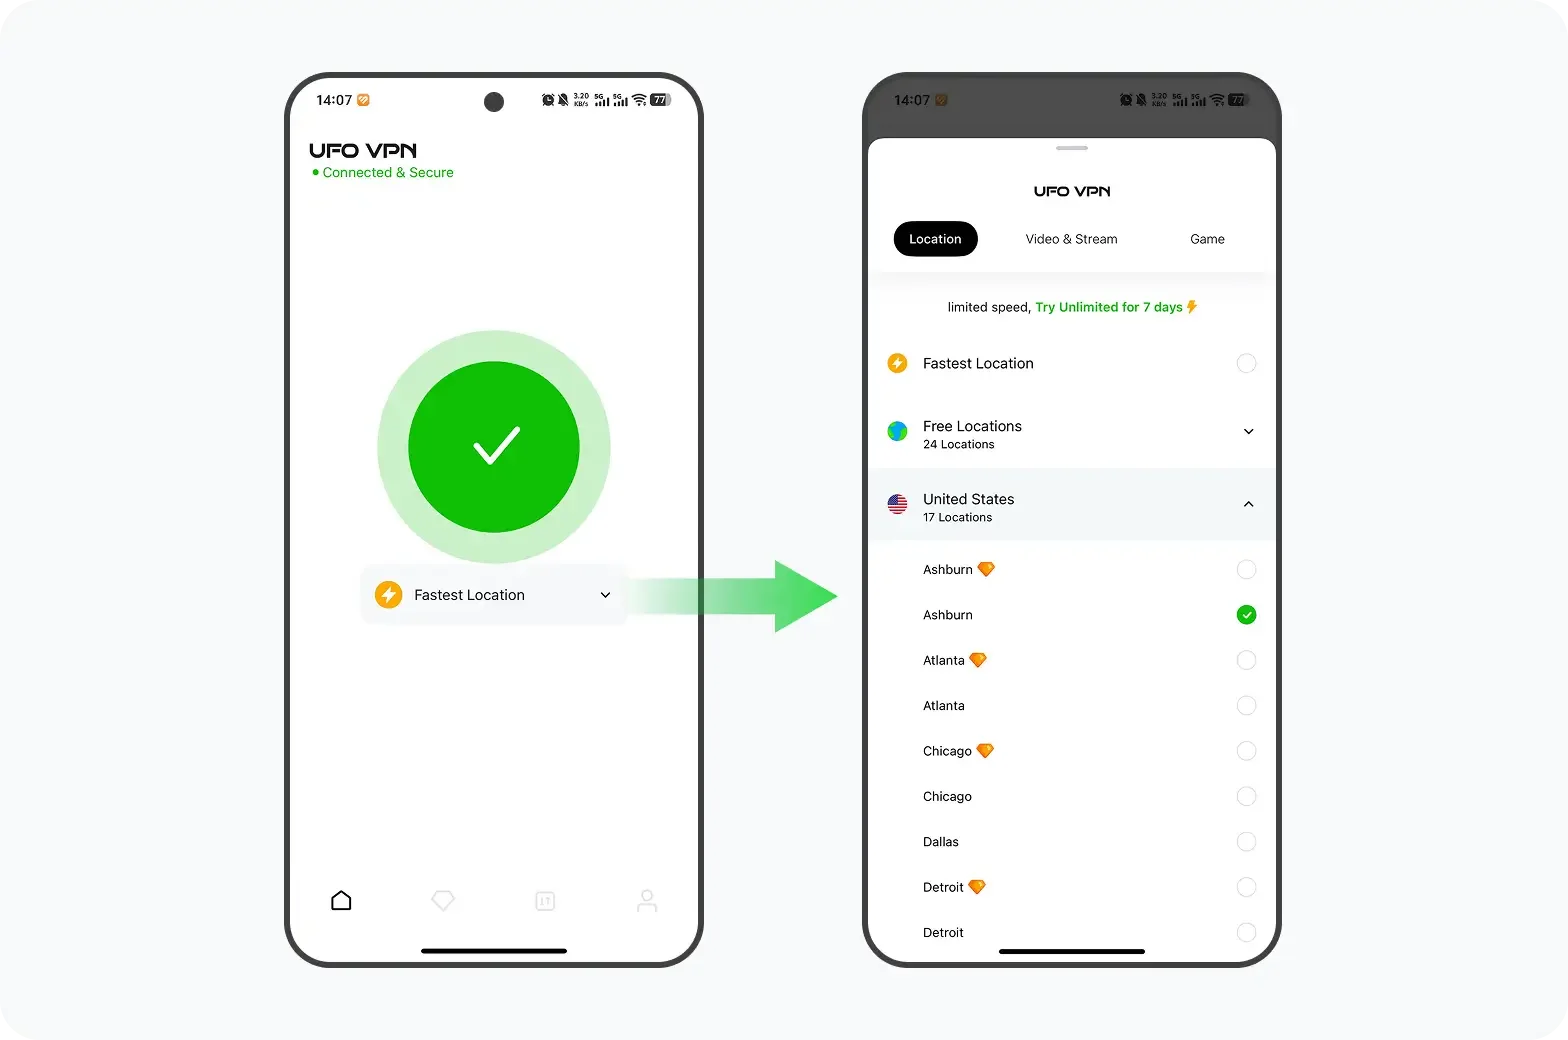
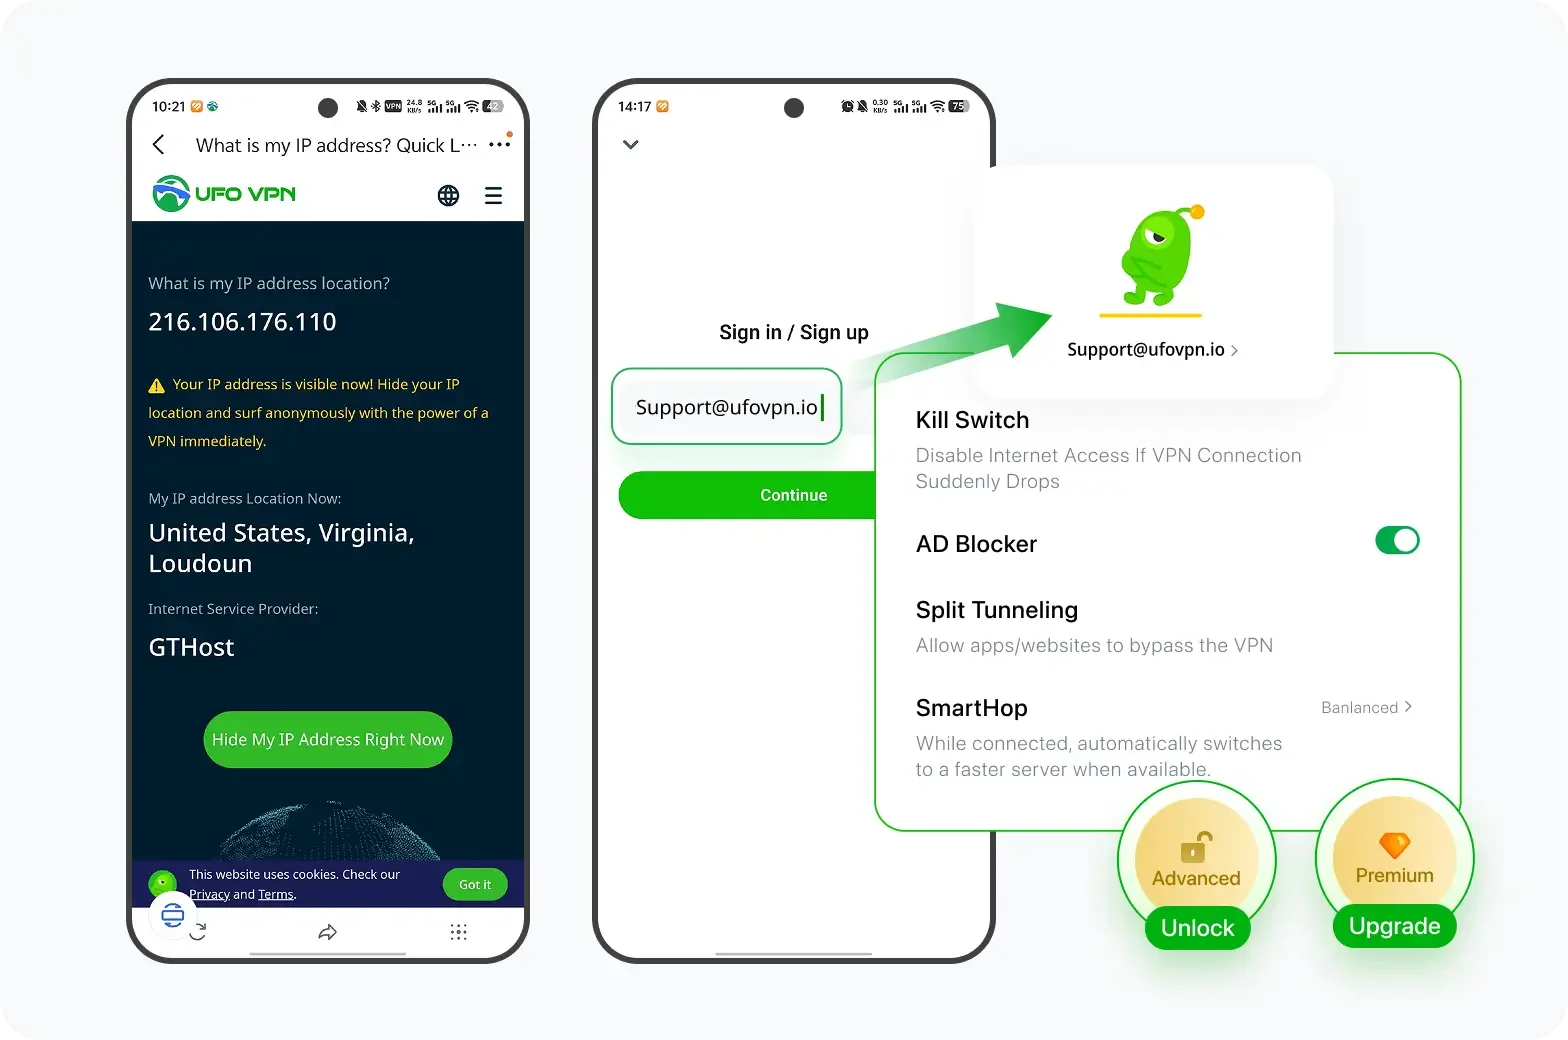
How to Set Up UFO VPN on Your Device?
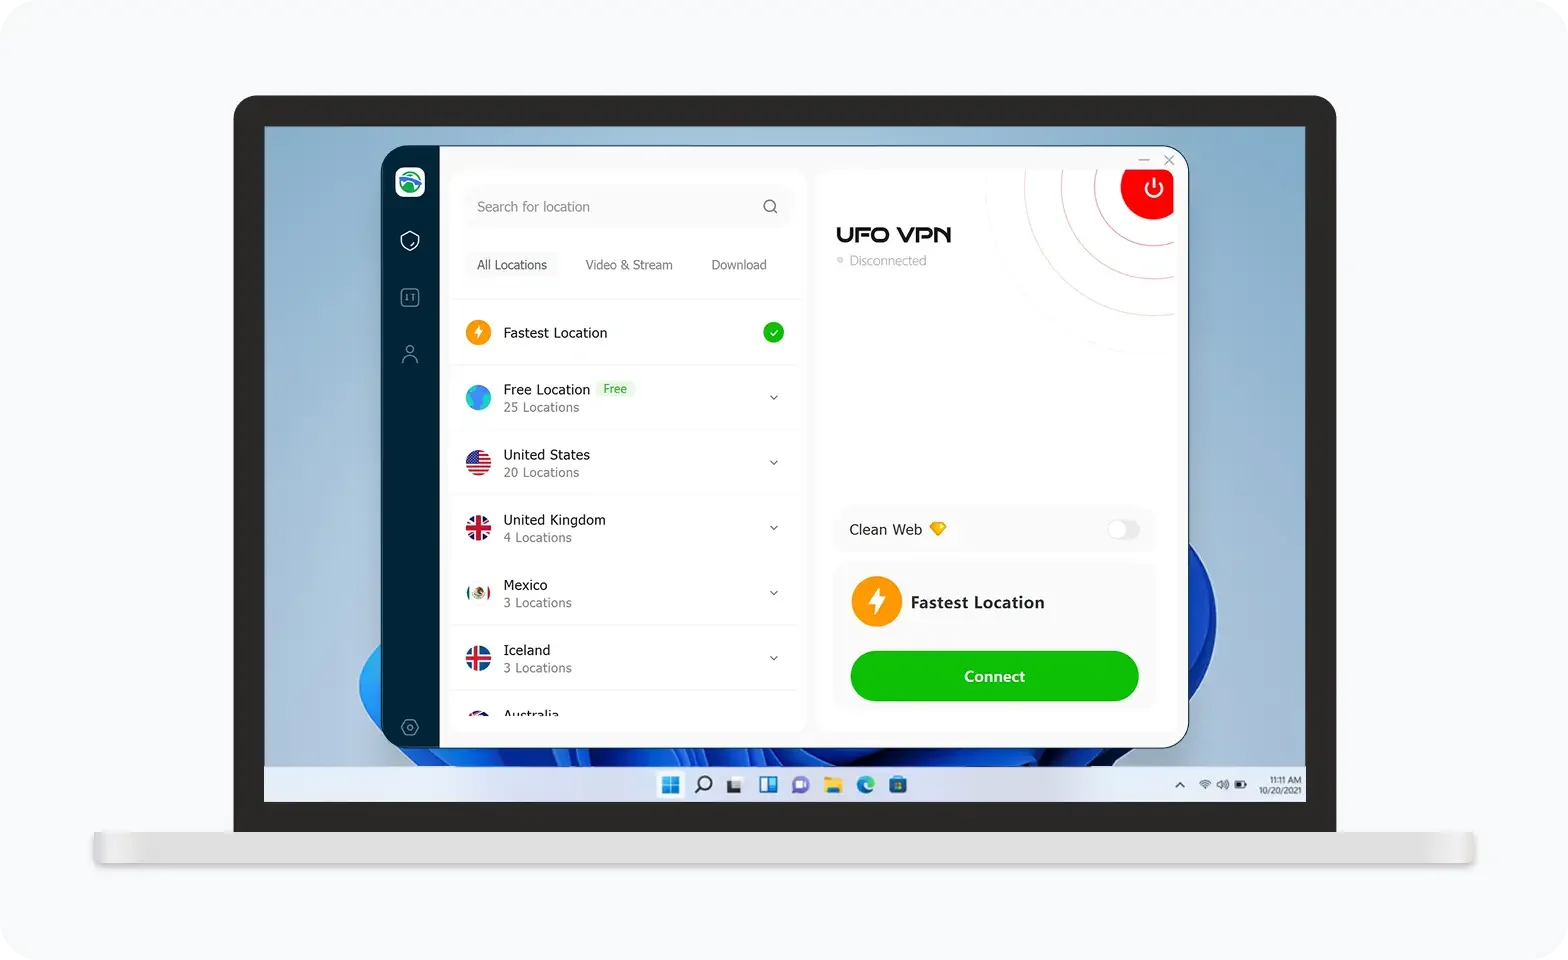
UFO VPN is an all-in-one VPN that offers unlimited access to 4K streaming like Netlfix, Disney Plus, no-ping gaming as PUBG, Roblox, CODM and social networking for YouTube, X, Facebook and more.
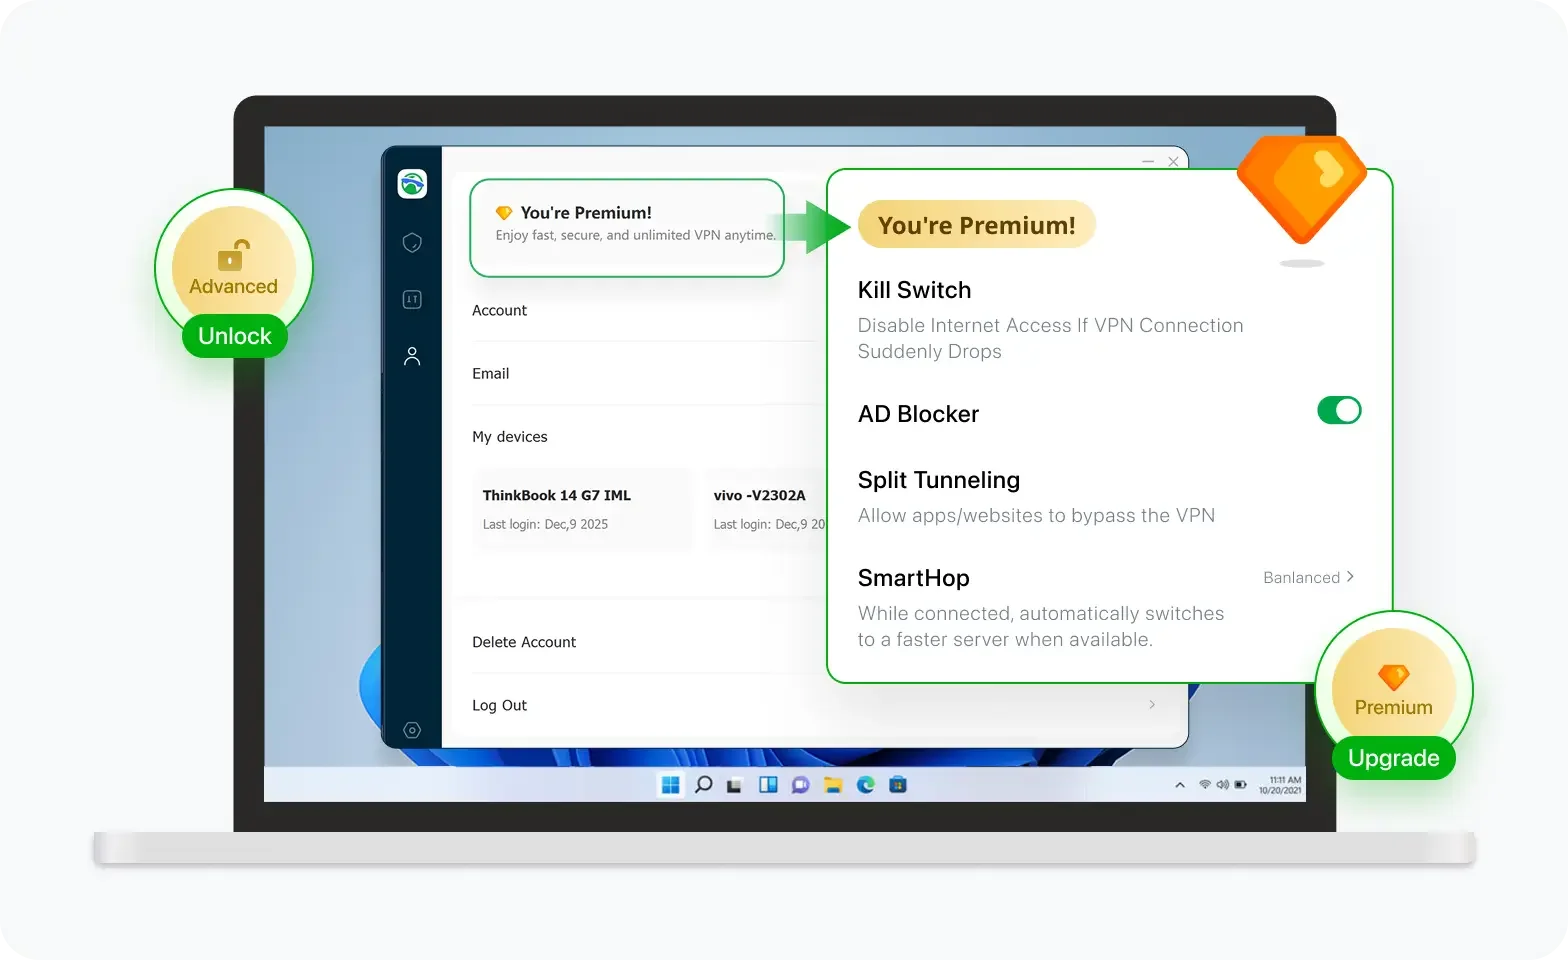

Unlock Pro Features
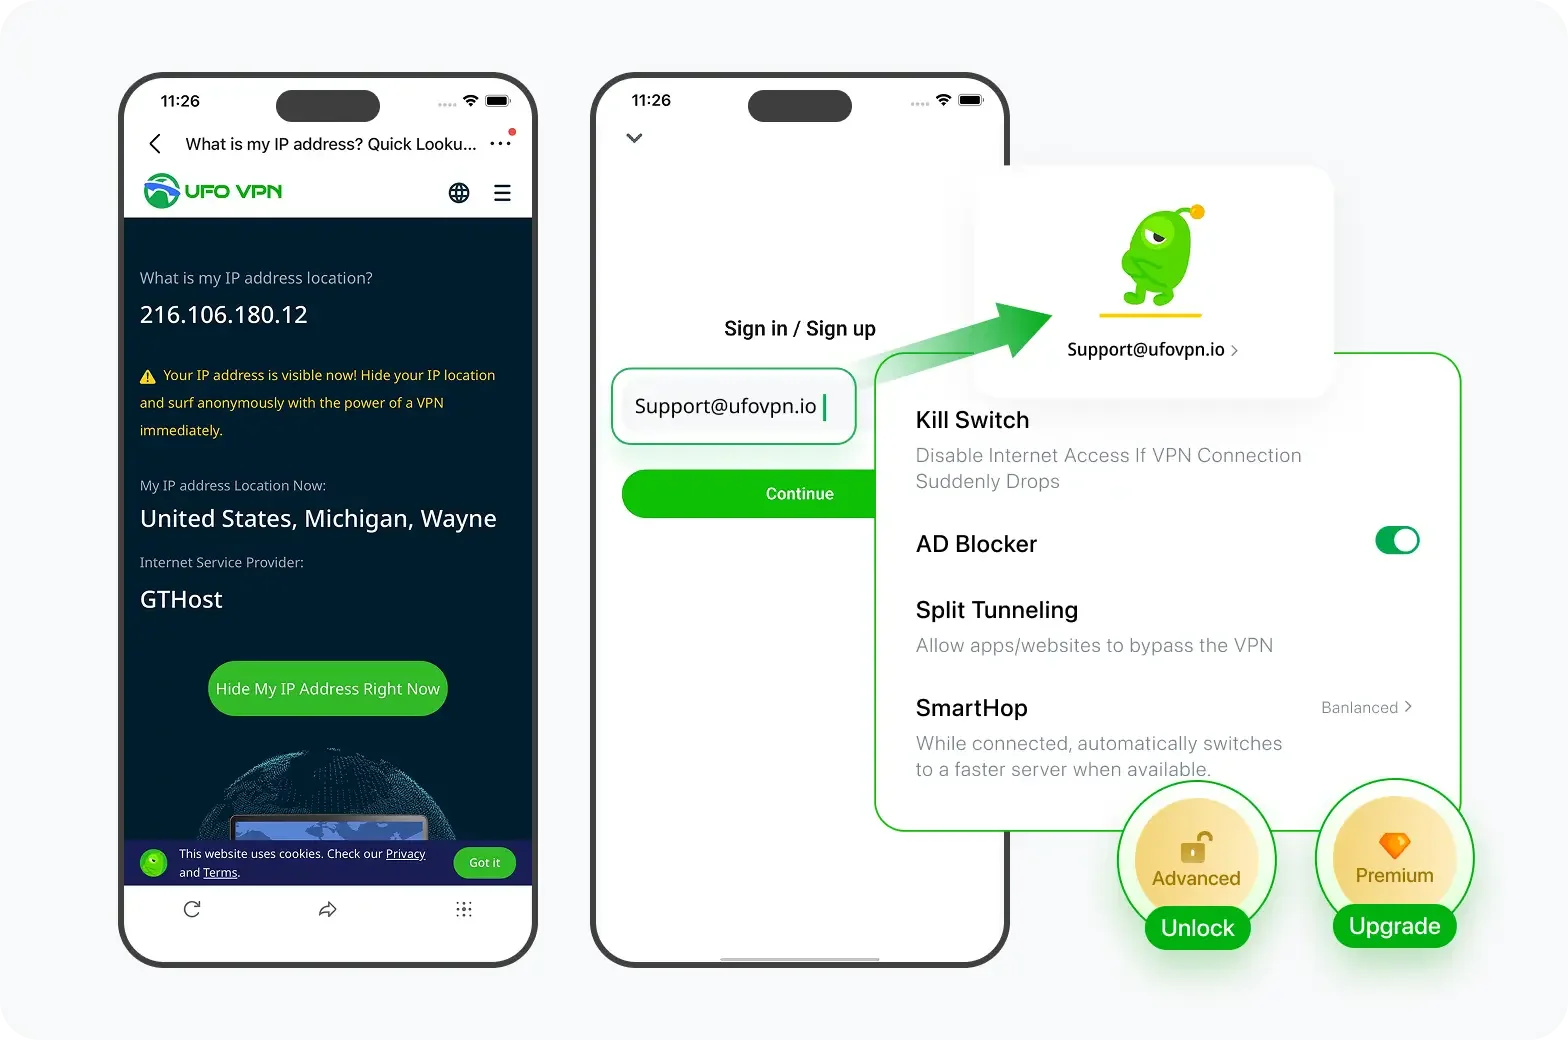
If you have upgraded to premium plan , feel free to enjoy premium servers for 4K streaming and advanced features like Kill Switch, Split Tunneling, and gaming acceleration. Your Mac is now fully optimized and protected. Inaddition to basic functions, we recommend you turn on

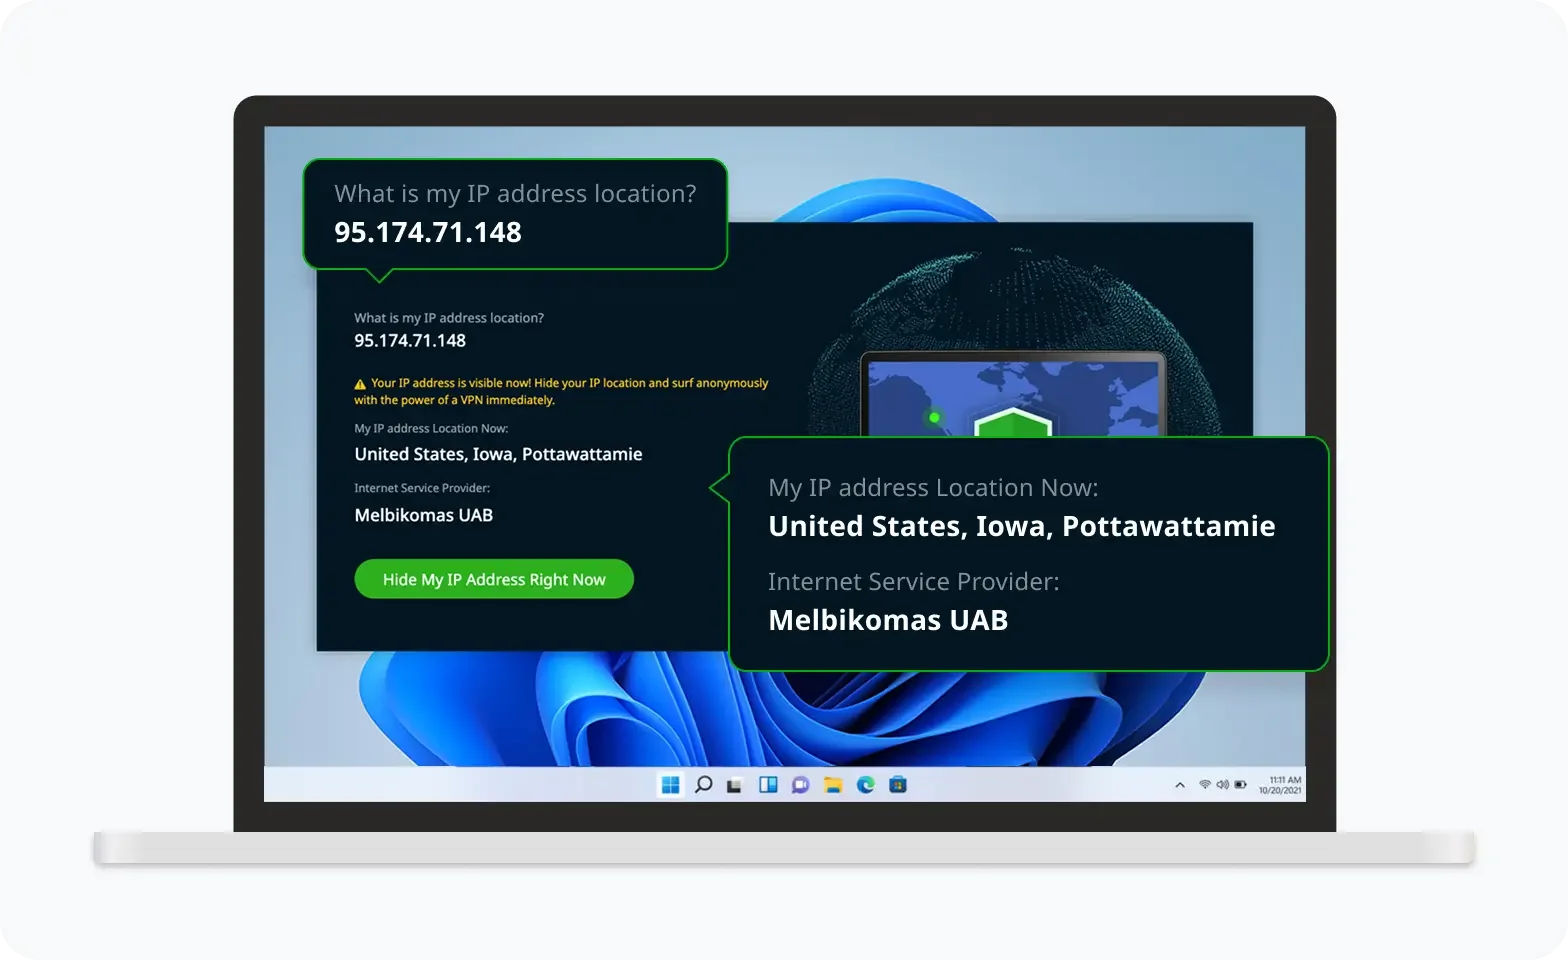
Verify Your IP Now
Use UFO VPN's " What is My IP " feature to see your new IP and location. This confirms your connection is secure, anonymous, and ready for safe browsing online anywhere at any time.


2. Clear Cookies and Browsing Data Regularly
Removing cookies and website data helps reduce tracking from advertisers and prevents sites from building long-term profiles based on your browsing behavior. You can do this by going to Settings > Safari > Clear History and Website Data.
3. Enable Fraudulent Website Warnings
This Safari feature alerts you when a website is suspected of phishing or malicious activity, helping you avoid scams and unsafe pages. Turn it on by navigating to Settings > Safari > Fraudulent Website Warning.
4. Use Strong Passwords with iCloud Keychain
iCloud Keychain securely stores and generates strong passwords for your accounts, reducing the risk of data breaches and account takeovers. Enable it under Settings > Passwords > iCloud Keychain to keep your logins protected.
Why You Should Turn Off Private Browsing on iPhone?
If you keep using private browsing by default, you may be missing out on important Safari features and performance improvements without realizing it. The following explains why turning off private mode can actually improve your iPhone experience.
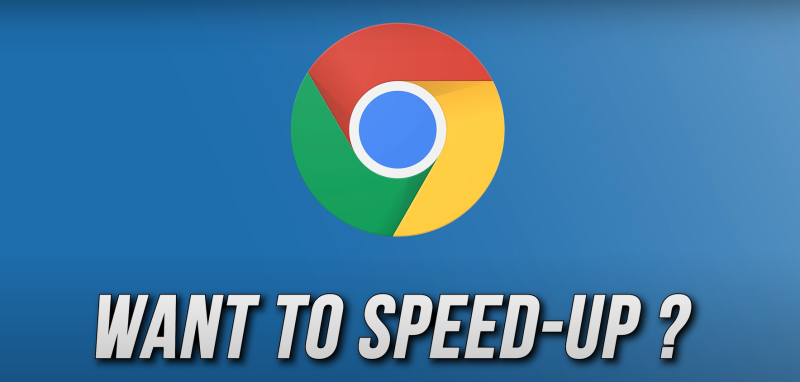
Faster Loading Speed
Private browsing prevents Safari from caching data. This means pages take longer to load each time. By turning off private mode, your browsing speed improves significantly.
-
How Caching Works: In standard mode, Safari saves images and files from sites you visit. When you return, the browser reloads them from your phone instantly instead of downloading them again.
-
The Private Mode Drag: Private Browsing blocks this feature, forcing your iPhone to re-download data every single time you visit a page.
-
The Result: Turning off private mode significantly boosts speed and reduces mobile data usage.
Unblock Device Restrictions
Certain apps, websites, or school/work networks may restrict access in private mode. Disabling it ensures you can fully utilize your iPhone without encountering blocked content.
-
Website Functionality: Many sites (especially banking and paywalls) rely on cookies to work. Private mode blocks these, often causing errors, infinite loading loops, or blank screens.
-
Network Firewalls: Strict Wi-Fi networks at schools or offices may flag Private Browsing as suspicious, triggering security filters that block your connection entirely.
-
Screen Time Compatibility: Apple’s Screen Time and parental controls often conflict with private mode. Disabling it ensures content filters and usage limits work seamlessly.
Experience Safari's New Features
Some Safari features—like auto-fill, bookmarks, extensions, and saved passwords—are unavailable in private mode. Turning off private browsing lets you enjoy all of Safari’s functionality.
-
Seamless Auto-Fill: Stop typing repeatedly. Standard mode securely auto-fills your address and credit card info instantly.
-
iCloud Passwords: FaceID and TouchID work best here, automatically suggesting your saved strong passwords for faster logins.
-
Sync Across Devices: Start on iPhone, finish on Mac. Standard mode uses "Handoff" to keep your open tabs synced across all devices.
-
Recover Closed Tabs: Closed a tab by accident? In Private Mode, it’s gone forever. Standard mode saves your History so you can easily find it again.
Common Issues When You Disable Private Browsing on iPhone
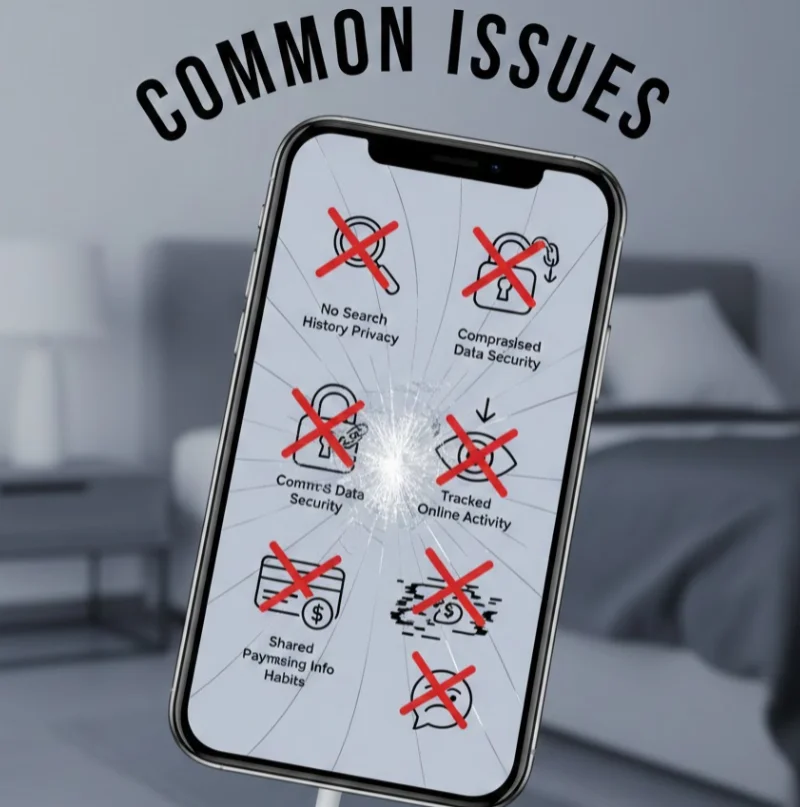
Even after disabling private browsing, you may encounter issues. Here’s what to expect and how to fix it.
1. Old Private Tabs Reappear Sometimes Safari "remembers" your last session. If old private tabs keep popping up, the browser hasn't fully refreshed.
-
The Fix: Open the tab view, close all private tabs manually, and force-restart the Safari app.
2. History Not Saving If you are in standard mode but Safari still isn't saving your history, a restriction setting is likely the cause.
-
The Fix: Go to
Settings > Screen Time > Content & Privacy Restrictions. Ensure that "Web Content" restrictions aren't accidentally blocking history logging.
3. Websites Still Track You Turning off private mode improves performance, but it allows websites to track cookies again. You don't have to sacrifice privacy for speed.
- The Fix: Use a trusted VPN like UFO VPN. It encrypts your traffic and hides your IP address, giving you full Safari functionality with robust data protection.
4. Auto-Fill Not Working If Safari isn't automatically filling in your forms or passwords, the feature may be disabled.
- The Fix: Go to
Settings > Safari > AutoFilland ensure Use Contact Info and Credit Cards are toggled ON.
Conclusion
Disabling private browsing on iPhone is straightforward but essential for unlocking full Safari functionality, speeding up browsing, and managing device restrictions. While private mode protects temporary privacy, using a VPN ensures your data remains safe even in normal mode. By following this guide, you can permanently turn off private browsing, protect your privacy with VPN and security measures, and access all of Safari’s features without limitations. Take control of your iPhone browsing experience today!
FAQs
Can I turn off private browsing without using Screen Time?
Yes, you can switch to normal tabs manually, but it won’t prevent Safari from reverting to private mode after closing the app. Screen Time ensures permanent changes.
Will disabling private browsing delete my history?
No. Disabling private browsing only prevents new private sessions from being created and does not erase any existing Safari history, bookmarks, or saved data.
Can I re-enable private browsing after disabling it?
Yes. You can re-enable private browsing at any time by adjusting Screen Time restrictions or simply opening a new private tab in Safari.
Does turning off private browsing affect other apps?
No. Turning off private browsing only changes how Safari handles browsing history, cookies, and tabs. Other apps continue to function normally and manage their own data, permissions, and privacy settings independently.