What a printer IP address is—and why it matters
A network printer gets an IP on your local network (usually 192.168.x.x or 10.x.x.x). That address lets computers discover the device, send print jobs, and open its built-in admin page for settings, firmware updates, and supplies info. You’ll need the IP for:
-
Adding the printer via TCP/IP (Windows) or IP (macOS)
-
Accessing the printer’s web interface for setup or diagnostics
-
Fixing “offline” issues, renaming the device, or switching to static/DHCP
Official guides emphasize the same core methods: look on the printer panel or print a configuration/status page; otherwise check your OS or router.
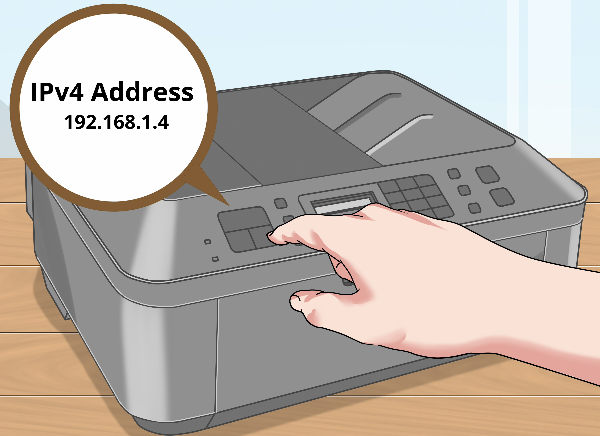
Method 1: Check the printer itself (screen or config page)
Most Wi-Fi/Ethernet printers show networking info right on the device, or can print a configuration sheet with the IP.
-
On-screen network menu: Open Network or Wireless/Connection settings on the printer’s panel and look for IP address.
-
Print a configuration page: Many brands have a shortcut (e.g., HP: press Wireless/Network + Info (i/?) together) to print a page listing IPv4/IPv6, SSID, and status. Check your model’s quick start or support page if the shortcut differs.
Tip: No LCD panel? Some manufacturers let you print a config page from a button combo or offer app-based discovery. Check your model’s support article.
Method 2: Find the printer IP on Windows
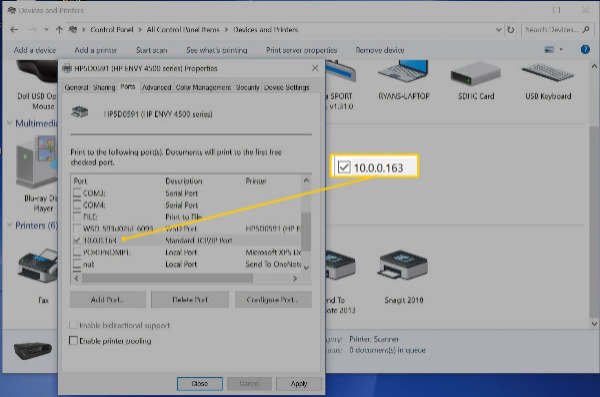
A) Control Panel path (works on all recent Windows versions)
-
Open Control Panel → Hardware and Sound → Devices and Printers.
-
Right-click your printer → Properties (or Printer properties).
-
Look under Ports (for Standard TCP/IP Port) or Web Services to see the address/URL.
B) View it from the driver’s web link
Some Windows drivers expose a Web Services/Printer webpage button; click it to open the printer’s web UI in your browser, which confirms the IP in the address bar. (If it fails to open, the IP likely changed—use the router/DHCP method below.)
Method 3: Find the printer IP on macOS (System Settings or CUPS)
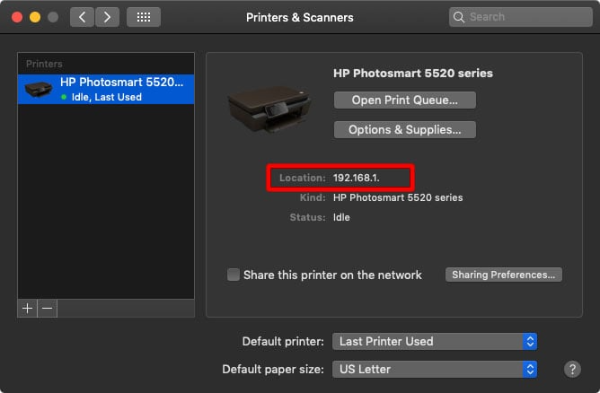
A) System Settings
-
System Settings → Printers & Scanners → select your printer.
-
If it’s added “by IP,” the address shows under the printer’s details; if it’s added via AirPrint/Bonjour, open the Options & Supplies panel to see the hostname/address.
B) CUPS web interface (shows the connection string)
-
Enable the CUPS web UI if needed, then visit http://localhost:631/printers.
-
Click your printer; the Connection line often shows the direct IP/hostname (e.g.,
ipps://192.168.1.50/...).
Method 4: Use your router’s DHCP client list

Your router keeps a table of connected devices and their assigned IPs.
-
Open a browser and sign in to your router (often
192.168.0.1or192.168.1.1). -
Find DHCP Client List, Connected Devices, or LAN Status.
-
Locate the printer by name/MAC and note the IP. Some routers let you click through to the device details.
This method works even when PCs cache old info or the printer was added with a hostname. It’s also the best place to reserve an IP so the address stays consistent (see Troubleshooting).
Method 5: Command line network discovery (Windows & macOS)

If you prefer the terminal—or don’t have admin access to the router—scan your local network for active devices.
Windows (Command Prompt):
-
ipconfigto confirm your subnet (e.g., 192.168.1.x). -
arp -alists recently discovered hosts; match likely candidates by MAC vendor (HP, Canon, Brother, Epson, Zebra). Pair this with a quick ping to confirm.
macOS (Terminal):
-
arp -aandpingwork similarly; or usedns-sd -B _ipp._tcpto browse IPP printers announced via Bonjour/AirPrint. -
If you enabled the CUPS page, its Connection line is often faster than scanning.
Third-party scanners (e.g., Nmap) can enumerate devices on your subnet if ARP results are sparse—handy on larger office VLANs.
Essential Tools for Ensuring Printer Security
Finding and using a printer IP address happens inside your local network. Still, a few best practices keep things safe:
-
Set a printer admin password on the web panel so neighbors or guests can’t change settings.
-
Keep firmware updated via the admin page to patch network bugs.
-
Use the router reservation so the IP stays constant and policies (like access control) apply consistently.
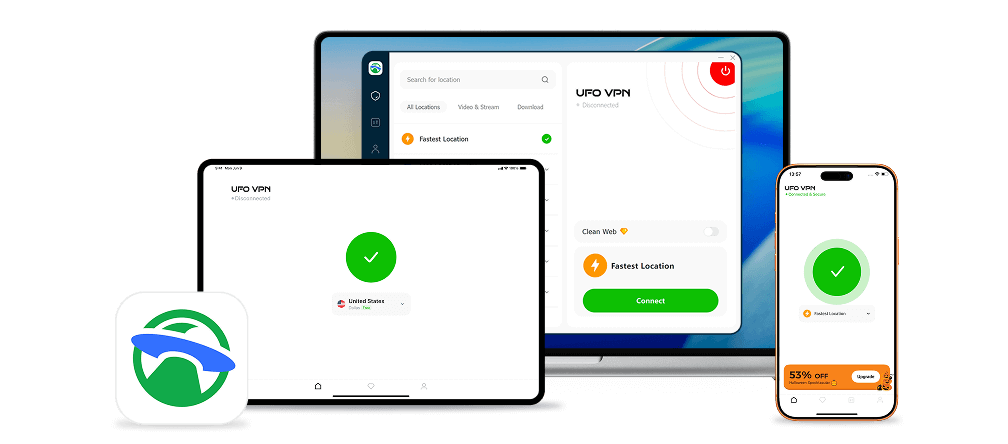
How free proxy VPN in UFO VPN fits your workflow
A VPN doesn’t “discover” printers, but it secures your path when you must sign in to the router admin page or check your printer’s portal on public or workplace Wi-Fi—encrypting traffic and masking your device’s IP from local observers. While you manage network gear or download drivers at cafés, UFO VPN gives you:
-
Encrypted tunnels on untrusted networks
-
Smart Connect to the fastest nearby server for snappy web UIs
-
Split Tunneling so only your browser session goes through VPN while local printing still uses the LAN
-
Kill Switch to block traffic if the tunnel drops
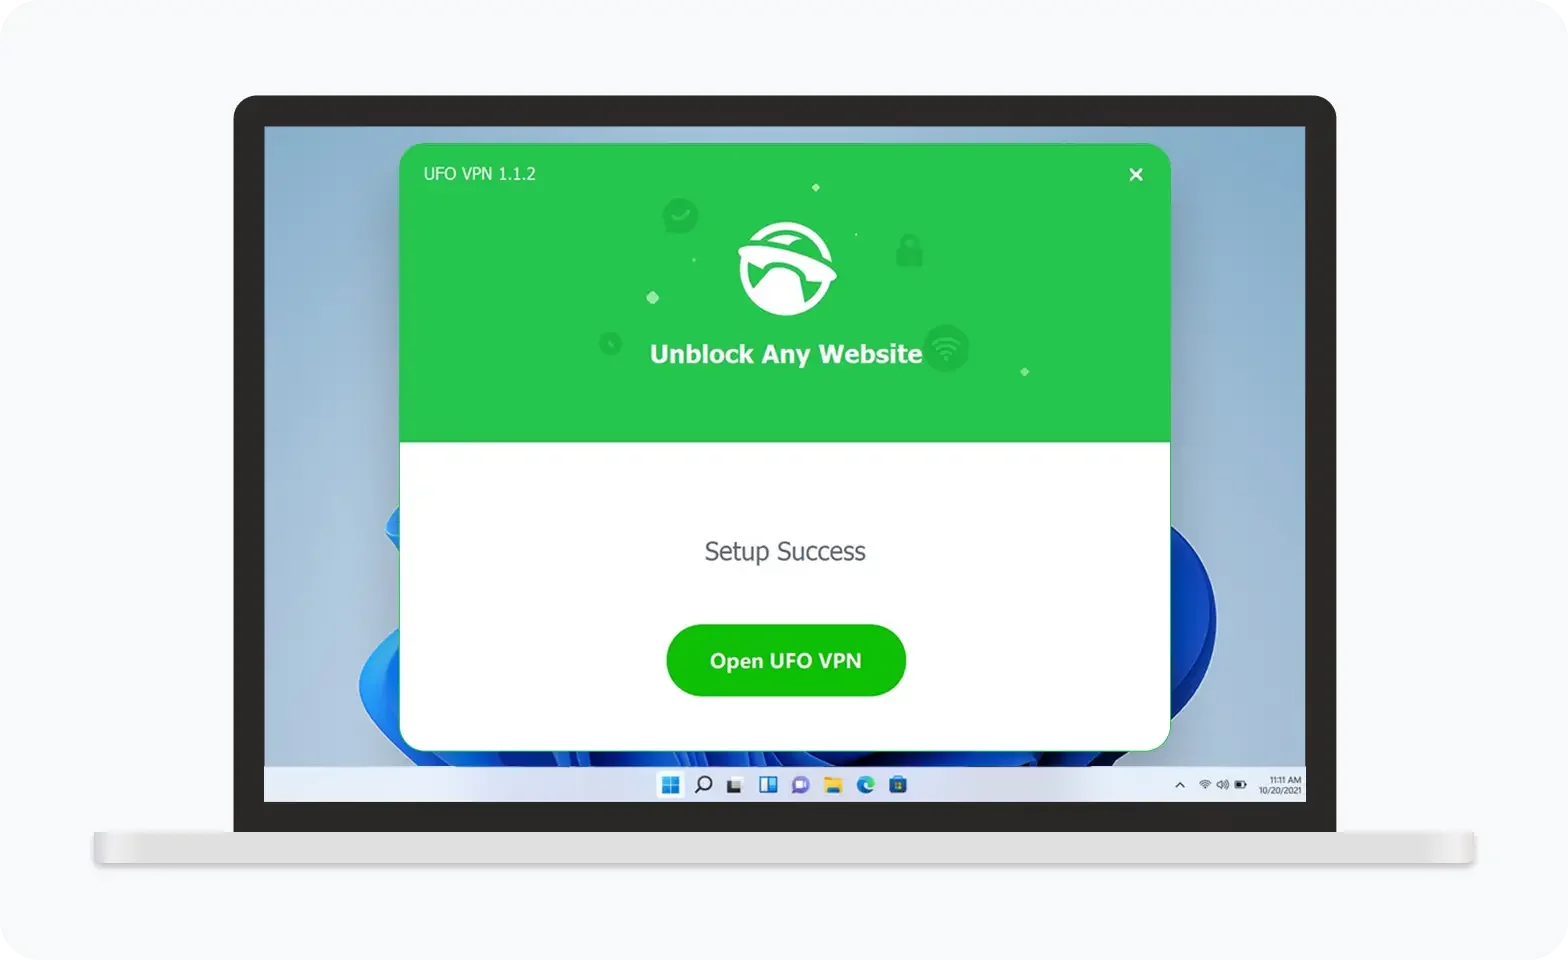
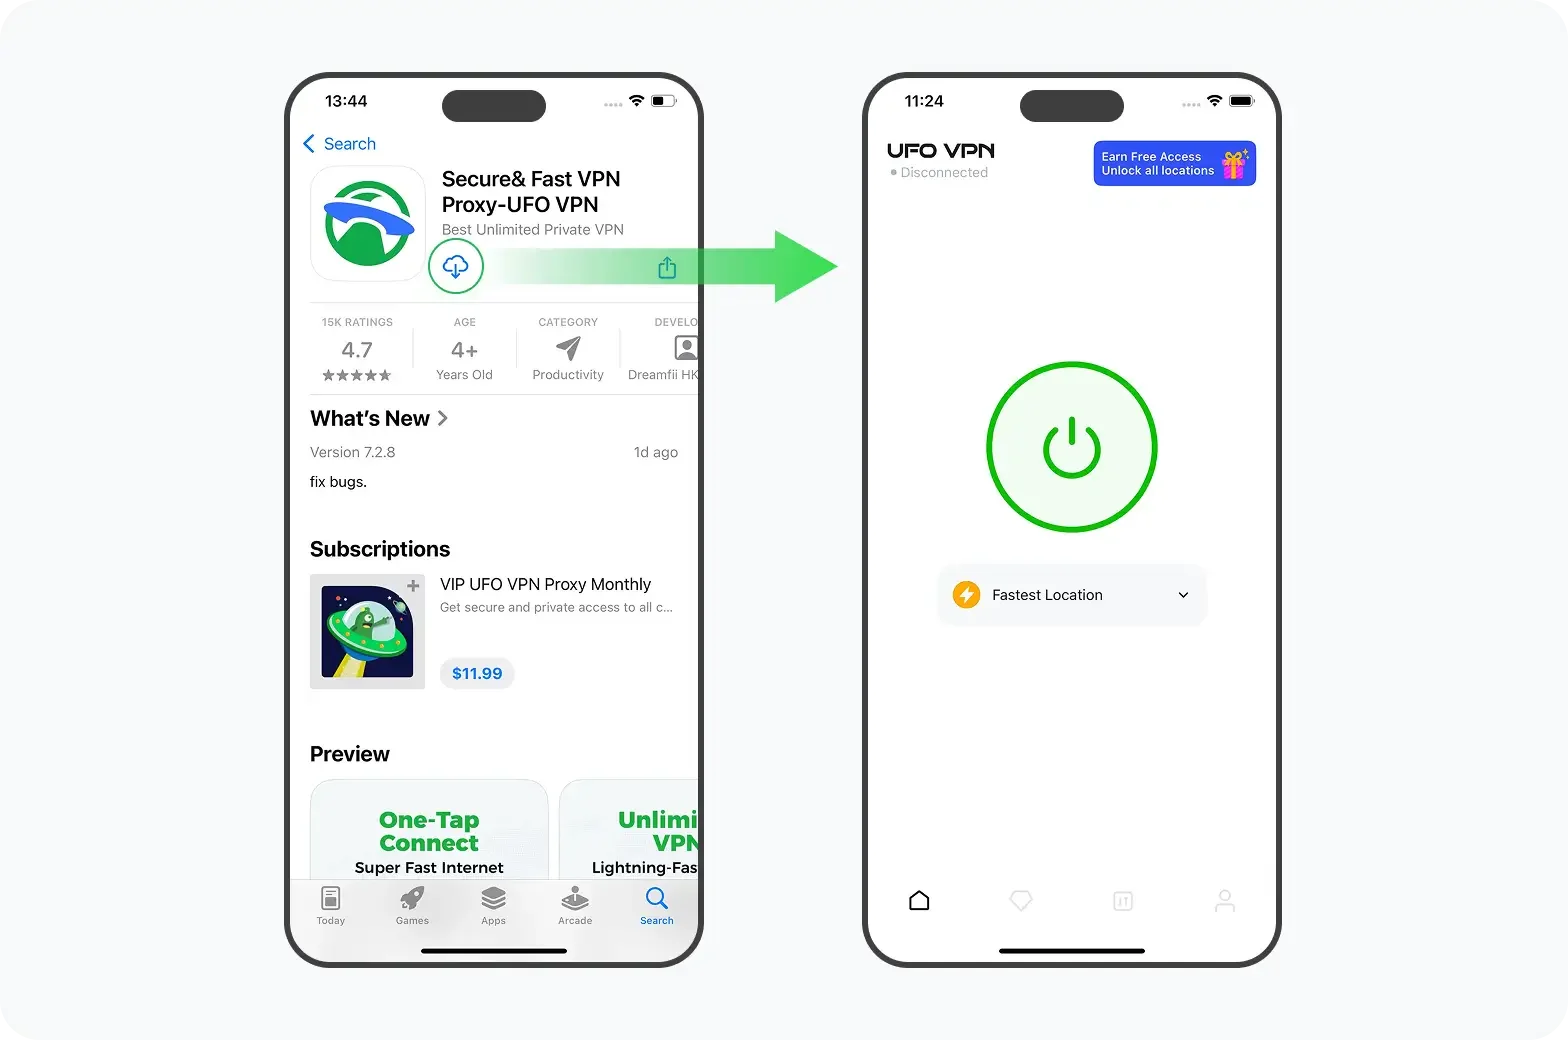
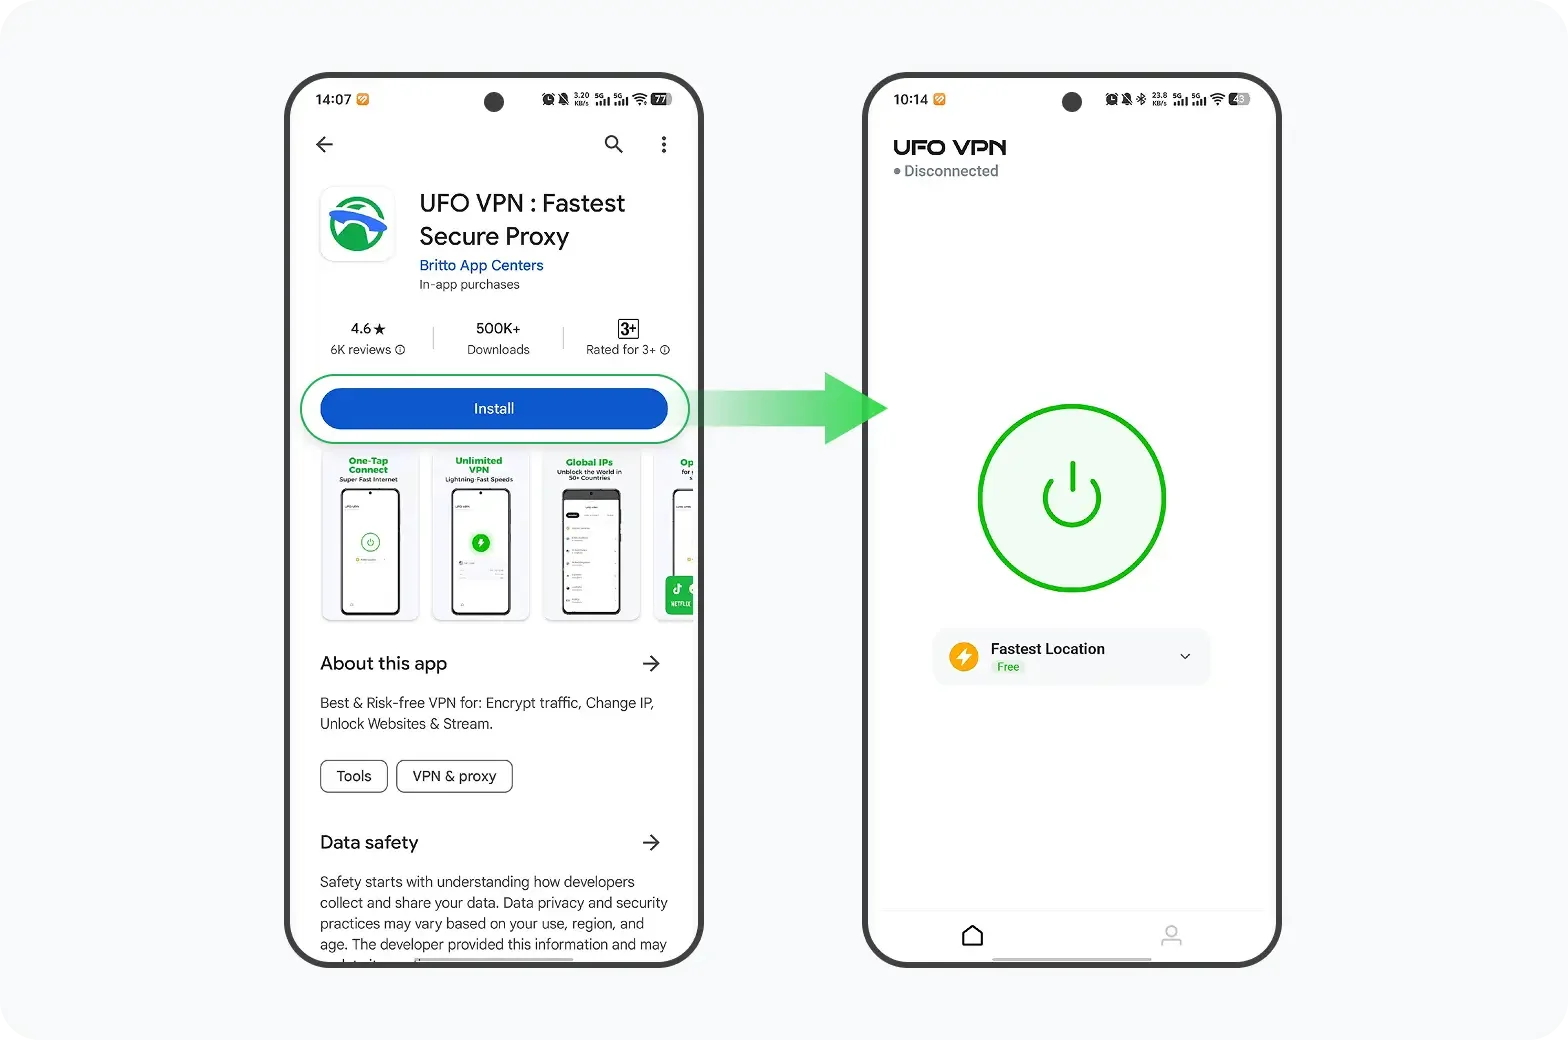
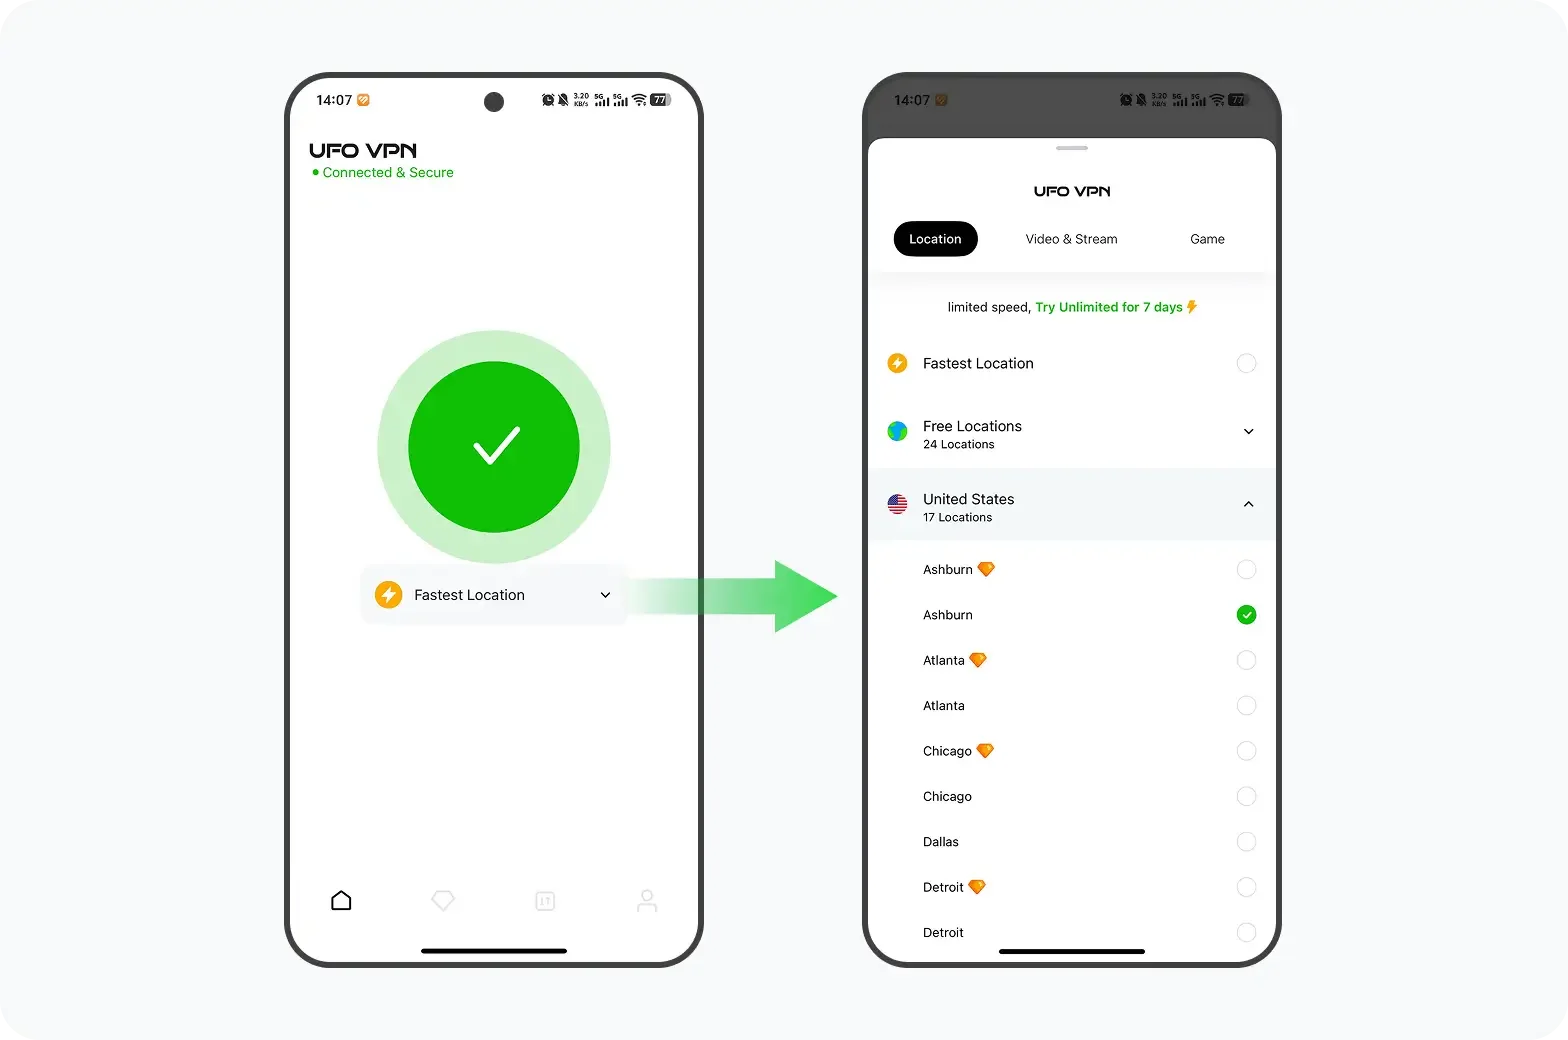
🩵Turn UFO VPN on in 4 Steps:
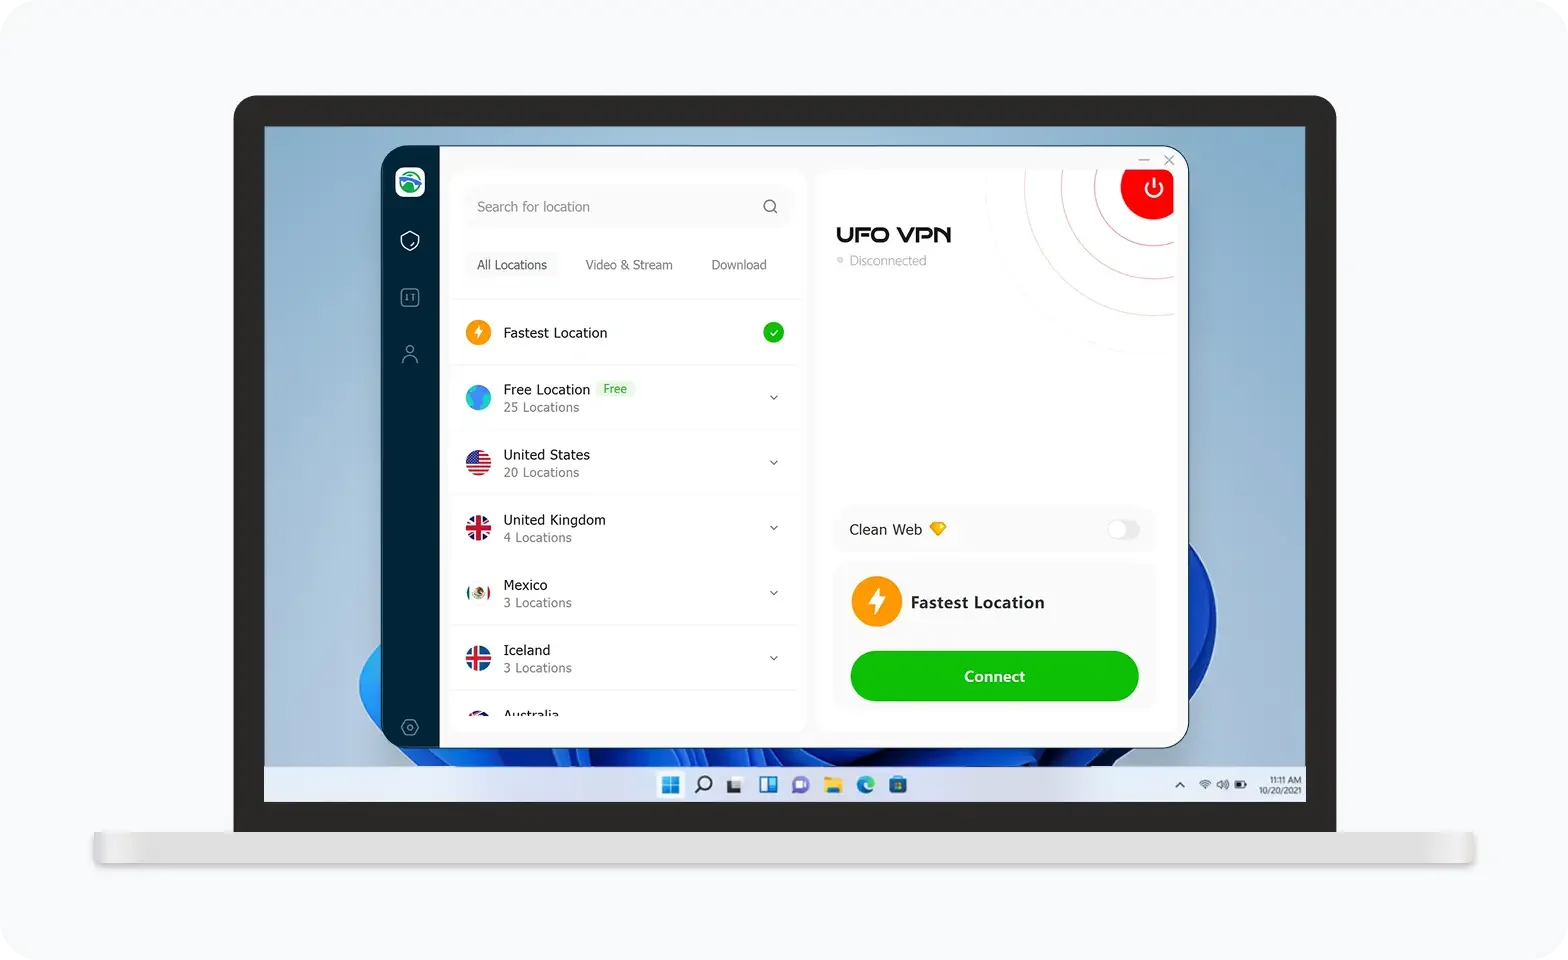
UFO VPN is an all-in-one VPN that offers unlimited access to 4K streaming like Netlfix, Disney Plus, no-ping gaming as PUBG, Roblox, CODM and social networking for YouTube, X, Facebook and more.
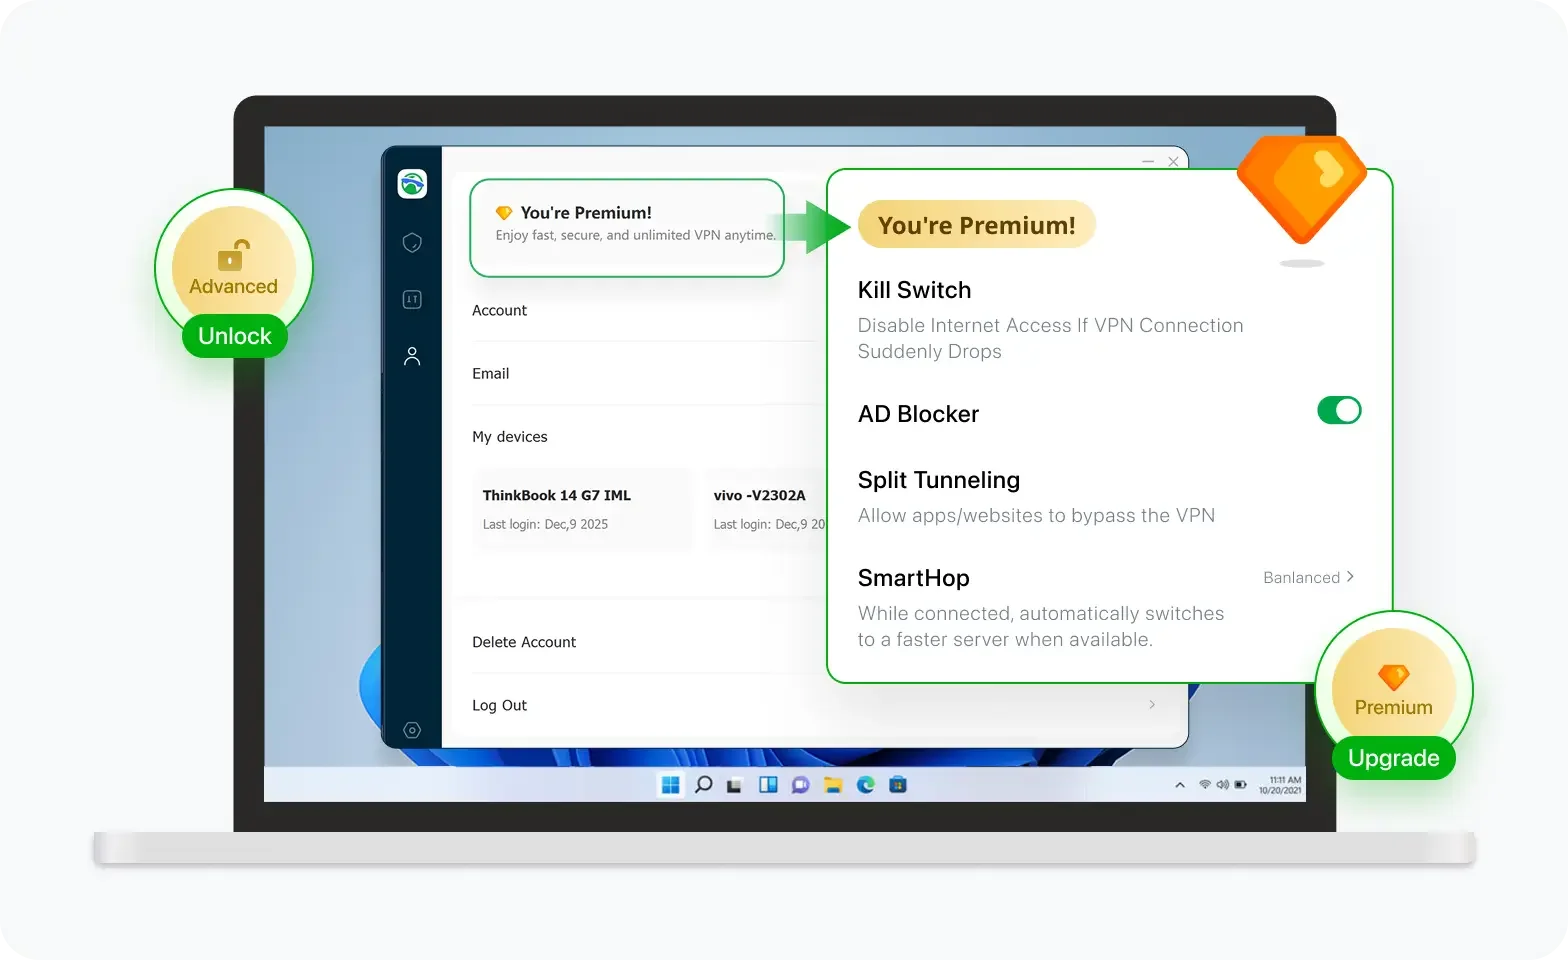

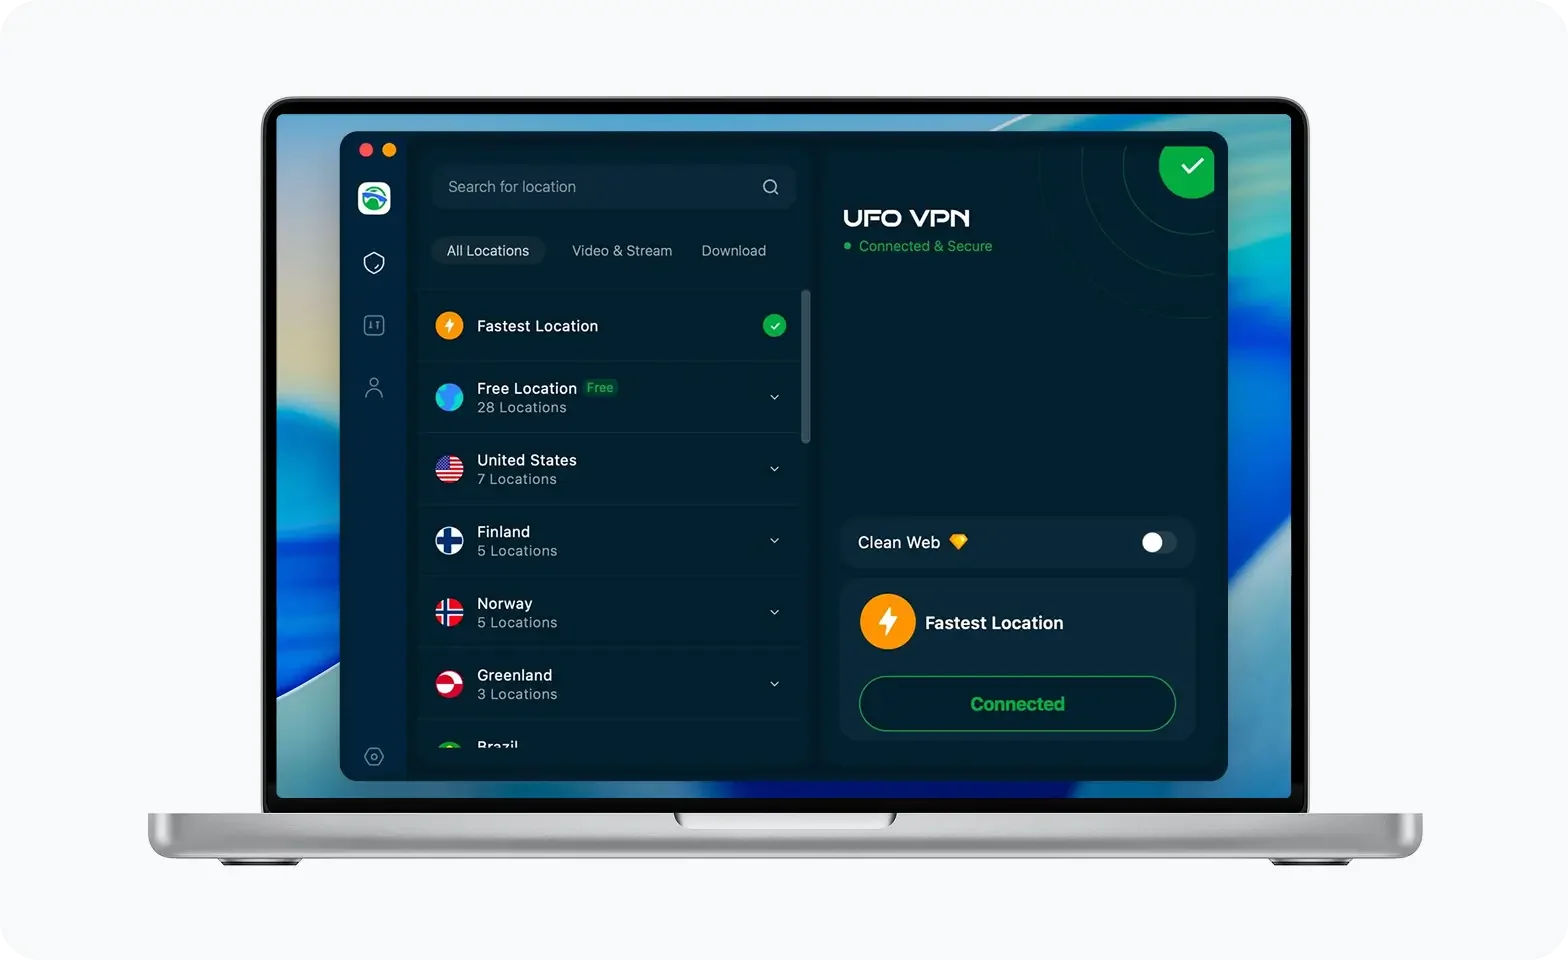
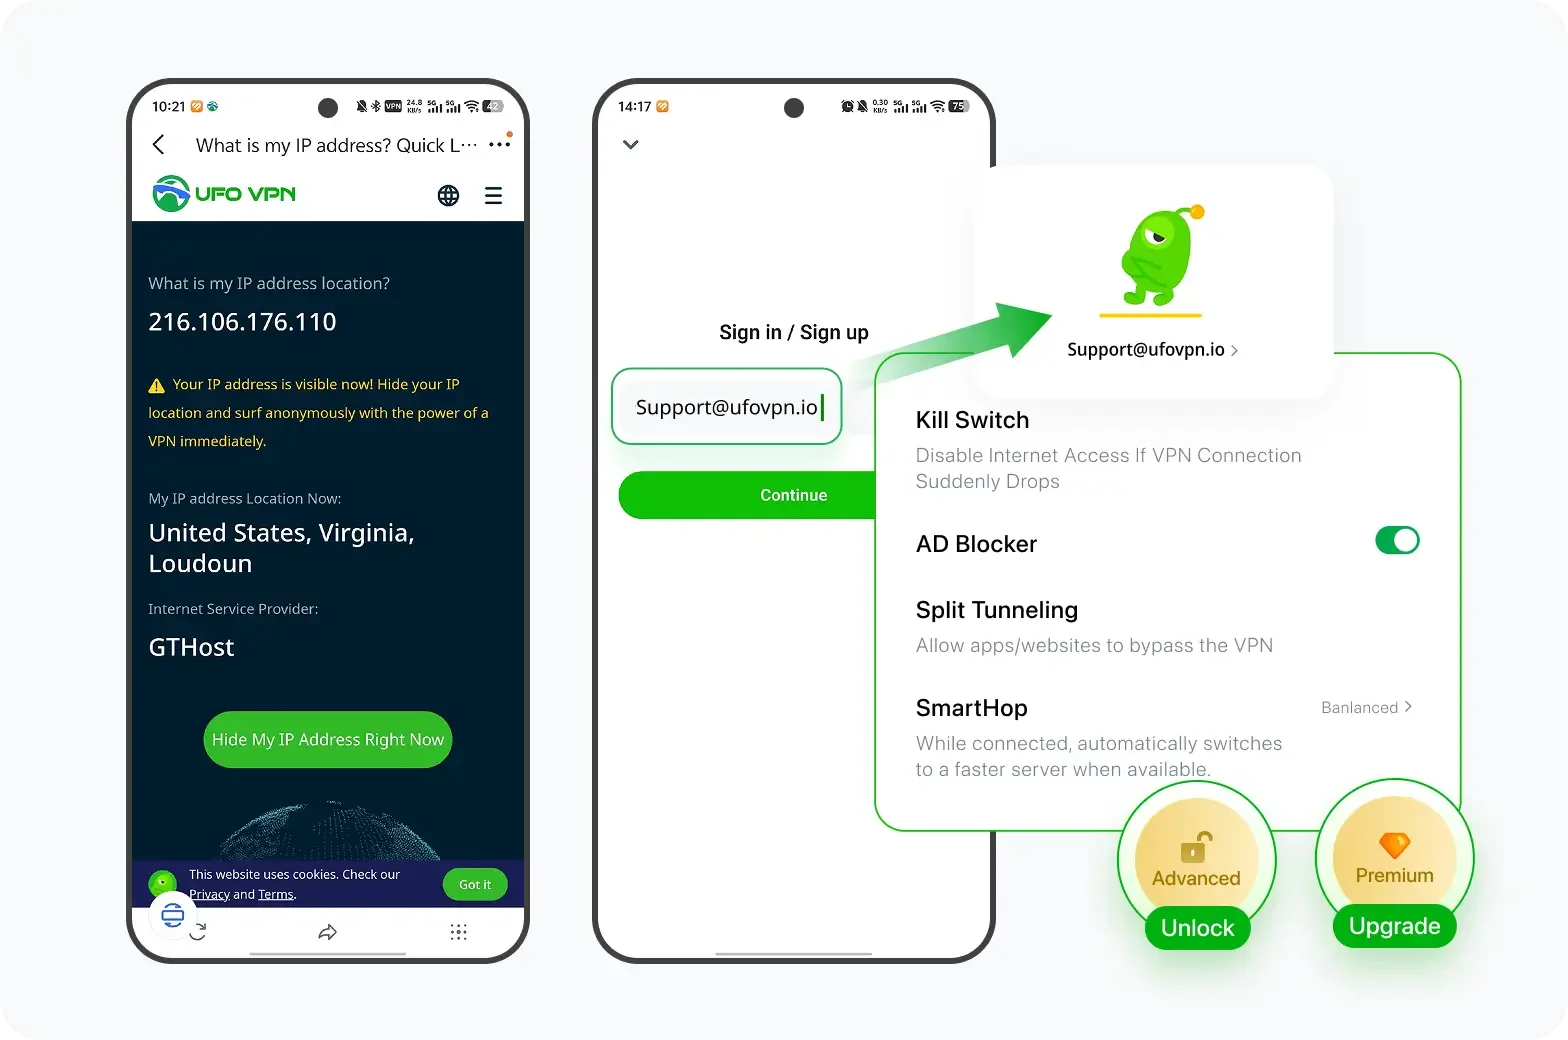
Unlock Pro Features
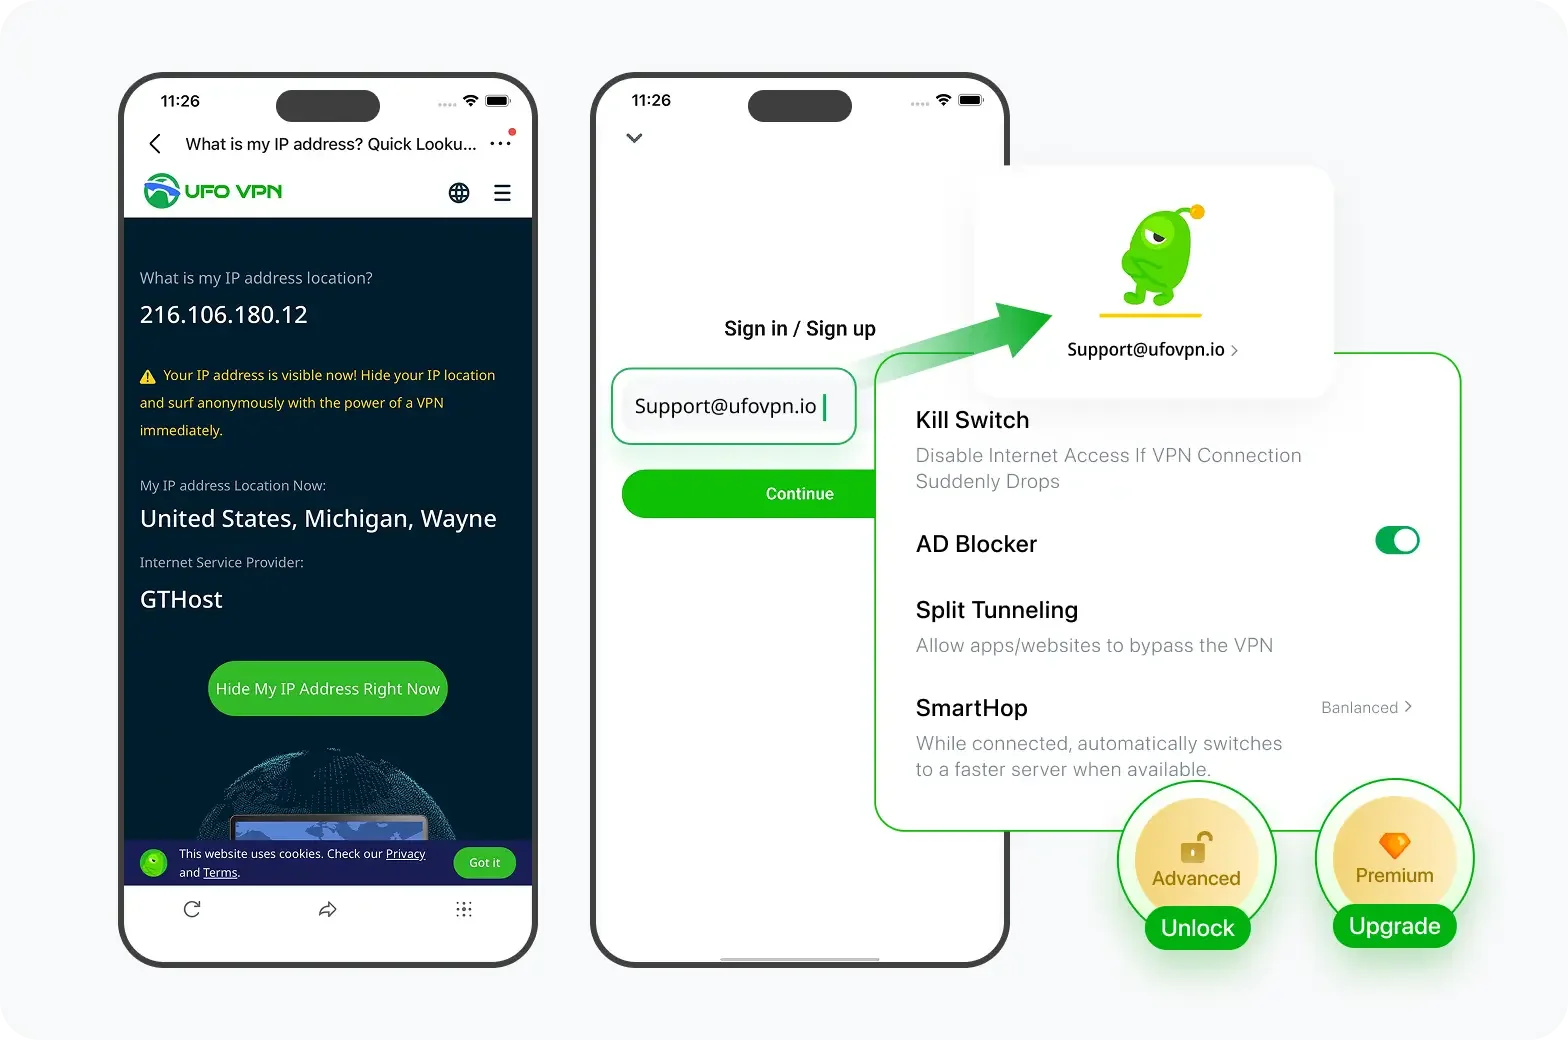
If you have upgraded to premium plan , feel free to enjoy premium servers for 4K streaming and advanced features like Kill Switch, Split Tunneling, and gaming acceleration. Your Mac is now fully optimized and protected. Inaddition to basic functions, we recommend you turn on

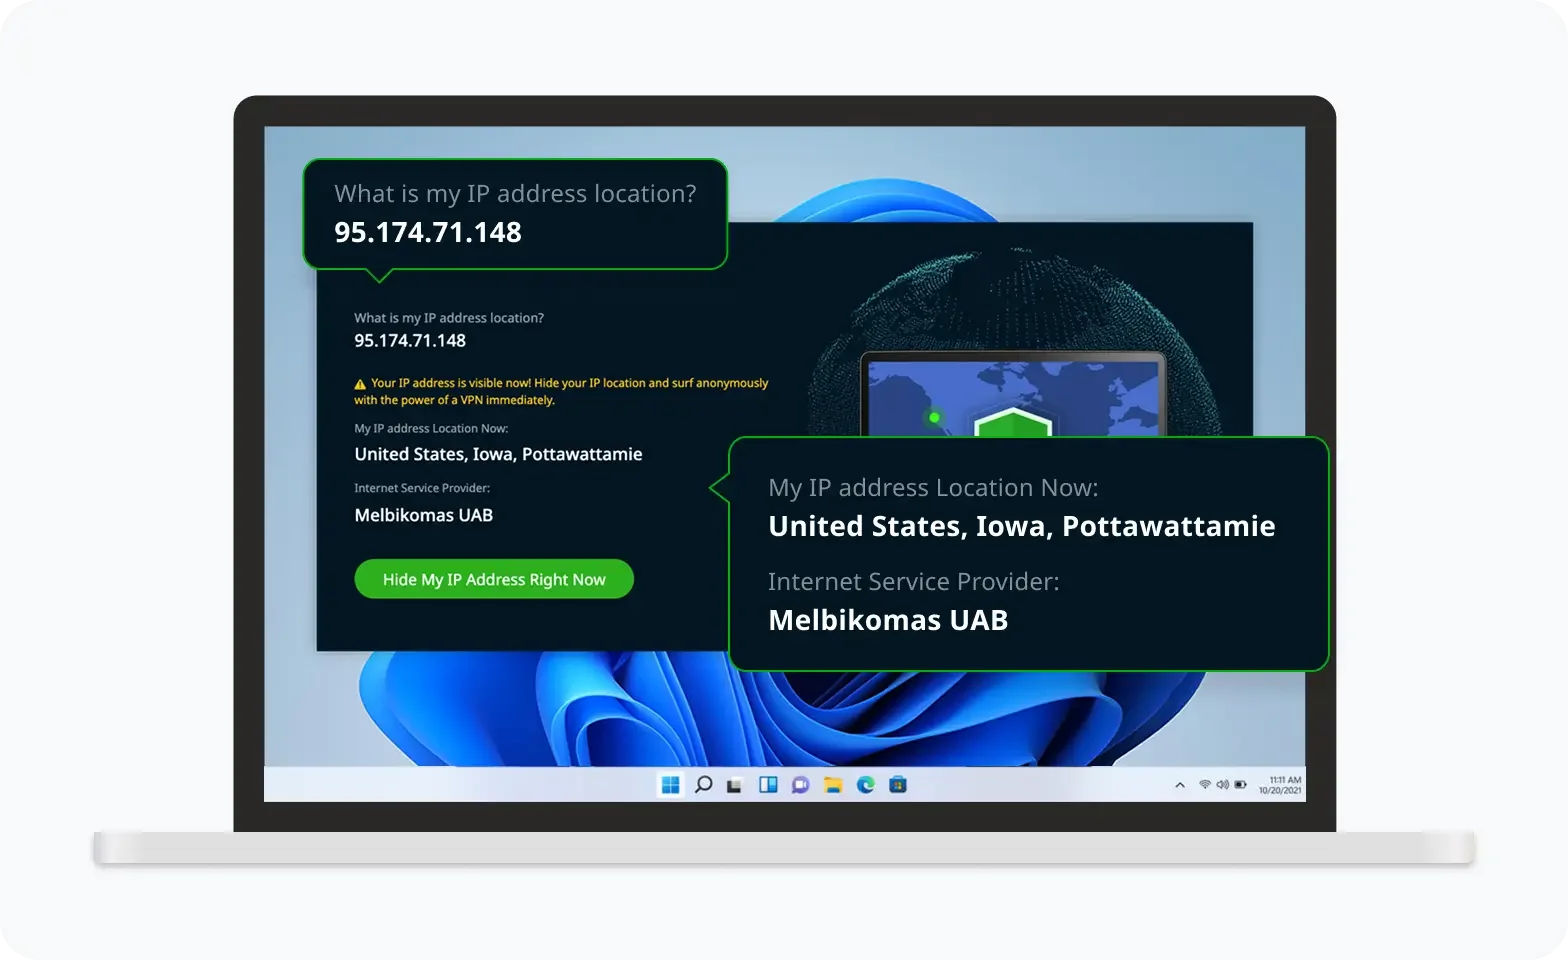
Verify Your IP Now
Use UFO VPN's " What is My IP " feature to see your new IP and location. This confirms your connection is secure, anonymous, and ready for safe browsing online anywhere at any time.


This way, you can safely open router pages (for the DHCP client list) or vendor support portals without leaking browsing metadata to the hotspot.
Quick reference: where to look, at a glance
| Situation | Fastest method | Why it works |
|---|---|---|
| Printer has a screen | Network/Wireless menu on device | Shows current DHCP/static IP directly |
| No screen | Print configuration/status page | Lists IPv4/IPv6, SSID, link state |
| Windows PC | Control Panel → Printer properties → Ports/Web Services | Displays TCP/IP port or printer webpage link |
| Mac | System Settings or CUPS at localhost:631/printers |
Shows IP/hostname in connection string |
| Mixed network | Router’s DHCP client list | Canonical source for leased addresses |
| Power user | arp -a, ping, Bonjour browse |
Finds active devices without router access |
Troubleshooting: when the IP won’t show
1) The printer is connected by USB, not network.
USB-only connections won’t have a LAN IP. Make sure the printer is joined to Wi-Fi/Ethernet first (or turn on Wi-Fi Direct and use its advertised IP/URL if your model supports it). General guidance from printing frameworks: if it’s not on the LAN, you won’t see a LAN IP.
2) Your router shows two similar entries.
Dual-band or Ethernet + Wi-Fi can present duplicate hostnames. Match by MAC address (printed on a label or config page); then disable the unused interface on the printer to avoid confusion.
3) The IP keeps changing (DHCP churn).
Reserve it in the router: in DHCP Reservations/Address Binding, tie the printer’s MAC to a fixed IP in your subnet. This prevents “offline” errors on PCs that expect a stable address. (Most home routers expose this next to the DHCP client list.)
4) You only see a hostname like printer123.local.
That’s Bonjour/mDNS. It’s fine on Apple-heavy networks, but some Windows setups prefer raw IP. Use the router list or CUPS connection string to reveal the numeric address.
5) IPv6 vs IPv4 confusion.
Some printers advertise IPv6 first. If your PCs are IPv4-only, use the IPv4 shown on the config page or set your printer/driver to IPv4. (Most admin pages list both.)
6) Enterprise VLANs or guest Wi-Fi isolation.
Guest networks often block device discovery; you may need to connect the computer and printer to the same SSID/VLAN or ask IT to allow printing across subnets. If discovery is blocked, rely on the router/DHCP table or a direct static IP.
FAQs
Where is the fastest place to see my printer’s IP?
On the printer itself—its Network/Wireless menu or a configuration page usually lists the current IPv4 address.
I can’t find it on the computer—what next?
Open your router’s DHCP client list (Connected Devices). It’s the definitive source for current leases.
What if my printer doesn’t have a screen?
Most models can still print a status/config page via a button combo or you can discover it from the router’s device list.
How do I open the printer’s web page?
Type the IP into your browser (e.g., http://192.168.1.50). Set an admin password and update firmware from there. General printing docs recommend using the web UI for advanced settings.