Why Delete Your Facebook Search History?
 Protecting Your Privacy
Every search you make on Facebook, whether it’s for friends, pages, or groups, is automatically recorded in your account’s search history. Even though only you can see this history, it still creates a detailed record of your online activity. Over time, these accumulated searches can give Facebook insights into your interests, habits, and social connections, which may feel intrusive. Deleting your search history is a simple way to regain control over your personal data, reduce your digital footprint, and make your Facebook experience more private.
Avoiding Awkward Suggestions
Facebook’s algorithm uses your past searches to recommend people, pages, and groups. This can lead to situations where you search for someone once, only to keep seeing them in your “People You May Know” list or in suggestions. By deleting your history, you prevent one-off searches from influencing these recommendations, helping you avoid unnecessary reminders or socially uncomfortable situations.
Keeping Your Account Clean
Over time, old searches can clutter autocomplete suggestions and affect the relevance of recommendations. Regularly deleting them acts as a form of digital decluttering, ensuring that your account remains tidy and your Facebook experience smoother. It’s a small step that not only improves functionality but also reflects mindful and intentional social media use.
How to Delete Facebook Search History on Desktop
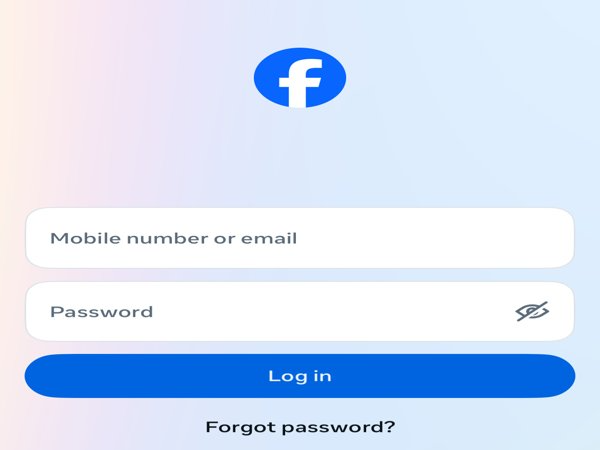
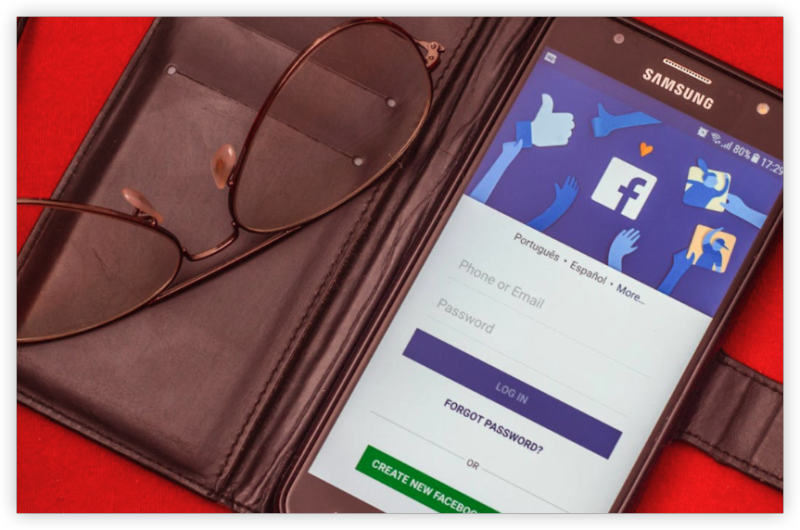
Step 1: Log in to Your Facebook Account
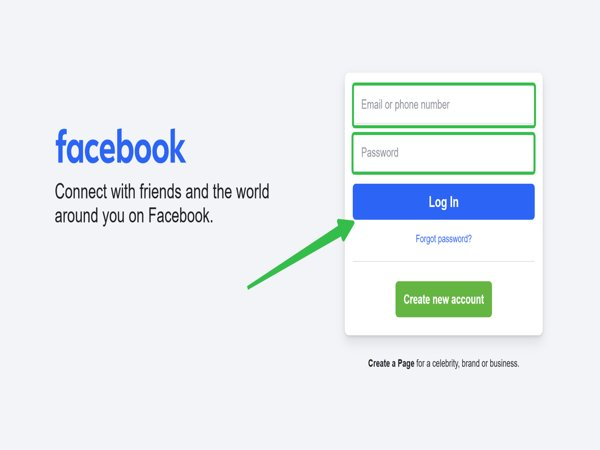
Start by opening your browser and visiting facebook.com. Log in with your email/phone and password.
Step 2: Navigate to Activity Log
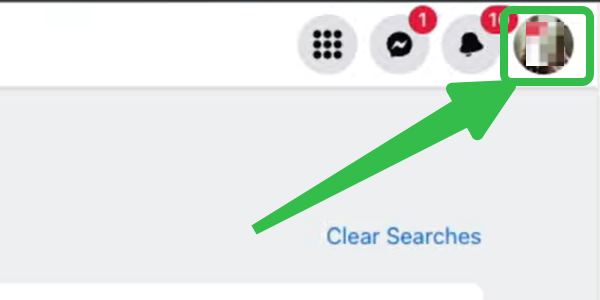
Click on your profile picture at the top right, then select Settings & Privacy > Activity Log.
Step 3: Access Search History
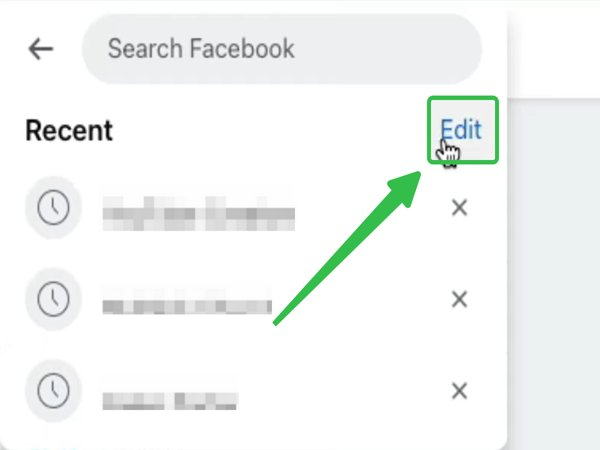
Within the activity log, look for the “Search history” section on the left-hand menu.
Step 4: Delete Individual Searches
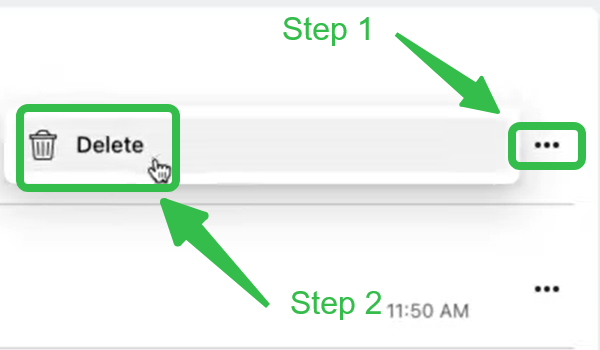
Click the three-dot menu beside each search entry and choose Delete.
Step 5: Clear All Searches at Once

For a fresh start, click Clear Searches at the top. This wipes out your entire search history instantly.
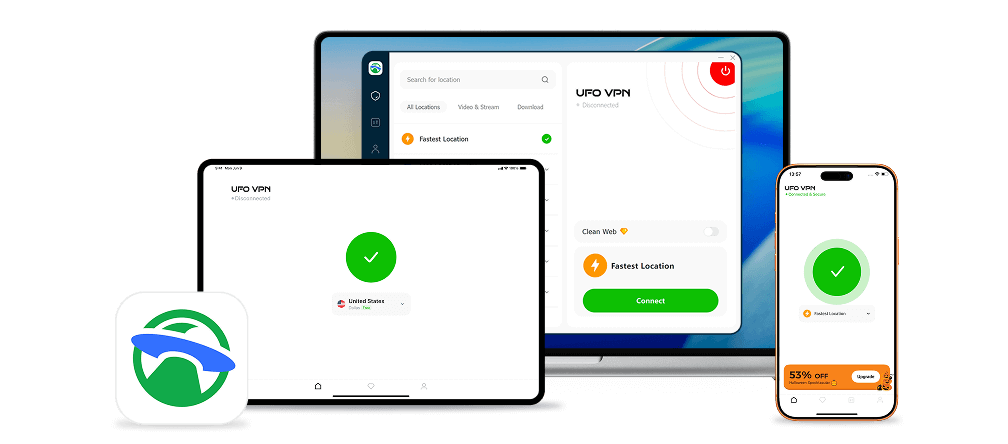
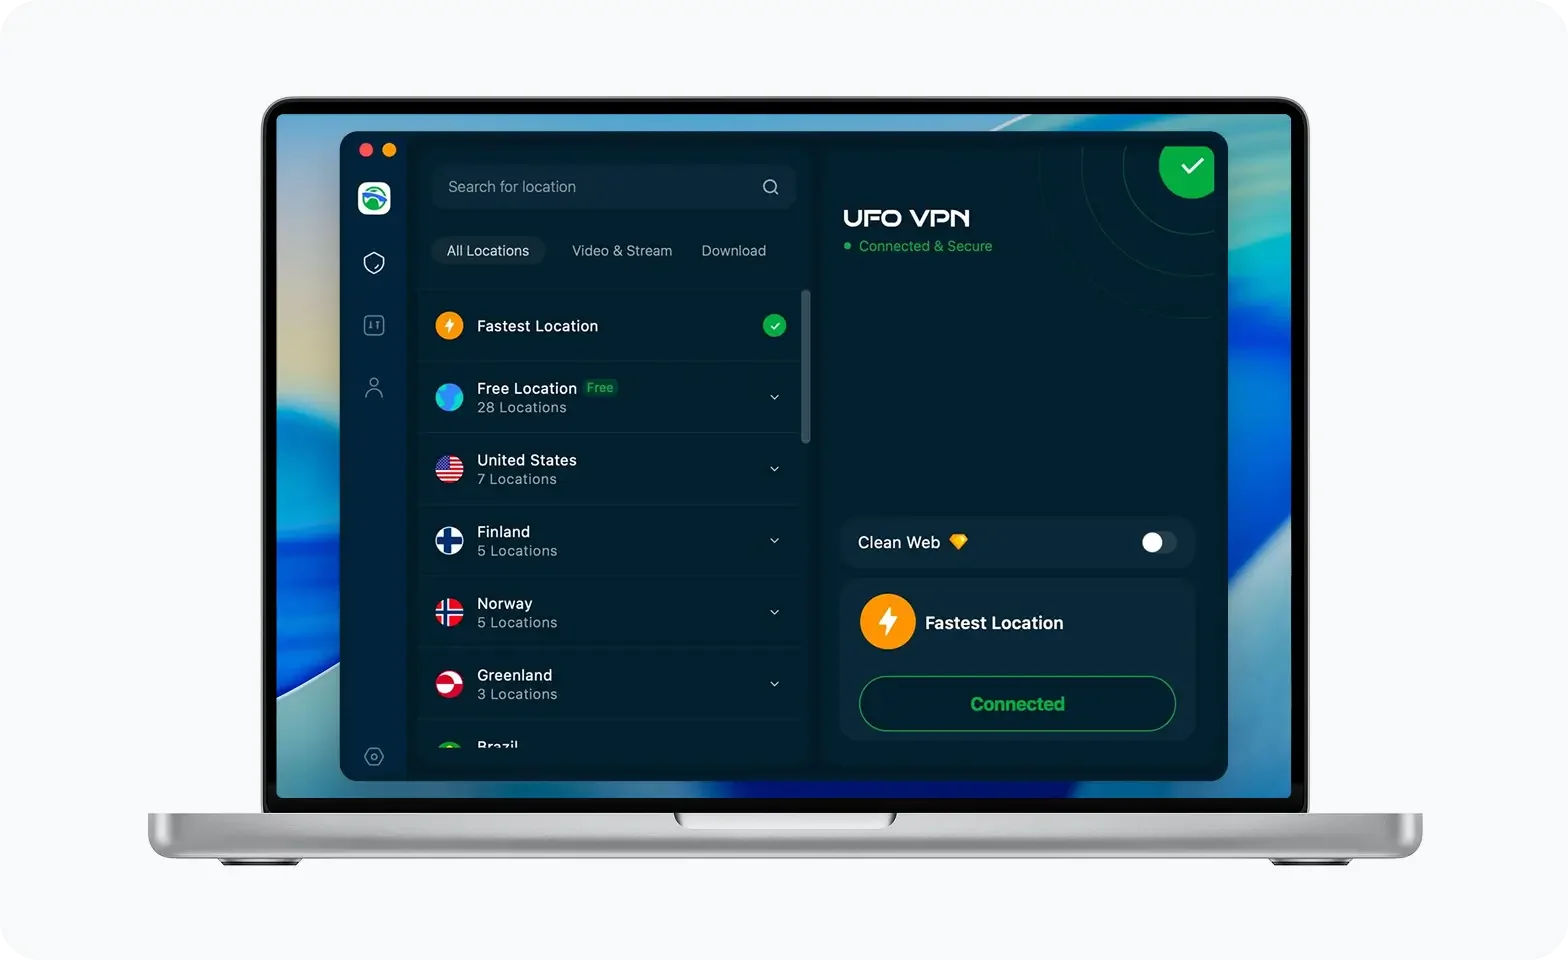
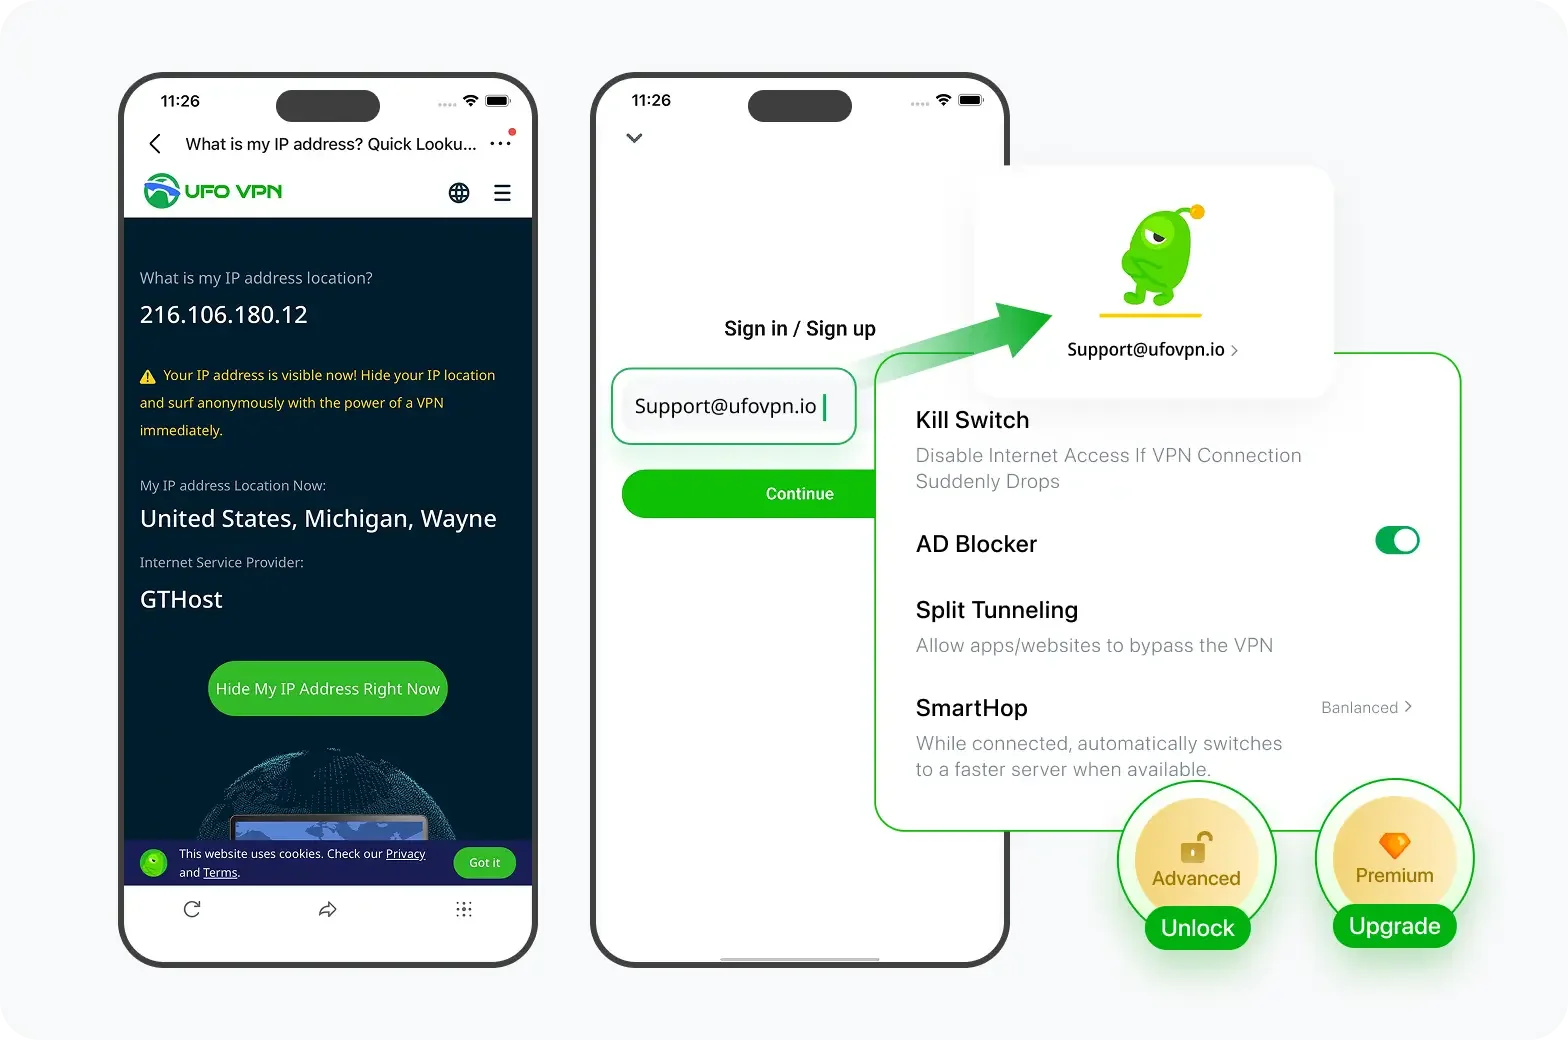
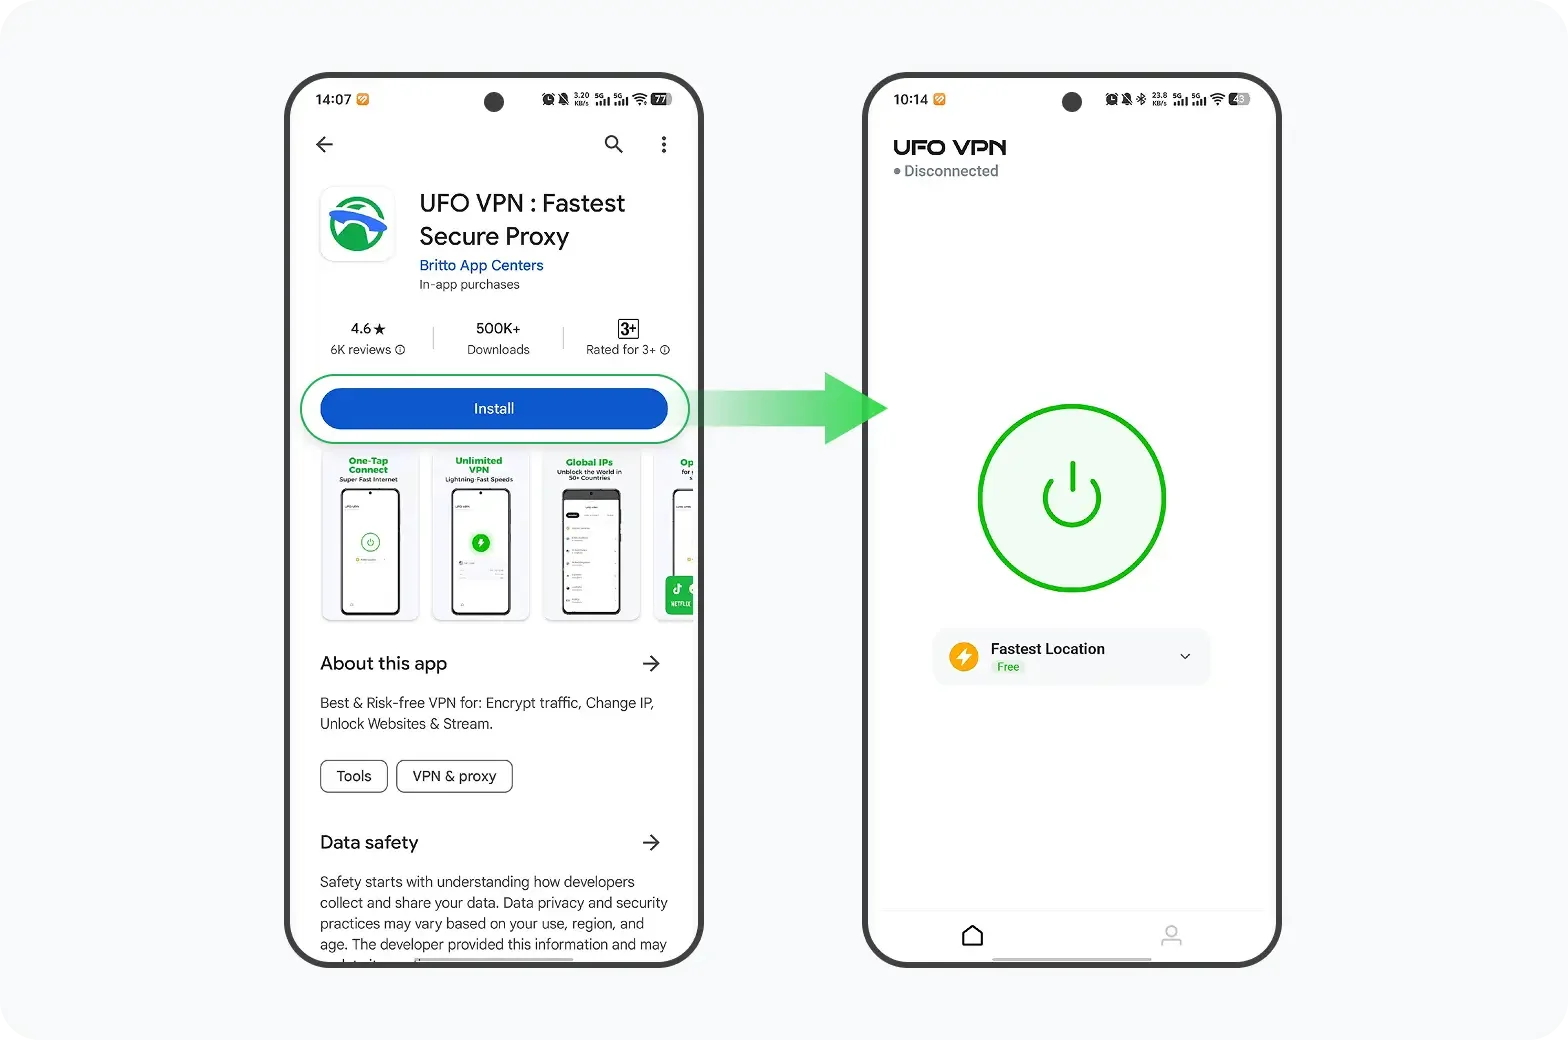
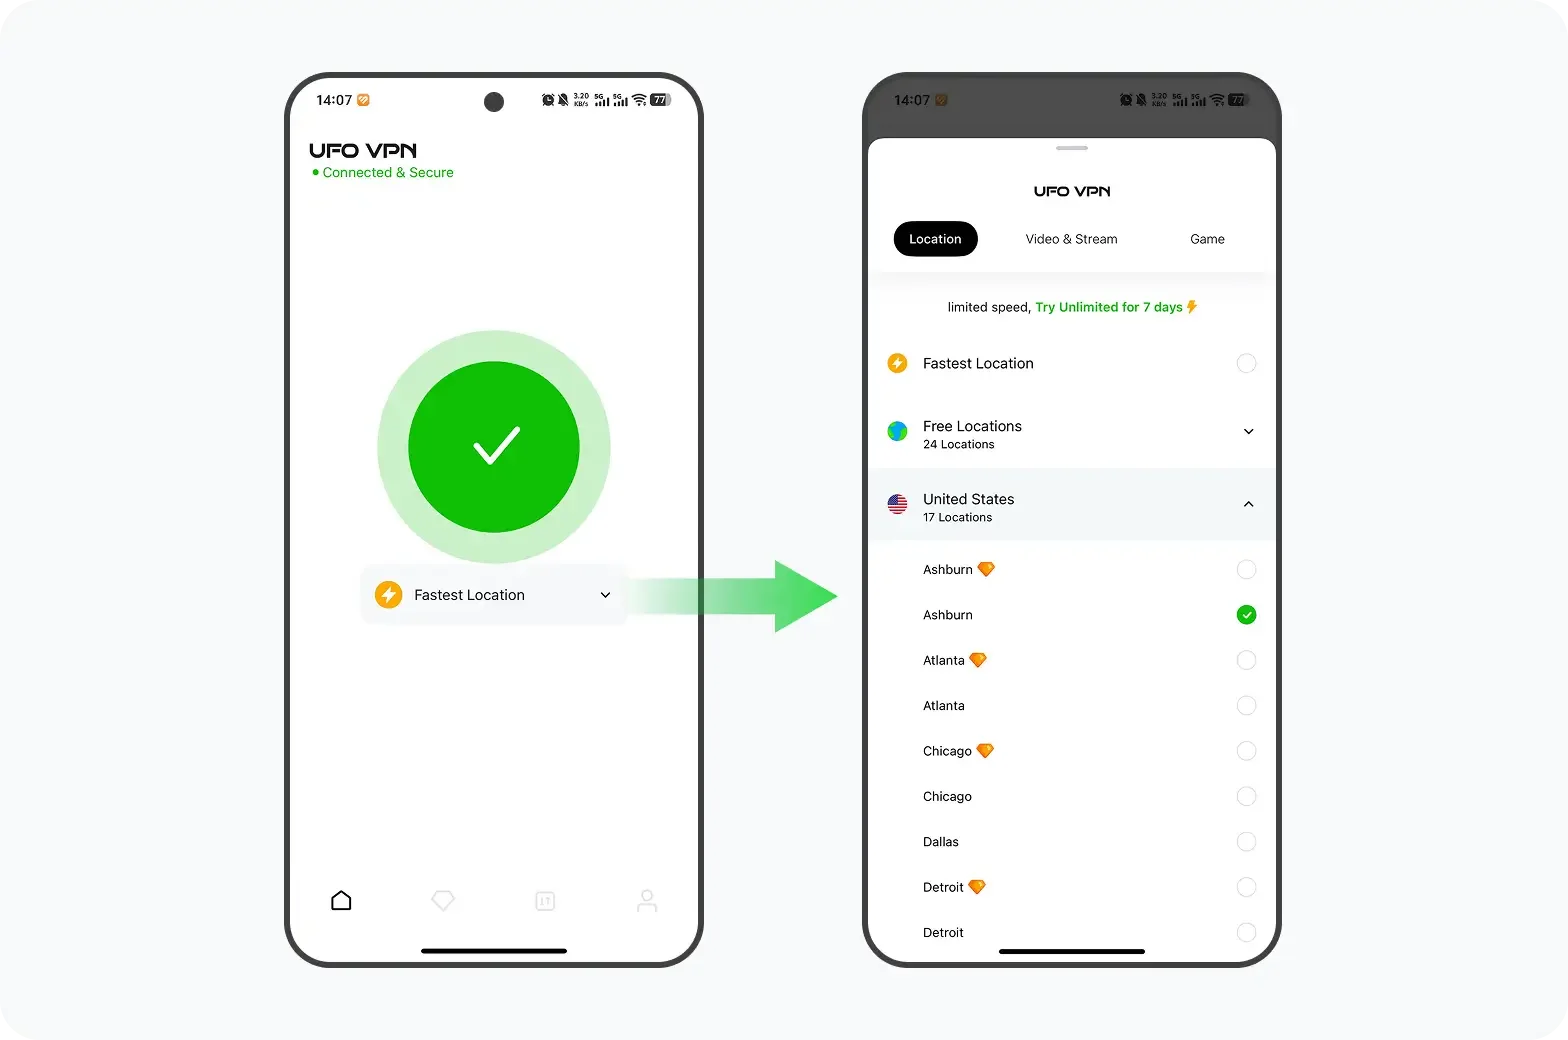
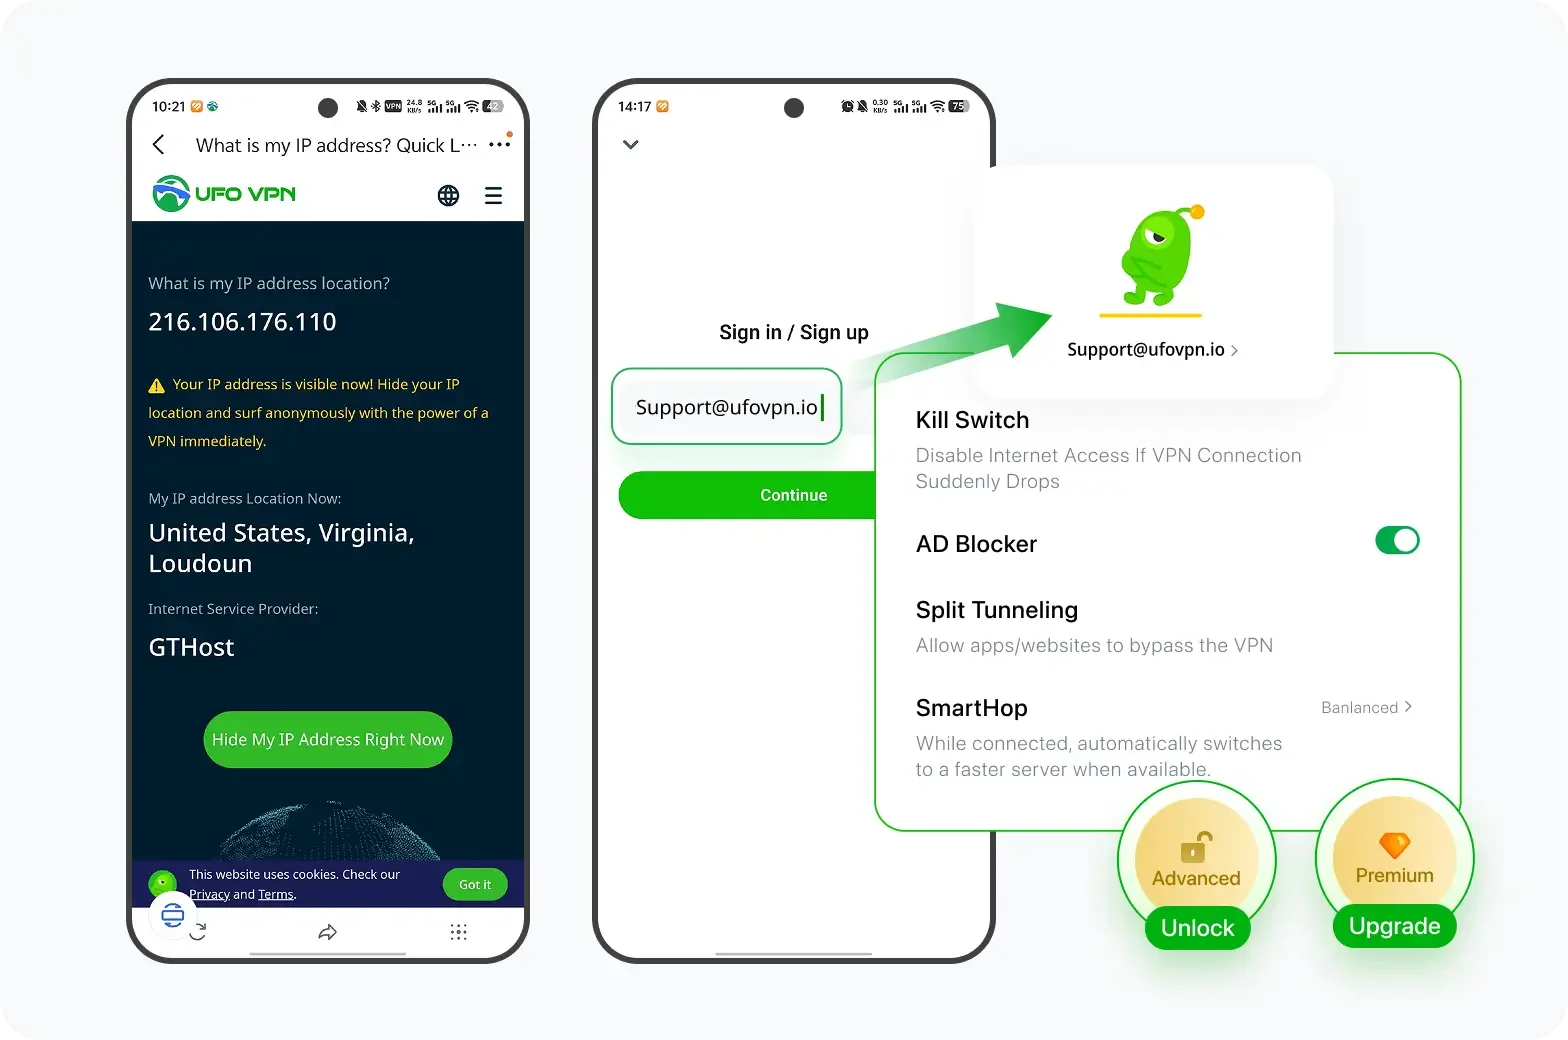
If you want extra privacy while clearing your Facebook search history, try using a free proxy VPN in UFO VPN to hide your IP address, encrypt your connection, and even help you access Facebook smoothly in regions with restrictions.

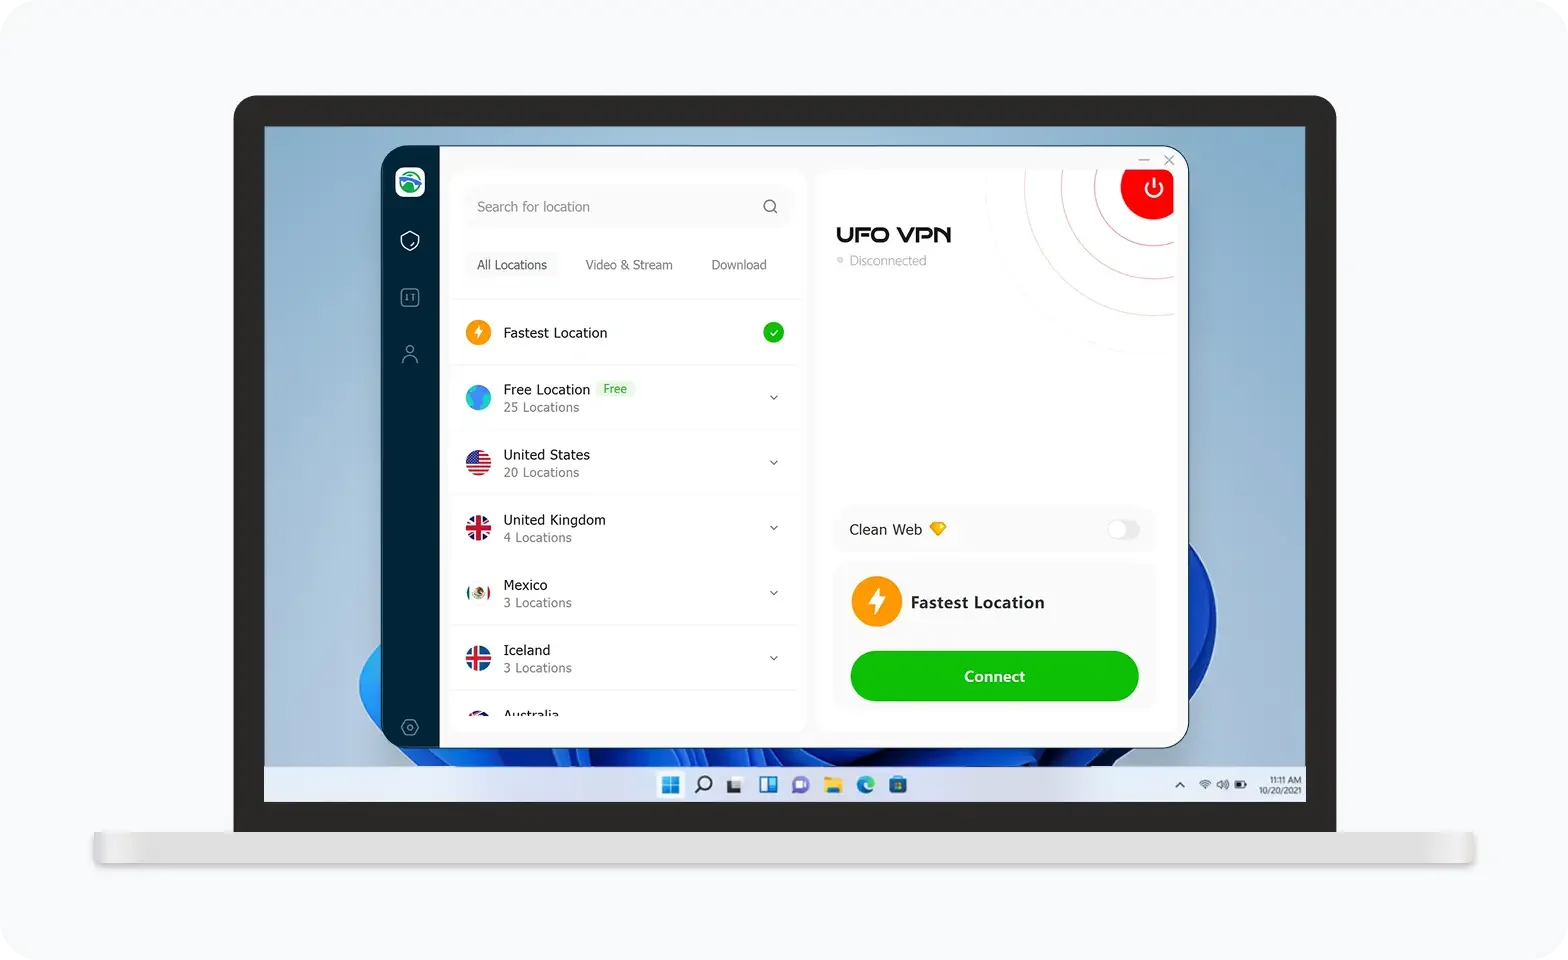
UFO VPN is an all-in-one VPN that offers unlimited access to 4D streaming like Netlfix, Disney Plus, no-ping gaming as PUBG, Roblox, CODM and social networking for YouTube, X, Facebook and more.
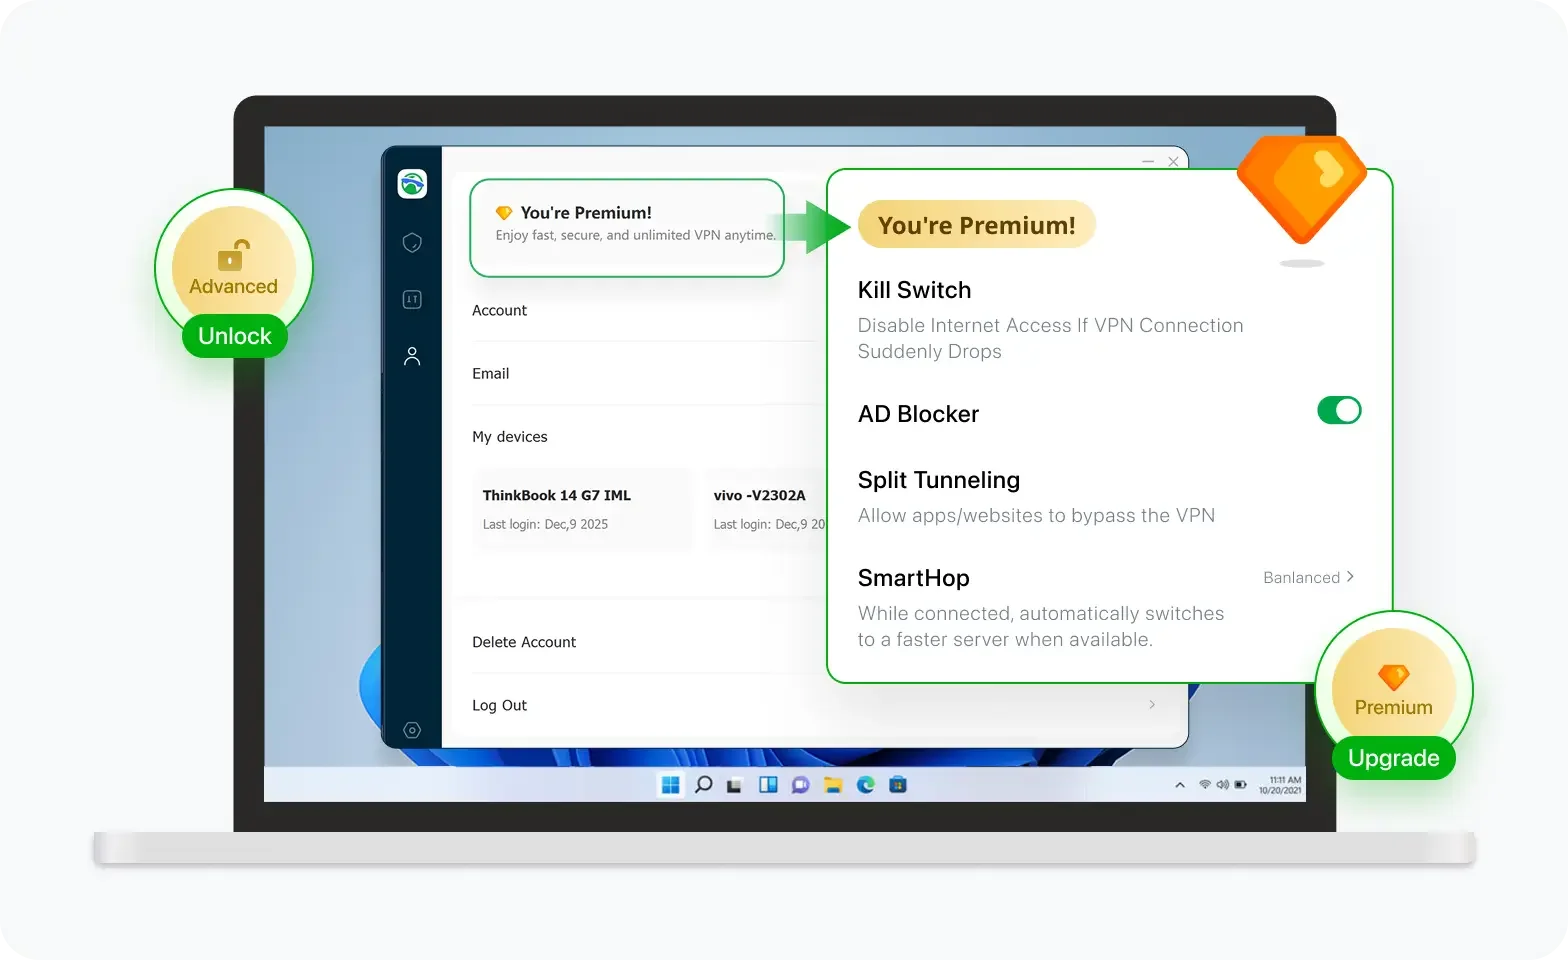

Unlock Pro Features
If you have upgraded to premium plan , feel free to enjoy premium servers for 4K streaming and advanced features like Kill Switch, Split Tunneling, and gaming acceleration. Your Mac is now fully optimized and protected. Inaddition to basic functions, we recommend you turn on

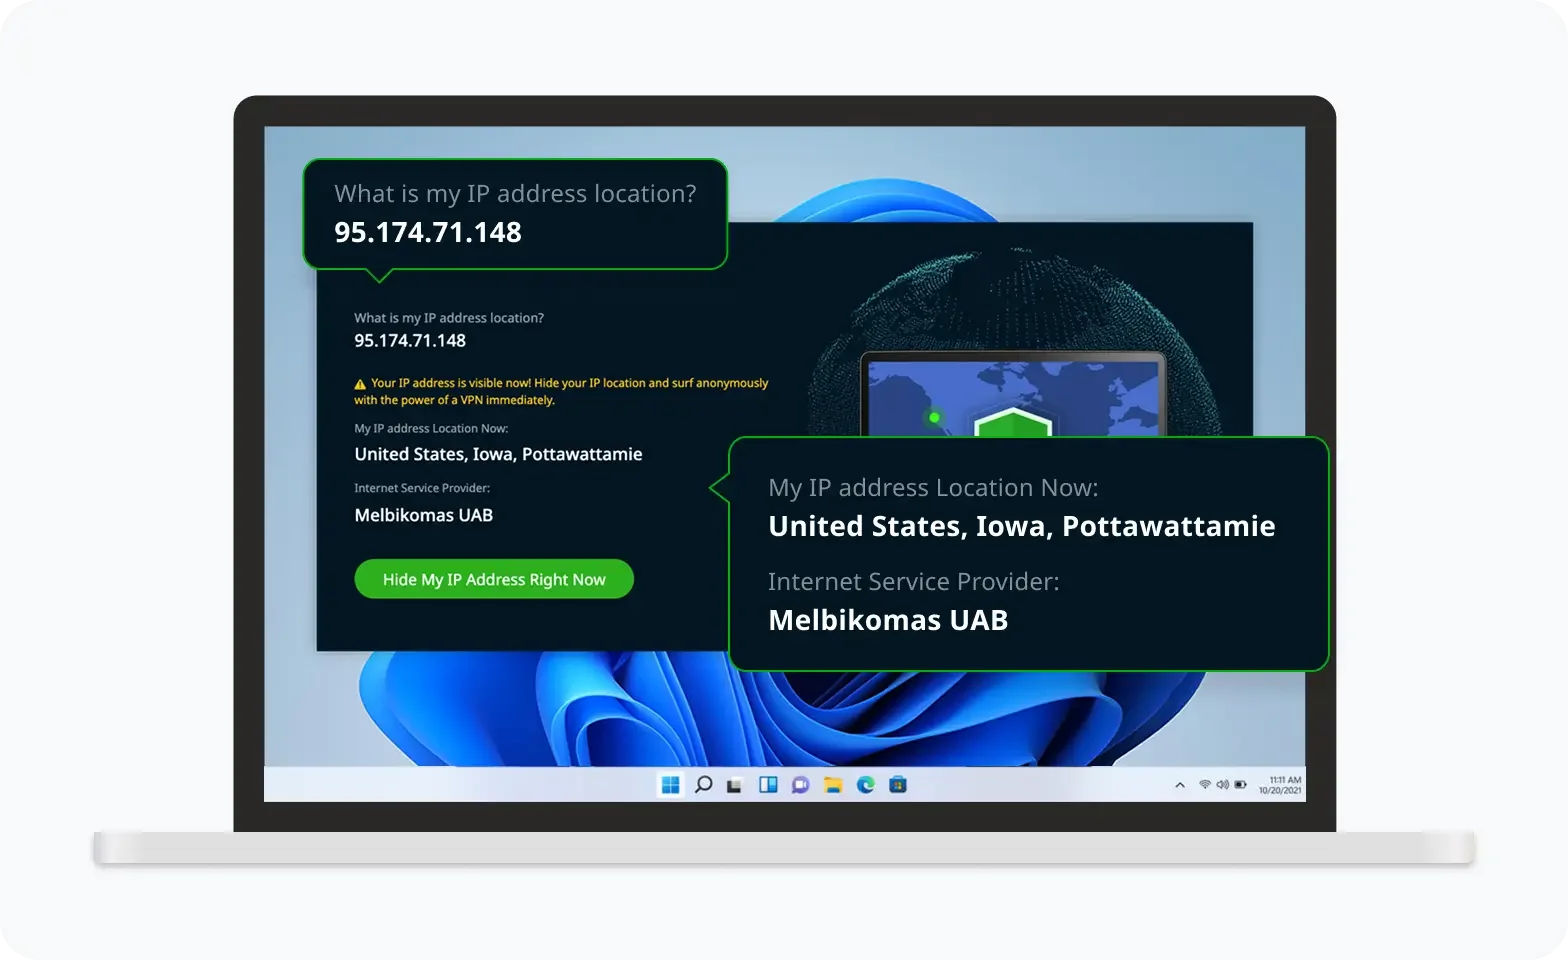
Verify Your IP Now
Use UFO VPN's " What is My IP " feature to see your new IP and location. This confirms your connection is secure, anonymous, and ready for safe browsing online anywhere at any time.


How to Delete Facebook Search History on Mobile
Step 1: Open the Facebook App and Log In
Launch the Facebook app on iOS or Android and sign in if you haven’t already.
Step 2: Go to Your Profile Settings
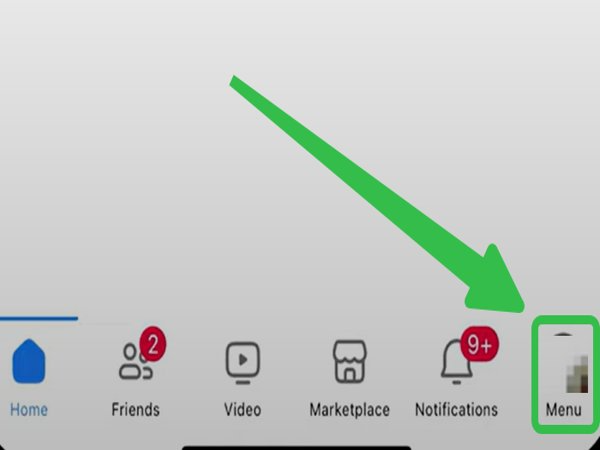
Tap the three horizontal lines (menu icon) in the bottom-right (iOS) or top-right (Android), then select Menu.
Step 3: Find Activity Log

Scroll down and tap Activity Log under “Your Information.”
Step 4: Delete Searches Individually
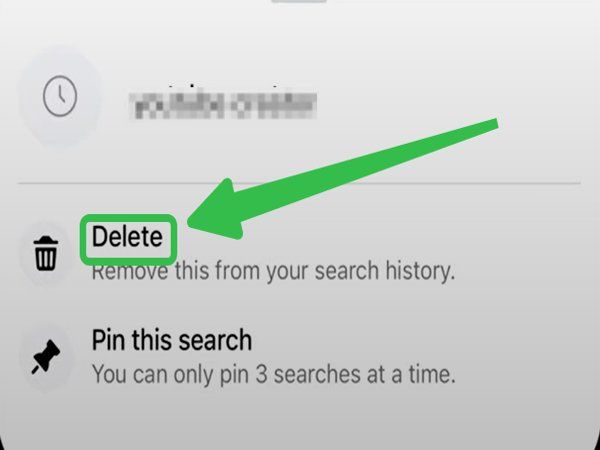
Just like on desktop, you can delete single searches by tapping the three-dot menu beside them.
Step 5: Clear All Search History
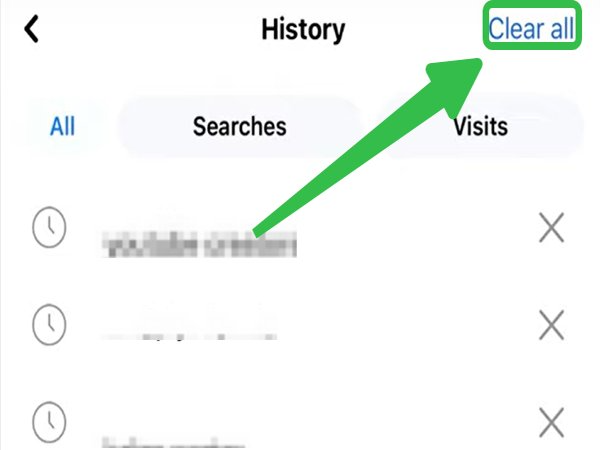
Tap "Clear all" to remove all entries at once.

How to Manage Facebook Search Settings for Better Privacy

Adjust Who Can See Your Activity: Make sure your activity log is private. Facebook allows you to view your search history, but it's always a good idea to double-check your privacy settings for added safety.
Use Search Shortcuts Wisely: Facebook’s quick search suggestions are based on your activity. Clearing history helps reset these shortcuts to avoid irrelevant or unwanted profiles.
Limit Personalized Ads: Your search history can influence the ads you see. To reduce this, go to ad preferences and manage the data Facebook uses to target you.
Use a VPN for Safer Browsing: For added security, consider using a reliable VPN. Tools like UFO VPN offer free proxy servers that hide your IP, making your Facebook usage safer and more private.
Conclusion
Deleting your Facebook search history is a small but effective step in controlling your privacy online. Whether you’re worried about awkward search suggestions or just want to keep things tidy, it’s a simple process that takes only a few minutes. Combine this with strong privacy settings and safe browsing practices, and you’ll have much greater control over your online footprint.
FAQs
1. Can I recover deleted Facebook search history?
No, once deleted, your search history cannot be restored.
2. Does deleting the search history log me out?
No, deleting your history does not affect your login status.
3. Is my search history visible to my friends?
No, only you can see your Facebook search history.
4. How often should I clear my search history?
We recommend clearing it every few weeks to maintain privacy.
5. Will using a VPN affect my Facebook searches?
Yes, in a positive way. A VPN like UFO VPN (what is my ip) hides your IP, making searches more secure and private.