Why Remove a Hard Drive?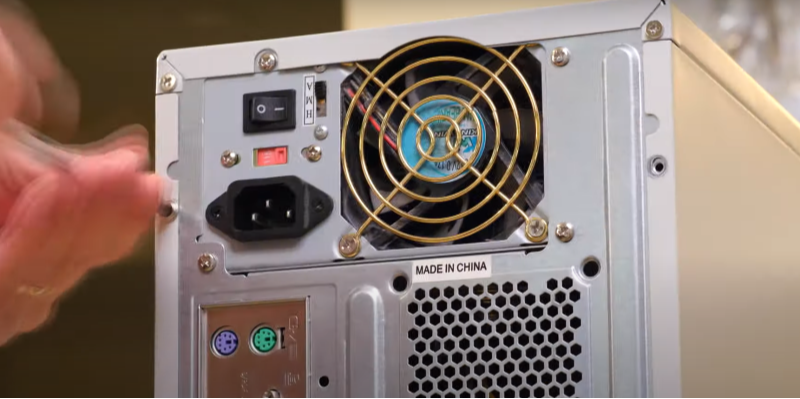
1. Upgrading to a New Drive
Many users replace their old hard drive with a larger-capacity SSD or a faster NVMe drive for improved performance.
2. Selling or Recycling a Computer
Before passing on your device, wiping the hard drive ensures personal files, passwords, and sensitive documents don’t get recovered.
3. Repairing or Replacing Faulty Drives
If your hard drive is failing, removing it allows you to replace it with a functioning one.
4. Data Security
Some users prefer to physically destroy a hard drive to ensure their data is completely unrecoverable.
How to Remove a Hard Drive from a Computer
Step 1: Gather the Necessary Tools
Before starting, ensure you have:
- A Phillips screwdriver (or a Torx screwdriver for some laptops).
- An anti-static wrist strap (optional but recommended).
- A safe place to store screws and components.
Step 2: Power Down and Unplug the Computer
- Shut down your computer properly.
- Unplug all power cables and remove the battery (for laptops).
- Press and hold the power button for 10-15 seconds to discharge any remaining electricity.
Step 3: Open the Computer Case or Laptop Panel
For Desktops:
- Unscrew the side panel of the PC case.
- Locate the hard drive bay, usually near the front of the case.
For Laptops:
- Flip the laptop over and remove the bottom cover.
- Some models may require removing the keyboard first.
Step 4: Disconnect the Hard Drive Cables
- Locate the SATA or NVMe connectors attached to the drive.
- Gently unplug the power and data cables (for HDDs/SSDs).
- If using an NVMe drive, unscrew it and carefully remove it from the slot.
Step 5: Unscrew and Remove the Hard Drive
- Unscrew the drive from the mounting brackets or caddy.
- Slide it out carefully to avoid damaging any internal components.
How to Wipe a Hard Drive Before Disposal or Reuse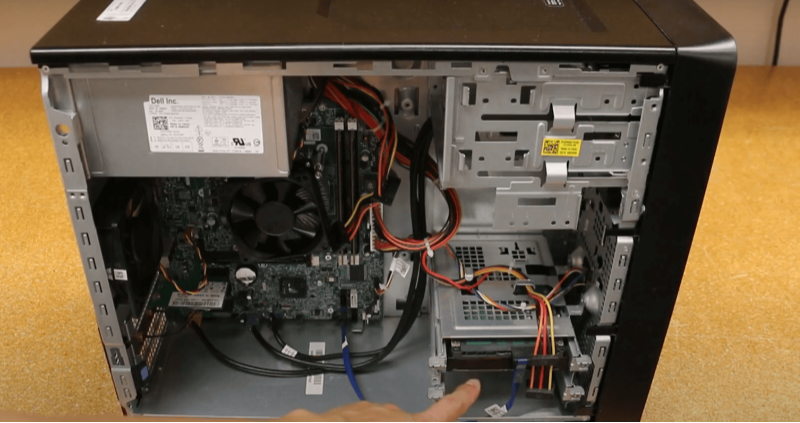
Why Simply Deleting Files Isn't Enough
Even if you delete files or format a hard drive, the data remains recoverable unless it is securely erased. Specialized software can retrieve deleted files, making it crucial to use secure data-wiping methods.
Method 1: Using Built-in Disk-Wiping Tools
For Windows Users:
- Open the Command Prompt as Administrator.
- Type:
- This will overwrite all data, making it unrecoverable.
For Mac Users:
- Open Disk Utility from macOS Recovery Mode.
- Select the drive and click Erase.
- Choose APFS or Mac OS Extended (Journaled) and enable secure erase options.
Method 2: Third-party software for Secure Wiping
- DBAN (Darik’s Boot and Nuke) – Ideal for HDDs.
- CCleaner Drive Wiper – A simple interface for data erasure.
- Eraser – Overwrites data multiple times to prevent recovery.
Method 3: Physically Destroying the Drive
If you're disposing of the drive and want absolute security:
- Drill holes through the platters (for HDDs).
- Smash the NAND chips (for SSDs).
- Use a degausser to scramble the data.
For added security when browsing the web, consider UFO VPN to encrypt your internet activity and keep your data safe.
How to Install a New Hard Drive (If Replacing the Old One)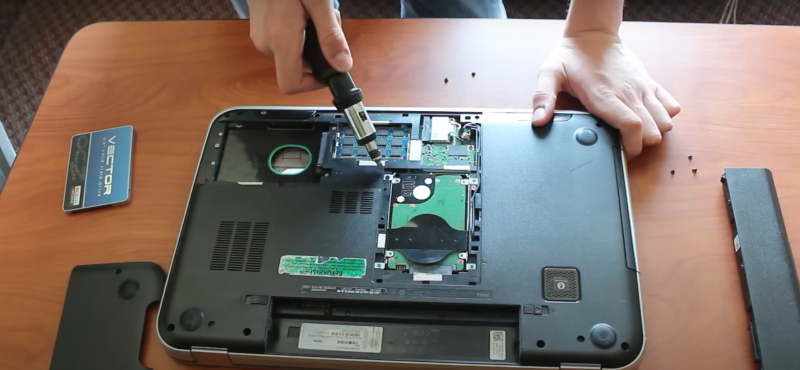
Step 1: Insert the New Drive
- Align the new drive in the same slot as the old one.
- Secure it with screws or a drive caddy.
Step 2: Connect the Cables
- Attach the SATA or NVMe connector properly.
- Ensure the power cable is securely plugged in.
Step 3: Close the Case and Power On
- Reassemble the computer and power it on.
- If installing a new drive, you may need to initialize and format it from the operating system.
💖Pro Tips💖
UFO VPN prioritizes your privacy by blocking ISPs, advertisers, and cybercriminals from harvesting data about your device or habits. Recognized as the best VPN for PC and best VPN for Mac, its advanced encryption anonymizes your connection, ensuring activities like visiting onion sites never reveal your hardware specs, browser fingerprints, or real IP address.
With one-click activation, UFO VPN simplifies security—no technical expertise needed. Start shielding your data by using best VPN for PC and browse with uncompromised confidence.
FAQs About Removing & Wiping a Hard Drive
1. Can I remove a hard drive without losing data?
Yes, but you must ensure the drive is properly disconnected and installed into another device or external enclosure.
2. How do I permanently delete everything from my hard drive?
Use secure wipe software like DBAN or overwrite the data multiple times using the command line.
3. Can a wiped hard drive be recovered?
If erased properly using multiple overwrites, the data cannot be recovered by standard software.
4. Should I remove the hard drive before recycling a computer?
Yes, removing and securely erasing the hard drive ensures your personal data is protected.
5. What happens if I remove my computer’s hard drive?
The computer will no longer have an operating system and will not boot unless another drive with an OS is installed.
6. Is it safe to sell a hard drive after wiping it?
Yes, as long as it has been securely erased using industry-standard wiping methods.
Conclusion
Learning how to remove a hard drive from a computer is essential for upgrades, repairs, or secure disposal. However, removing a drive isn’t enough—you must also wipe the hard drive to ensure personal data isn’t recoverable. By following secure data deletion techniques and considering UFO VPN for digital privacy, you can keep your sensitive information safe. Whether upgrading or recycling your device, taking the right precautions protects your data from unauthorized access.
Now that you know how to remove and wipe a hard drive safely, you can confidently manage your storage devices with security in mind! 🚀

