What Is DNS and Why Should You Flush It?

DNS, or Domain Name System, acts as the internet’s address book, converting domain names into IP addresses. When you visit a website, your Mac stores the DNS information locally in a cache for quicker future access. Over time, however, this cache can become outdated or corrupted, leading to problems such as slow browsing speeds, difficulty connecting to websites, or the display of incorrect or outdated website information.
Flushing DNS clears the cache, forcing your Mac to retrieve fresh DNS data. This is especially useful when:
-
You can’t access certain websites: The DNS cache may contain outdated information.
-
Your connection is slow or unreliable: Corrupted DNS records can cause delays.
-
You suspect DNS spoofing or attacks: Flushing the DNS cache helps protect against man-in-the-middle attacks.
In this guide, we’ll explain how to flush DNS cache on Mac and help you understand when and why you should do it.
📖Related Reading
How to Flush DNS Cache on Mac: A Step-by-Step Guide
Flushing the DNS cache on Mac is relatively simple, and it can be done using the Terminal application. Below is a detailed step-by-step guide on how to flush DNS on Mac.
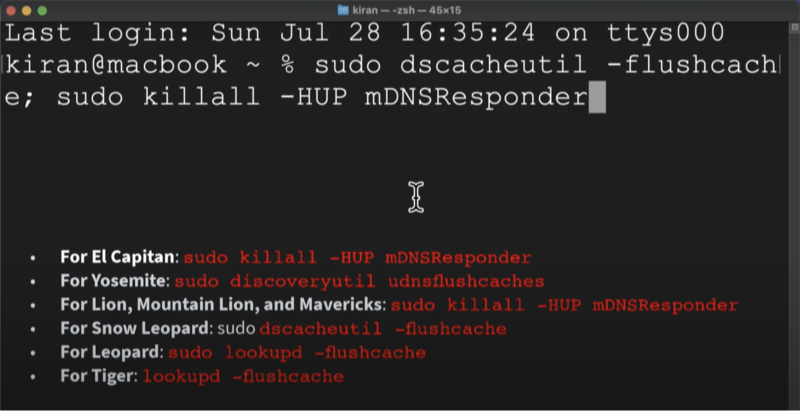
Method 1: Using Terminal on macOS 10.10.4 or Later

For macOS 10.10.4 and later, the process is straightforward:
-
Open the Terminal:
You can find the Terminal application by going to Applications > Utilities > Terminal, or simply search for it using Spotlight. -
Enter the Command to Flush DNS:
In the Terminal window, type the following command:Press Enter. This command sends a signal to the mDNSResponder process, telling it to reload the DNS cache.
-
Enter Your Administrator Password:
If prompted, enter your administrator password to execute the command. -
Flush DNS Completed:
After entering the command, the DNS cache will be flushed, and your Mac will start retrieving fresh DNS data for your websites.
Method 2: Using Terminal for Older Versions of macOS
If you're using an older version of macOS, such as macOS 10.9 or earlier, the command to flush DNS differs slightly:
-
Open Terminal and type the following command for macOS 10.9 and earlier:
-
Enter Password: You will be prompted to enter your administrator password to confirm the action.
-
Done: Your DNS cache will be flushed, and your Mac will now fetch new DNS records when you visit websites.
Additional DNS Settings and Troubleshooting Tips
While flushing the DNS cache resolves many issues, there are additional steps you can take to optimize your DNS settings and further troubleshoot connection problems.
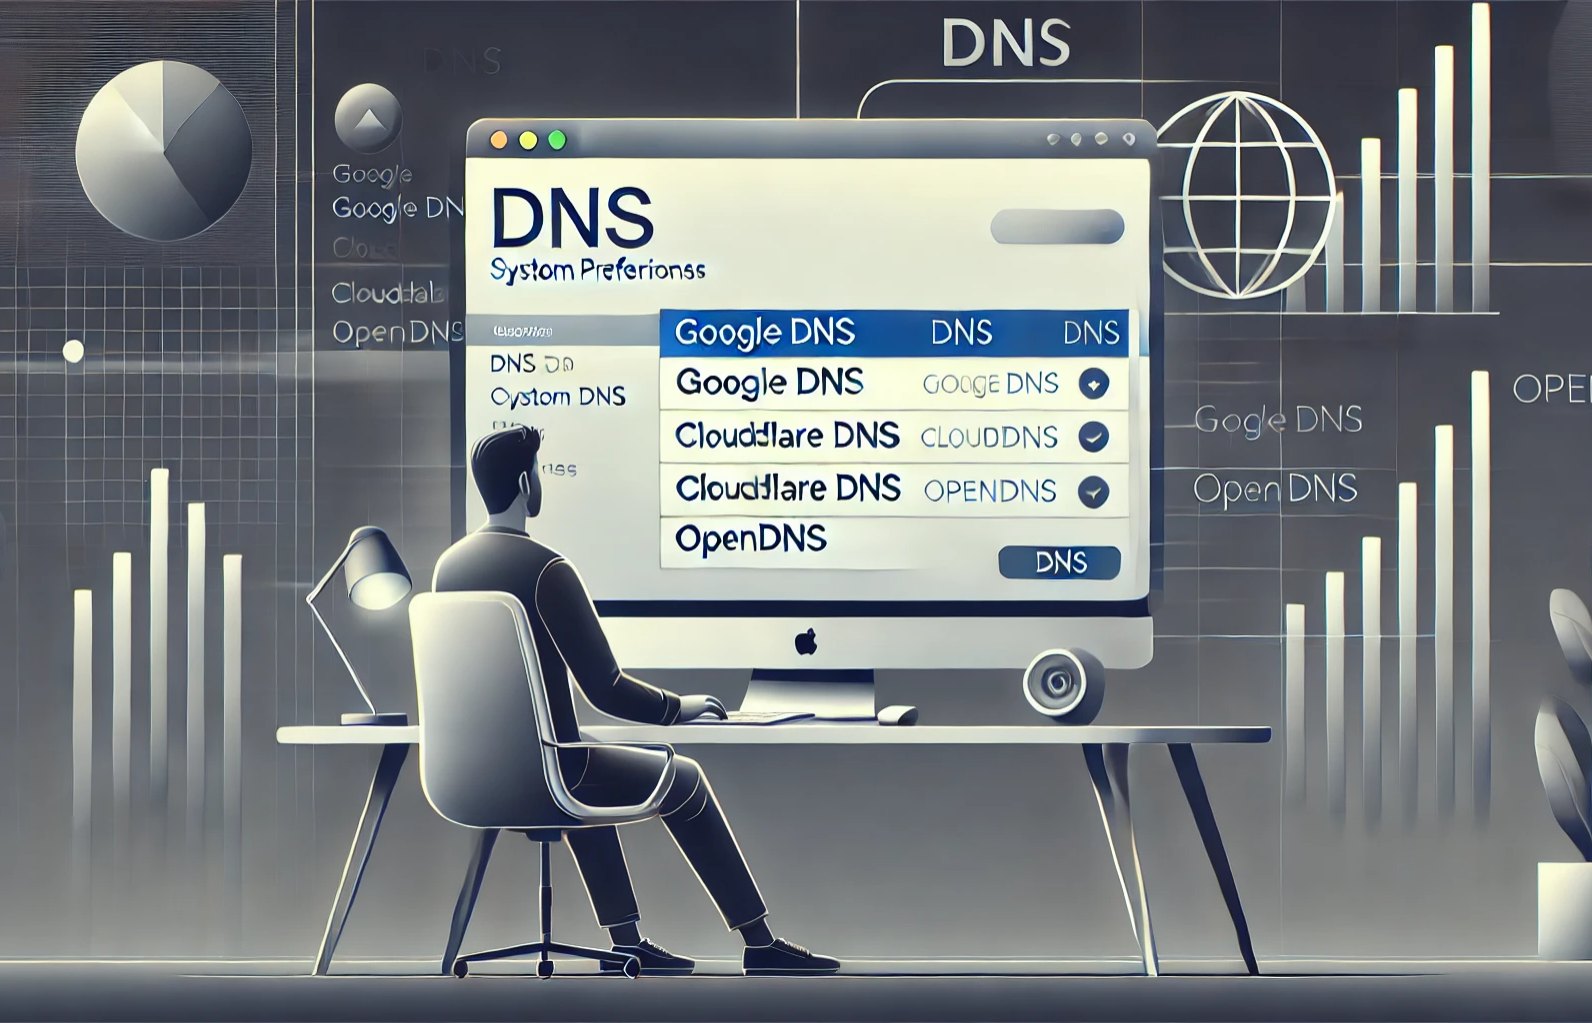
1. Change Your DNS Server Settings
If you're experiencing consistent DNS-related issues or slow browsing speeds, you may want to change your DNS server settings. By default, your Mac uses your ISP’s DNS servers, but you can switch to faster, more secure servers such as those provided by Google, OpenDNS, or Cloudflare.
Here’s how to change DNS settings on your Mac:
-
Open System Preferences:
Click on the Apple menu and choose System Preferences. -
Go to Network:
In the System Preferences window, select Network. -
Select Your Active Network:
Choose the network you’re currently connected to (Wi-Fi or Ethernet) from the left sidebar. -
Click Advanced:
After selecting your network, click Advanced at the bottom-right of the window. -
Change DNS Settings:
Go to the DNS tab. Click the + button to add a new DNS server address. You can use:-
Google DNS:
8.8.8.8,8.8.4.4 -
Cloudflare DNS:
1.1.1.1,1.0.0.1 -
OpenDNS:
208.67.222.222,208.67.220.220
-
-
Apply Settings:
Once you’ve added the new DNS servers, click OK, then Apply to save your changes.
2. Restart Your Mac
After flushing the DNS cache or changing DNS settings, it’s a good idea to restart your Mac to ensure the new settings take effect.
3. Clear Browser Cache
Sometimes, the issue might not be with your DNS cache, but with the browser cache. If you're still experiencing problems after flushing DNS, try clearing your browser’s cache and cookies.
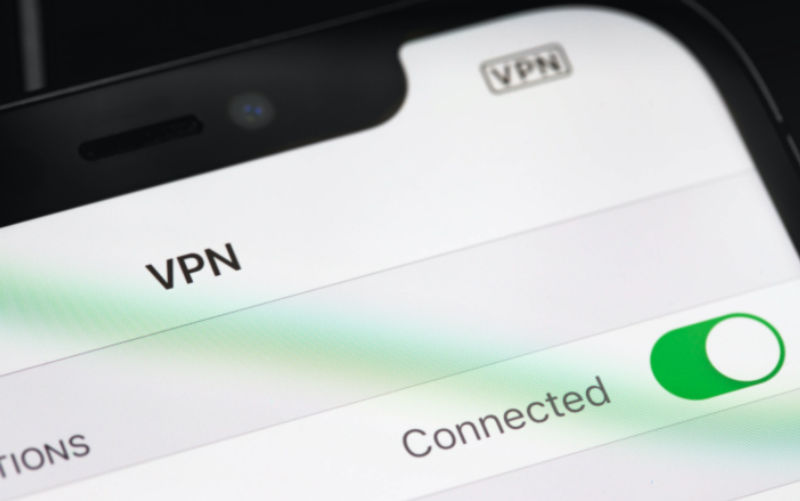
How Best free VPN Enhances Your DNS Security
While flushing DNS on Mac and changing DNS servers can help with speed and connectivity, UFO VPN adds an additional layer of security to your internet activities. A VPN (Virtual Private Network) encrypts your internet traffic, which helps protect your DNS queries from potential hackers or malicious third parties who might try to intercept or spoof your DNS requests.
Here’s how UFO VPN enhances your DNS security:
-
Encrypts Your DNS Queries:
UFO VPN ensures that your DNS queries are encrypted, preventing anyone from eavesdropping on your online activity, even when you're using public Wi-Fi networks. -
Prevents DNS Spoofing:
By encrypting your DNS traffic, UFO VPN prevents DNS spoofing attacks, where attackers redirect your internet traffic to malicious websites. -
Improves Privacy:
With UFO VPN, your real IP address is hidden, further protecting your identity and location from third-party tracking.
💕Bonus💕
UFO VPN prioritizes your privacy by blocking ISPs, advertisers, and cybercriminals from harvesting data about your device or habits. Recognized as the best VPN for PC and best VPN for Mac, its advanced encryption anonymizes your connection, ensuring activities like visiting onion sites never reveal your hardware specs, browser fingerprints, or real IP address.
With one-click activation, UFO VPN simplifies security—no technical expertise needed. Start shielding your data by using best VPN for PC and browse with uncompromised confidence.
FAQ
Q1: How often should I flush DNS on Mac?
A: It’s a good idea to flush your DNS cache whenever you experience connection issues, slow browsing speeds, or trouble accessing certain websites.
Q2: Does changing DNS settings speed up my connection?
A: Switching to faster DNS servers, like Google DNS or Cloudflare, can improve your connection speed, especially if your default DNS server is slow or unreliable.
Q3: Can I flush DNS on Mac without using Terminal?
A: While using Terminal is the most common method, some third-party apps can help you flush DNS without using Terminal. However, it’s generally recommended to use Terminal for the best results.
Q4: How does UFO VPN help with DNS security?
A: UFO VPN encrypts your DNS queries and hides your IP address, preventing hackers from intercepting your data and protecting you from DNS spoofing and man-in-the-middle attacks.
Q5: What should I do if flushing DNS doesn’t fix my connection issues?
A: If flushing DNS doesn’t resolve your issues, try restarting your Mac, clearing your browser cache, or switching to a different DNS server. You might also consider using a VPN for added security and privacy.
Conclusion
Knowing how to flush DNS on Mac is a valuable troubleshooting technique for resolving connection issues, improving browsing speeds, and preventing DNS spoofing attacks. By following the steps in this guide, you can clear your DNS cache and optimize your Mac’s network settings. Additionally, using a VPN like UFO VPN will further secure your connection, protect your privacy, and ensure your browsing experience is safe and smooth.Whether you’re troubleshooting DNS issues or enhancing your online security, flushing your DNS cache and adjusting your settings can make a significant difference in your Mac’s performance. Take action today and improve your Mac’s internet experience.